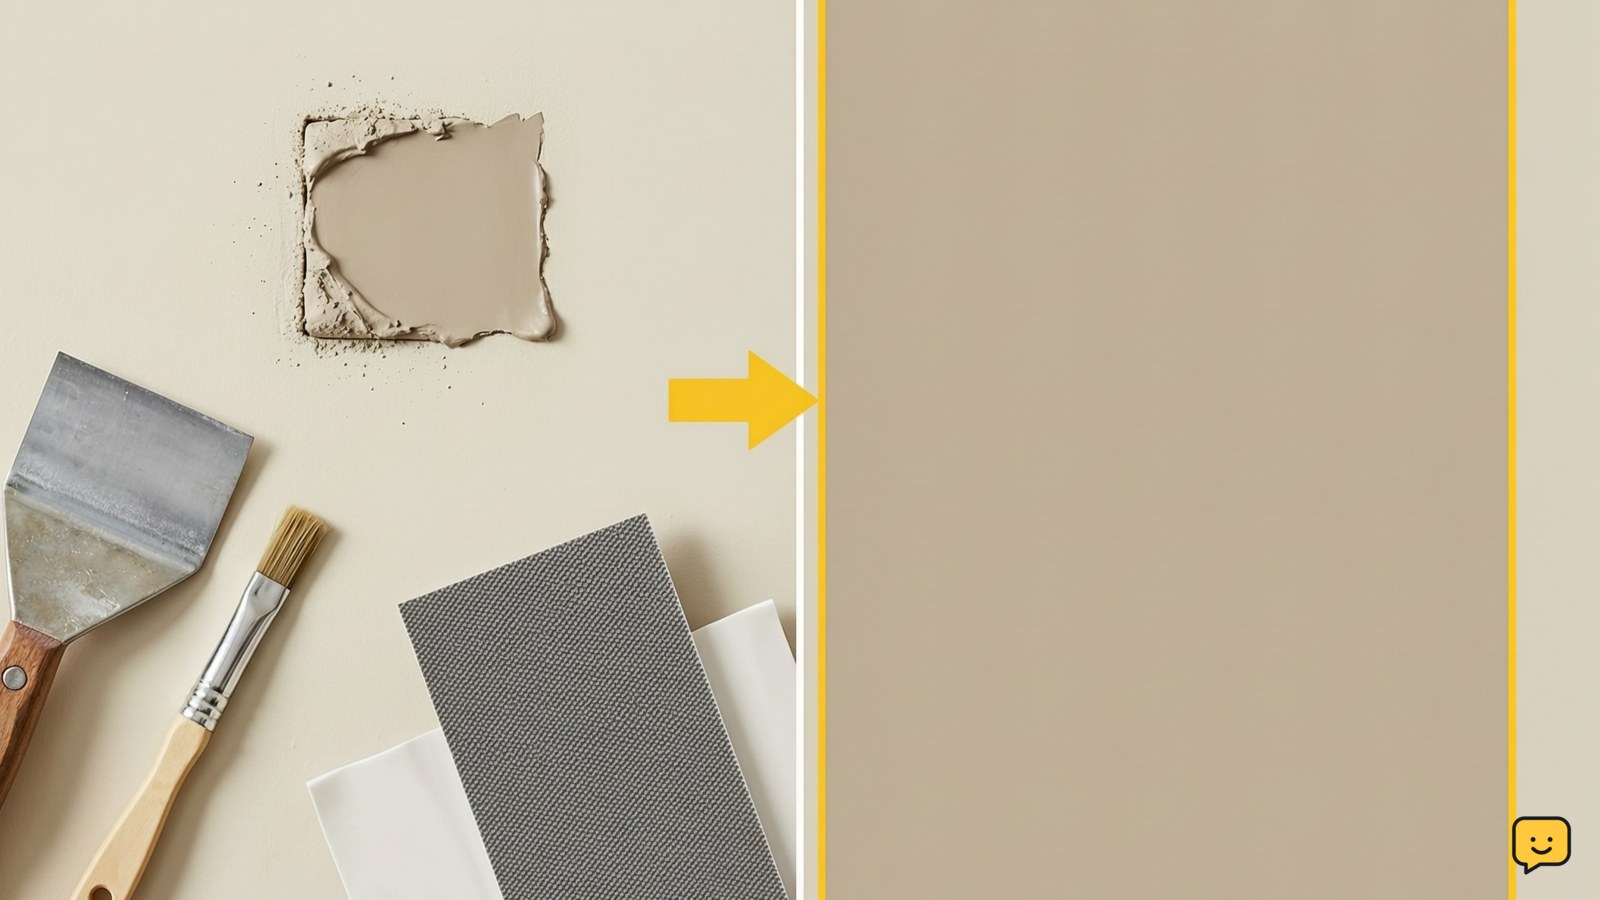
To repair chipped paint, remove loose flakes, feather the edge with fine sandpaper, fill any exposed dip with spackle or patching compound, let it dry, sand it flush, spot-prime bare areas, and apply matching paint. Test the color and sheen first. Stop and investigate if the paint keeps peeling, the wall feels damp, or the substrate is damaged.
For more help with this topic, use the Home Maintenance guides.
Check whether the chip needs more than paint
A small, stable chip in an otherwise sound painted surface usually needs patching and touch-up paint; a recurring or damp chip needs a surface repair first. Press lightly around the damage with a clean fingertip. If the surrounding paint feels firm and the substrate is dry, continue. If the edge lifts easily, extends beyond the visible chip, or exposes soft material, remove only the unstable coating and reassess before filling.
Look for the cause before covering it. Water staining, condensation, a leaking fixture, impact damage, and poor adhesion require different corrections. A paint-only repair will fail if moisture remains behind the coating. For wallpaper adhesive or residue surrounding the area, clean the wall first with the method described in how to remove wallpaper glue.
Remove any surrounding adhesive before patching with guidance on how to remove wallpaper glue.
Remove loose paint and clean the patch
Remove loose paint from the chip with the edge of a putty knife or a fingernail. Hold the tool nearly flat and lift flakes gently; do not gouge sound drywall or wood. Feather the hard perimeter with fine sandpaper so the transition from bare area to intact paint is gradual. The goal is a firm edge without a sharp ridge.
Wipe away sanding dust with a slightly damp, lint-free cloth and let the surface dry fully. Do not apply compound over dust, grease, or dampness. If the chip is on trim, a door, or furniture, use a cleaner suitable for that material and allow it to evaporate before continuing.
Fill the low spot with compatible compound
Apply a thin layer of spackle or patching compound to the missing area, extending just slightly past the chip. Home Depot identifies spackle or drywall patching compound as the standard material for filling gaps in a chipped wall. Press the compound into the depression, then draw the putty knife across it to leave the surface nearly level.
Let the compound dry according to its label. Deep holes need multiple thin applications rather than one thick blob. When dry, run a fingertip across the patch: it should feel level with the surrounding paint, with no soft center or raised edge. Add another thin coat if you can still feel a dip. If the compound cracks or pulls away, remove the loose repair, check for movement or moisture, and stop if the substrate is unstable.
Sand, prime, and match the surface
Sand the dry filler lightly until it is flush with the surrounding surface. Use a sanding block or folded paper to keep the patch flat, and avoid widening the repair unnecessarily. Remove all dust before priming. For a bare drywall, wood, or metal spot, apply a compatible primer; primer helps isolate the porous repair and gives the topcoat a more consistent appearance.
Paint sheen matters as much as color. Stir the matching paint and test a small amount in an inconspicuous place, because stored paint can change and nearby paint may have faded. A flat wall finish usually hides a small touch-up better than satin or semigloss. If the test patch dries visibly different, repaint the entire wall section from corner to corner instead of repeatedly layering touch-up paint. Guidance on correcting visible ridges and patchy coverage is available in how to fix uneven paint.
Use how to fix uneven paint for help correcting ridges, patch outlines, or inconsistent coverage.
Apply the touch-up and verify the result
Use a small brush or mini roller that matches the existing texture. Apply a thin coat over the primer and slightly into the surrounding paint, then leave it undisturbed until dry. A second thin coat may be needed for coverage. Avoid brushing back into paint that has started to tack, since that can leave a shiny or textured mark.
Inspect the repair in normal room light and from several angles. Success means the surface is flat to the touch, the edge cannot be felt, the color blends when viewed from the usual distance, and no filler outline or flashing appears as the paint dries. If the patch is smooth but visibly lighter, darker, or glossier, the repair needs a broader blend coat or a full wall-section repaint. If peeling returns, stop painting and correct the underlying moisture, adhesion, or substrate problem.
Frequently asked questions
Can I paint directly over chipped paint?
No, not when the edge is loose or the surface is uneven. Remove unstable flakes, feather the perimeter, fill any depression, and sand it flush first. Painting over a raised edge preserves the outline and can cause the repair to peel again.
Do I need primer after filling a paint chip?
Usually, yes when the repair exposes porous drywall, wood, or another bare substrate. Spot-primer seals the filler and helps the topcoat dry with a more even color and sheen. If the chip is only a very shallow loss within firmly bonded paint, the paint label may allow a direct touch-up, but test it first.
How do I match paint for a small chipped area?
Use the original labeled paint when it is still usable, and match both color and sheen. Stir it well and test it in an inconspicuous place after it dries. If the touch-up remains visible, extend the repaint to a natural boundary such as a corner, trim edge, or complete wall section.
Why does repaired paint keep peeling?
Repeated peeling usually points to moisture, contamination, movement, incompatible coatings, or a weak substrate rather than a missing topcoat. Stop repainting, remove only loose material, and inspect for leaks, condensation, damp drywall, or deteriorating wood. Repair the cause and let the surface dry before rebuilding the patch.