
To assemble furniture, read the manufacturer’s manual first, confirm the parts and hardware, protect the floor, and follow the illustrated steps in order. Keep joints loose until the frame is aligned, then tighten them gradually. Finish by checking level, doors or drawers, fastener tightness, and stability. Stop if parts, holes, or instructions do not match.
For more help with this topic, use the Home Maintenance guides.
Check the furniture, workspace and manual first
The furniture manual is the controlling source for part order, fastener type, orientation, and safety hardware, so check it before starting. Identify every panel by its printed number, label, hole pattern, or shape; do not rely on appearance alone.
Lay parts out in assembly order without mixing similar screws or cam fittings. A small tray or labeled cups can keep hardware groups separate. The practical advice in Tips To Assemble Furniture Fast also emphasizes organizing parts by size and number before assembly.
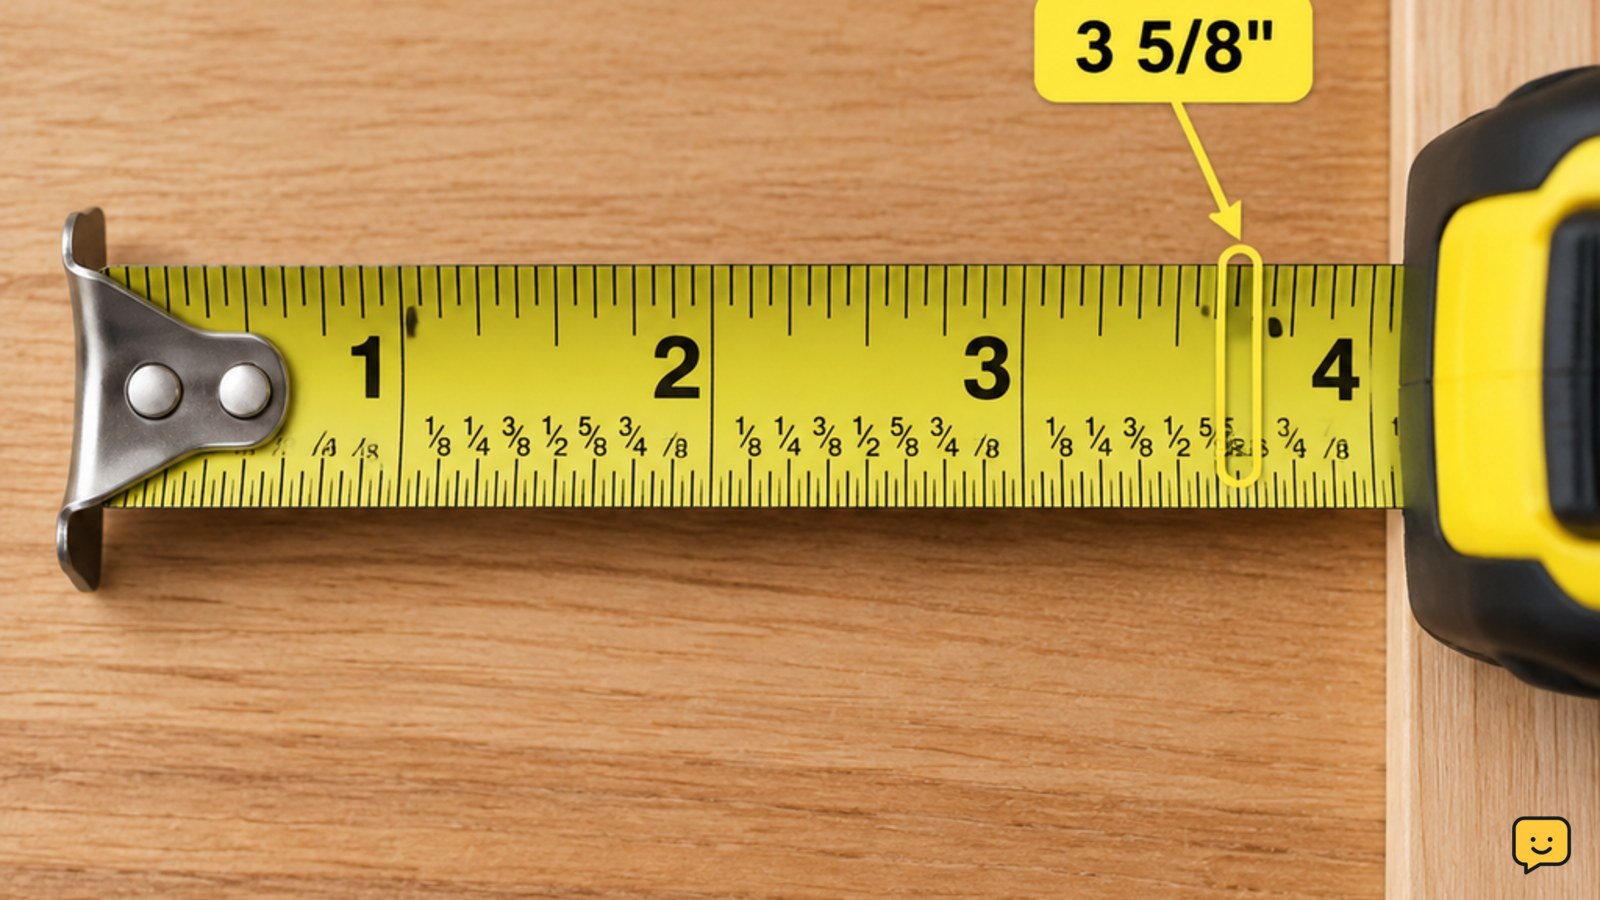
Measure the route and final location before building a large item. Measure the room and delivery route before assembly so the completed piece will clear doors, stairs, walls, and ceiling height.
Measure the room and delivery route before assembly so the finished piece can reach its intended location: measure the room and delivery route
Match each panel and fastener to the first step
The first assembly step should identify both the panel orientation and the exact hardware, not just the general piece. Put finished edges outward, keep predrilled faces aligned with the illustration, and check that holes for shelves, hinges, or drawer runners face the correct direction.
- Open only the hardware needed for the current step.
- Compare the fastener length and head shape with the manual.
- Start screws by hand for several turns so they do not cross-thread.
- Use the supplied hex key or the driver size specified by the manufacturer.
If a screw will not start easily, remove it and recheck the panel orientation and hole alignment. Never substitute a longer screw where it could emerge through a finished surface or interfere with another component.
Build the frame loosely, then align the joints
The main frame should remain slightly loose until its panels and corners are aligned. Tightening one corner completely too early can pull the remaining holes out of position and make later steps difficult.
- Join the panels shown in the current diagram and install every fastener for that joint.
- Turn each screw only until the joint holds together; leave enough movement for alignment unless the manual says otherwise.
- Check that edges are flush, corners are square by sight, and the back or support panel sits in its intended grooves.
- Tighten opposing fasteners gradually, alternating sides rather than fully tightening one side first.
For cam-lock fittings, insert the cam and connecting bolt in the orientation shown by the manual. If the cam turns without drawing the joint together, stop and inspect the bolt depth, panel direction, and cam position.
Install doors, drawers and moving hardware carefully
Doors, drawers, shelves, and runners should move freely before their final adjustment. Install hinges, slides, handles, and brackets in the sequence shown because their screw positions and overlays can depend on earlier parts.
Support a door or drawer while attaching it instead of letting its weight pull against a partly installed hinge or runner. Test each moving part gently: a drawer should travel without scraping, and a door should close without forcing the frame.
If a screw head is damaged during assembly, stop using additional force. A stripped screw can be harder to remove once the surrounding panel is loaded; use a suitable removal method such as those described in safe stripped-screw removal.
If a fastener head is damaged, use safe stripped-screw removal guidance before applying more force: safe stripped-screw removal
Level the finished piece and secure tall furniture
The completed furniture is ready for use only after it is level, stable, and secured as required by the manual. Place it on its intended floor surface, then check for rocking by applying light pressure at several corners.
- Use a level across the top or another straight, rigid surface.
- Adjust the manufacturer-provided feet or levelers if fitted.
- Confirm that all structural fasteners are tight without crushing the material.
- Attach wall anchors, brackets, or anti-tip hardware exactly as directed for tall or top-heavy furniture.
Do not improvise an anchor location or omit supplied anti-tip hardware. If the wall type is unclear, the furniture instructions are missing, or the anchor will not hold securely, stop before loading the piece and ask the manufacturer or a qualified professional for the correct hardware.
Verify the assembly before putting items inside
The final check should confirm function, alignment, and stability under normal use. Inspect every visible joint for gaps, exposed screw tips, split material, or a panel that is reversed.
- Push lightly from more than one direction; the frame should not rock, twist, or lean.
- Open and close every door and drawer several times without forcing it.
- Check that shelves sit fully on their supports and that pins or brackets are seated.
- Confirm handles, feet, caps, and covers are secure.
- Retighten only the fasteners identified by the manual or those visibly loose after alignment.
If the piece still moves, unload it and retrace the relevant diagrams one joint at a time. Do not compensate for a missing structural part with glue, extra screws, or improvised brackets unless the manufacturer specifically approves that repair.
Frequently asked questions
What tools do I need to assemble furniture?
Most flat-pack furniture needs the supplied hex key, a correctly sized screwdriver, and a clear work surface. A level, tape measure, soft mallet, and labeled cups for hardware can also help. Use a power driver only if the manual allows it, and set it to low torque so it does not strip screws or damage particleboard.
Should I tighten furniture screws all the way at each step?
Usually, no. Keep structural joints slightly loose while the frame is being aligned, then tighten opposing fasteners gradually. Some instructions require a specific order or full tightening at a particular step, so follow the manufacturer’s diagram when it differs from this general approach.
Why is my assembled furniture wobbling?
Wobbling usually means a fastener is loose, a panel is reversed, a joint is misaligned, or the floor is uneven. Remove the contents, compare the frame with the manual, check every structural joint, and adjust supplied levelers. Stop if a panel is damaged or the piece remains unstable after correct assembly.
Can one person assemble furniture?
Small tables, shelves, and nightstands may be manageable alone if they can be supported safely. Large cabinets, beds, desks, and tall units are safer with two adults, especially when lifting or attaching a heavy panel. Do not balance a large panel upright while fastening it.