Measure the room’s length, width and ceiling height, then record every door, window, stair, radiator, vent and obstruction. Measure the delivery path from the entrance to the room, including narrow turns. Compare those figures with the furniture’s full dimensions and clearance needs. Finally, mark the footprint with painter’s tape to verify that doors, walkways and drawers still work.
1. Record the room’s length, width and ceiling height
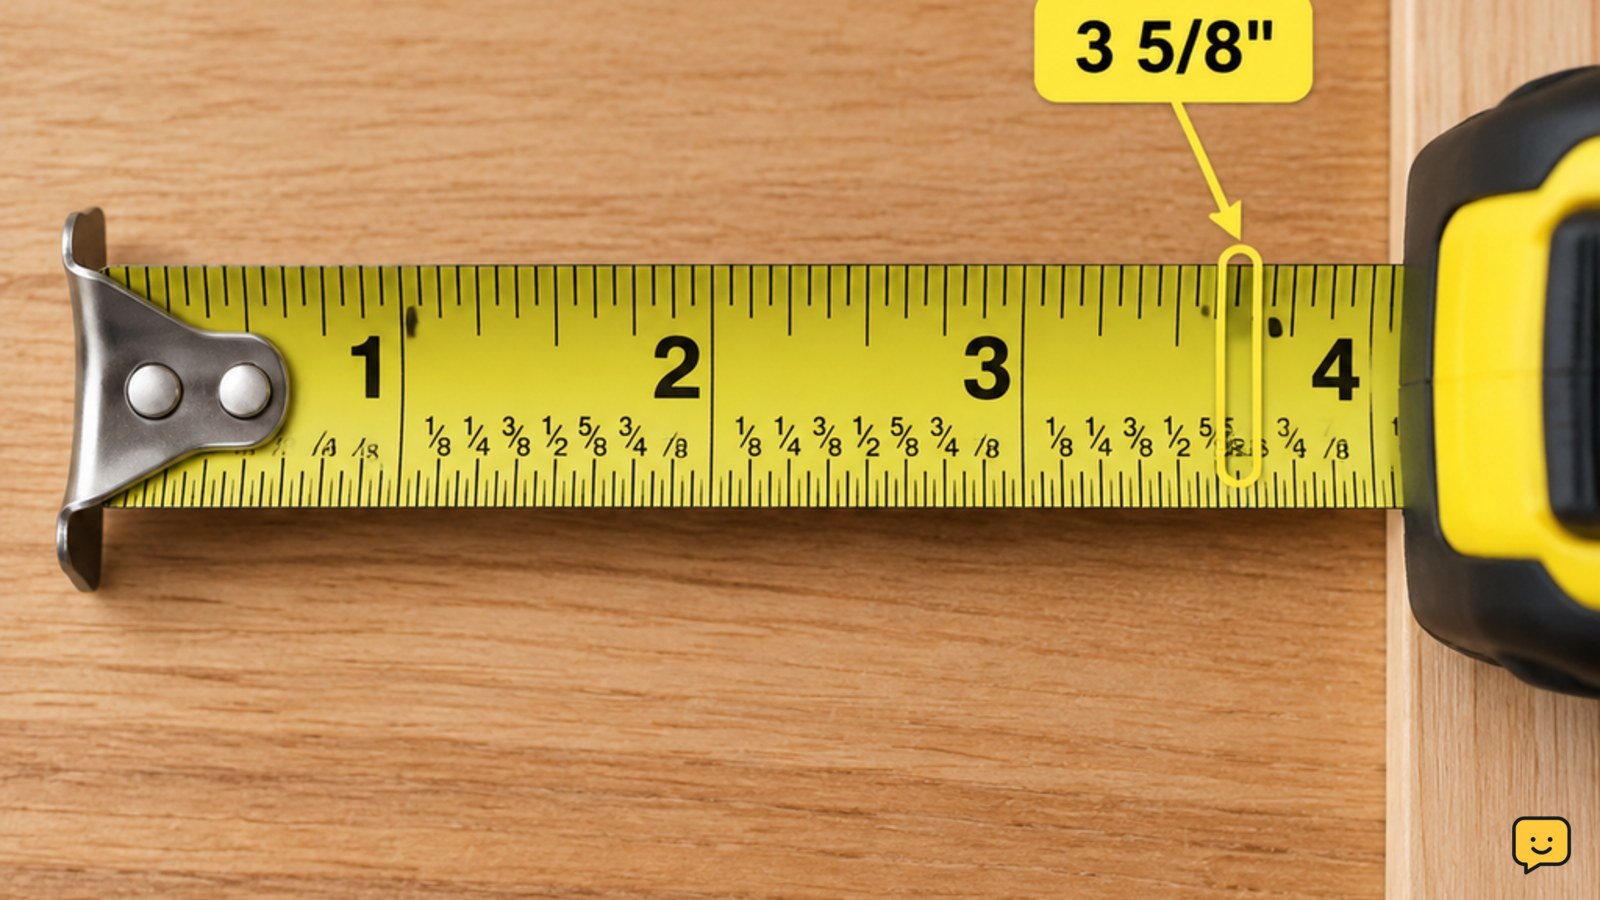
The room’s length, width and ceiling height establish the basic space available for furniture. Measure the main walls from corner to corner, keeping the tape level and tight without bending it around trim. Measure the floor width in more than one place if the walls may not be parallel.
- Measure wall-to-wall length.
- Measure the wall-to-wall width at the opposite end.
- Measure ceiling height from the finished floor to the lowest fixed point.
- Note alcoves, angled walls, boxed-in pipes, columns and changes in floor level.
Write down the smallest usable measurement when a wall, ceiling or passage varies. A larger number can make an item appear to fit when the tightest point is the real limit.
2. Map doors, windows and fixed obstacles
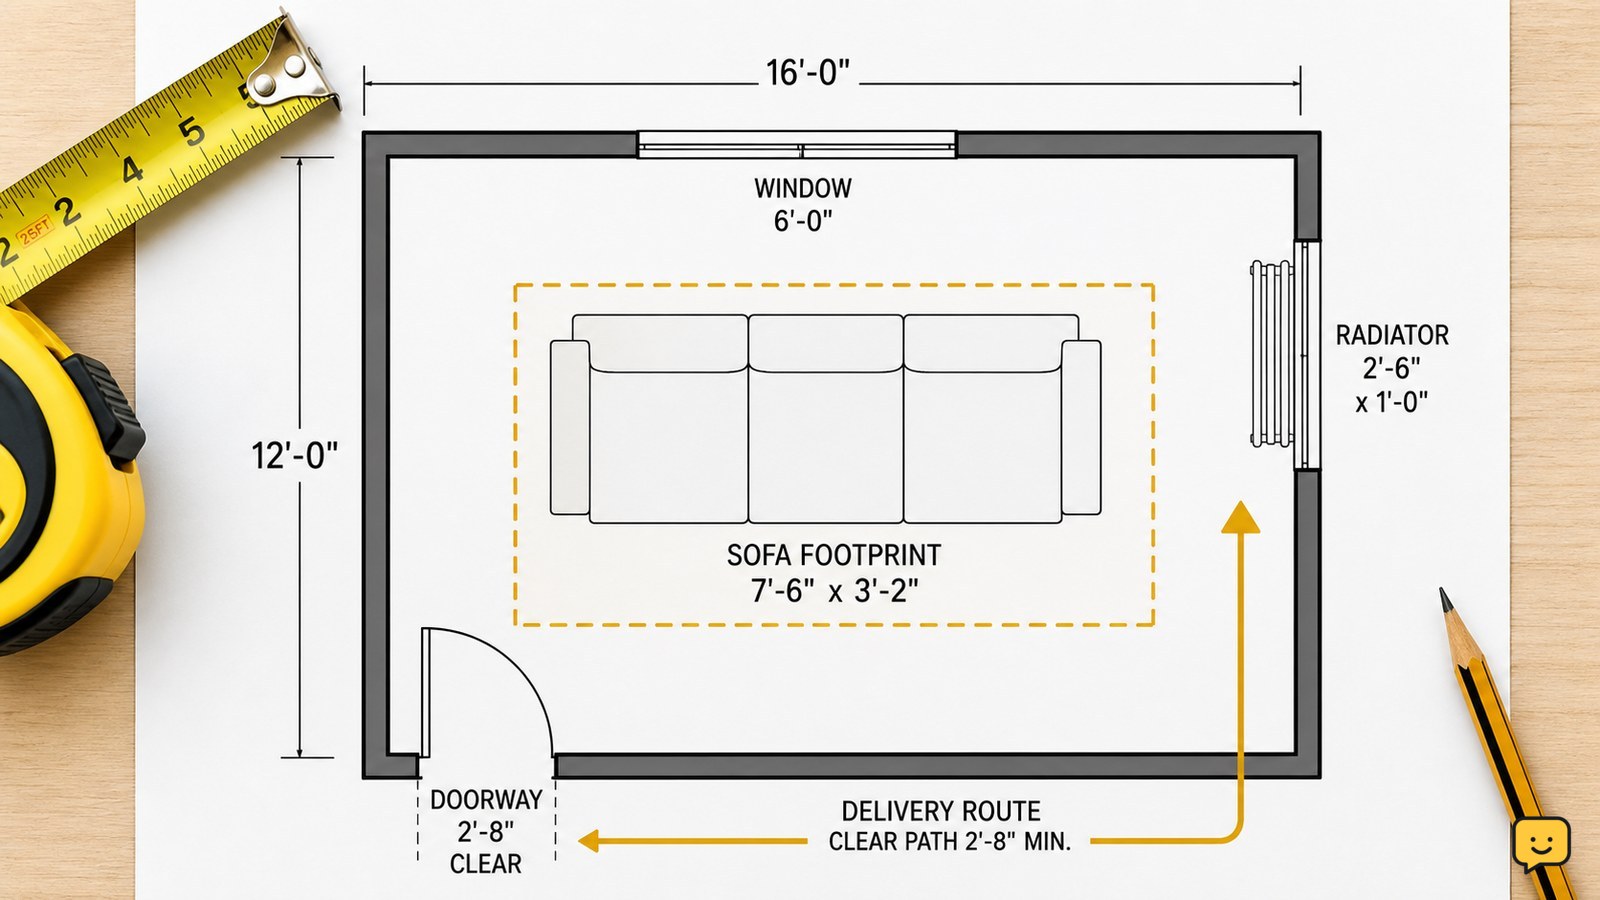
Doors, windows and fixed obstacles determine where furniture can stand and whether it can be used after placement. Measure each opening’s width and height, then note the direction a door swings and how far windows, blinds or handles project into the room.
- Measure doorways with the door open, including the narrowest point between the frame, hinges and trim.
- Record windowsills, radiators, vents, outlets and built-in units.
- Measure the distance from each feature to the nearest corner.
- Mark the height and depth of anything that prevents furniture from sitting flush against a wall.
Cedora’s room-measuring guidance also identifies doors, windows, vents, radiators and other fixed features as measurements to record. Keep these notes with the room dimensions rather than relying on memory.
3. Measure the complete delivery route
The delivery route must fit the furniture before the room itself matters. Measure from the property entrance to the final room, checking every doorway, hallway, stair, lift, landing and turn.
- Measure the narrowest entrance and interior doorway.
- Check hallway width and ceiling height, especially beneath stairs.
- Measure landing depth and the space available to rotate the item.
- Record tight corners, banisters, low ceilings and fixed light fittings.
- Compare these measurements with the furniture’s packaged dimensions, not only its assembled size.
Home Depot’s measuring guidance begins with extending the tape across the room, while furniture-planning guidance commonly treats the route as a separate check. If a route measurement is close, confirm the retailer’s handling and packaging requirements before purchase.
4. Compare furniture dimensions and required clearance
Furniture fits only when its full width, depth and height work with the room’s fixed features and the way you intend to use it. Check the manufacturer’s listed dimensions for the assembled item, including legs, arms, handles, doors and fully extended parts.
For a sofa, compare its width and depth with the usable wall or open area. For a bed, cabinet or table, include the space needed to walk around it, open doors, pull drawers or move chairs. Do not treat the room’s total floor area as usable floor area if a radiator, doorway or walkway occupies part of it.
Use a simple plan: draw the walls, openings and obstacles, then add the furniture footprint at the same scale. If the item has a reclining back, extending footrest or lift-up lid, show the largest operating position rather than the closed position.
5. Mark the furniture footprint and verify clearances
Painter’s tape on the floor provides a quick physical check of the furniture’s footprint. Mark the exact length and depth, then place temporary tape for doors, drawers, pulled-out chairs or reclining sections.
- Measure from the wall or reference corner to each edge of the taped footprint.
- Walk through the remaining paths with the tape in place.
- Open nearby doors and windows and test drawers, cabinet doors and chairs.
- Check that vents, radiators, outlets and switches remain accessible.
- View the layout from the room entrance and from the main seating or working position.
Success means the taped outline stays inside the usable area, the delivery route remains possible, and every required opening or walkway works without moving the proposed furniture. If the tape exposes a conflict, reduce the item size, change its orientation or choose another location before ordering.
What to do when measurements do not agree
Conflicting measurements usually indicate a sloping wall, irregular corner, trim projection or a tape that was not held straight. Measure the same span again from floor level, midway up the wall and near the ceiling, then record the narrowest usable result.
For an irregular room, divide the floor into rectangles and draw each section separately. Do not add the areas and assume one large rectangle will fit; furniture needs a continuous footprint and a workable route. If the room is furnished, measure around the items that will remain rather than measuring only the empty wall length.
If you cannot establish the narrowest point or the furniture requires lifting, dismantling or anchoring, stop the purchase decision and ask the retailer or a qualified professional for a route and installation check.
Frequently asked questions
Should I measure furniture before or after measuring the room?
Measure the room and delivery route first, then compare them with the furniture dimensions. This reveals the limits you need to shop within. After choosing an item, recheck its assembled size, packaged size and any moving parts such as recliners, drawers or extendable leaves.
How do I measure a doorway for furniture?
Measure the narrowest clear width with the door fully open, including the frame, hinges and trim that reduce the opening. Also measure the opening height and the space immediately outside it, because a large item may need to turn rather than pass straight through.
How do I measure an irregular-shaped room?
Measure each wall, corner and change in depth, then draw the room as connected rectangles or a scaled sketch. Record the position of doors, windows and fixed obstacles from the nearest corner. Use the smallest clear dimensions when comparing furniture and avoid assuming the room is a perfect rectangle.
How much space should I leave around furniture?
Leave enough room for the specific action the furniture requires: walking, opening a door or drawer, pulling out a chair, operating a window or reclining. Because clearance depends on the item and layout, mark those operating positions with tape and verify that the route remains usable before buying.
For more help with this topic, use the Home Maintenance guides.