In Mortal Shell II, Hardening temporarily protects your Shell from most incoming attacks, letting you withstand a hit instead of dodging. It does not stop attacks marked by a red flash or enemy grabs. Activate it as an attack is about to land, then punish the enemy or retreat while the Harden bar recovers.
For more help with this topic, use the Mortal Shell II guides.
Check what Hardening blocks
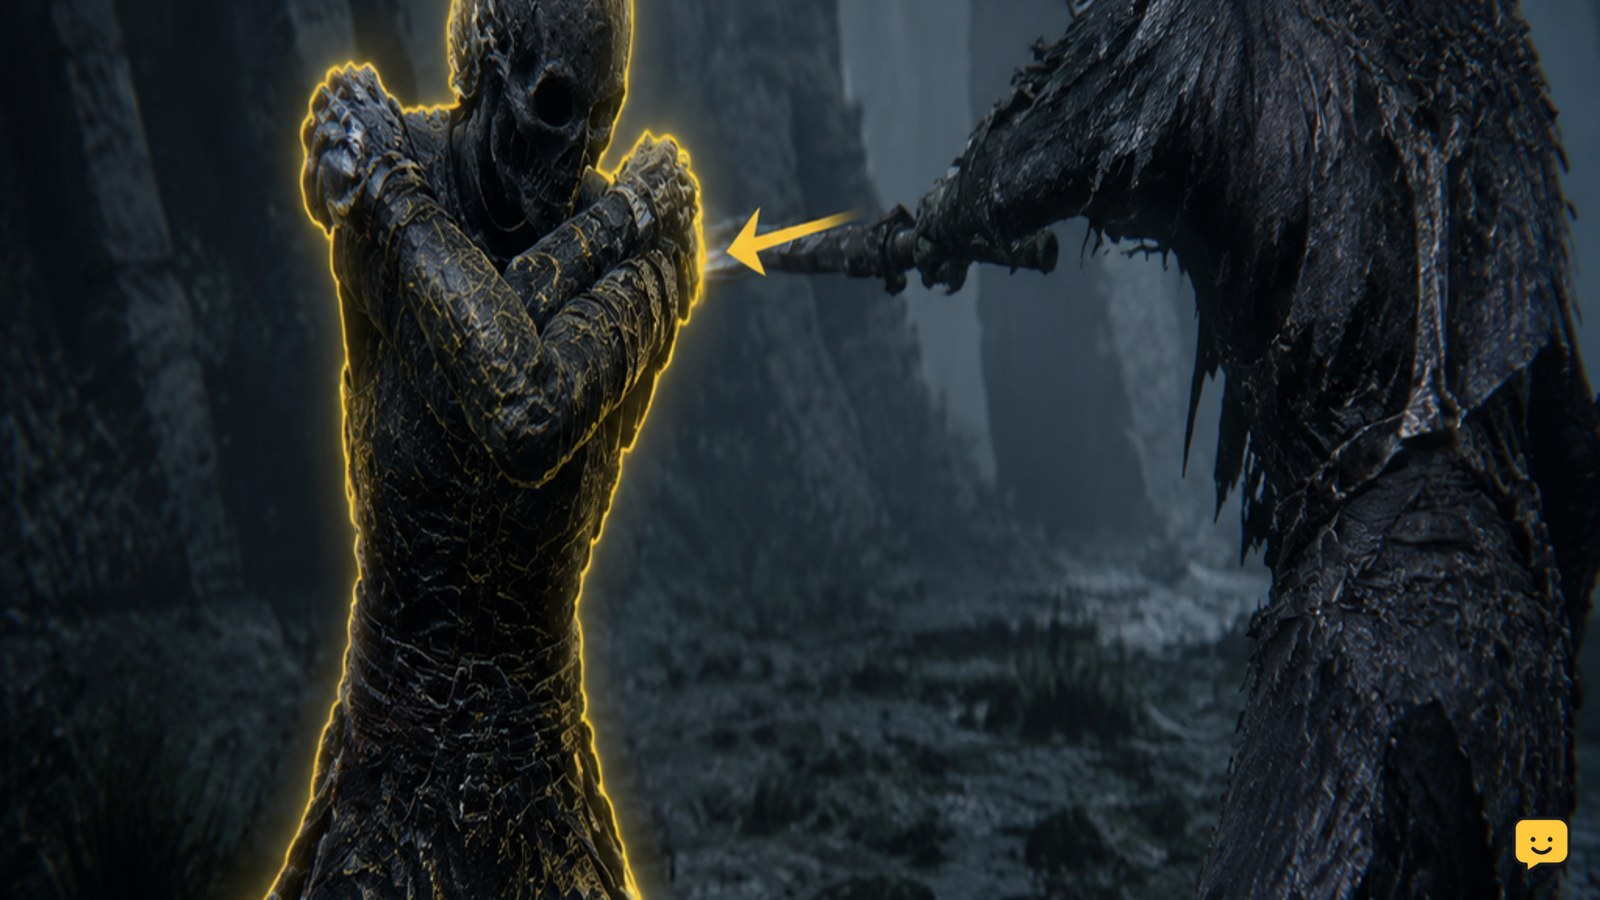
Mortal Shell II Hardening protects your Shell against most standard enemy attacks for a short period. Your character becomes stone-like and can absorb an otherwise damaging hit, allowing you to hold your ground instead of immediately dodging.
Hardening is not universal protection. Rock Paper Shotgun identifies red-flash attacks as unblockable and separately warns that grabs bypass Harden. Treat the red flash as a decision point: do not wait for Harden to save you from that attack.
The mechanic is defensive, but it also supports aggression. If a normal strike is about to connect, Harden can let you finish an attack or recover from an animation without taking the hit. That benefit disappears when the incoming move is a grab or red-flash attack.
Activate Harden just before a normal hit
Mortal Shell II Harden works best when activated shortly before a normal attack reaches your Shell, not immediately after the hit connects.
- Watch the enemy’s attack animation and identify the point where the strike is about to land.
- Press the current Harden input shown by your game or platform controls.
- Confirm the Shell enters its hardened stone state before contact.
- Use the opening to complete your attack, reposition, or prepare another defensive action.
A successful activation should prevent the normal attack from dealing its expected damage. If you activate too early, the defensive window may expire before contact. If you activate too late, the hit may already have connected.
Gameplay guides from Rock Paper Shotgun and GameRant also describe a more precise Perfect Harden timing. Treat that as an advanced timing goal after you can reliably trigger ordinary Harden against predictable attacks.
For attacks you want to deflect instead, review the current Mortal Shell II parry timing guide here: Mortal Shell II parry timing
Watch the Harden bar recover
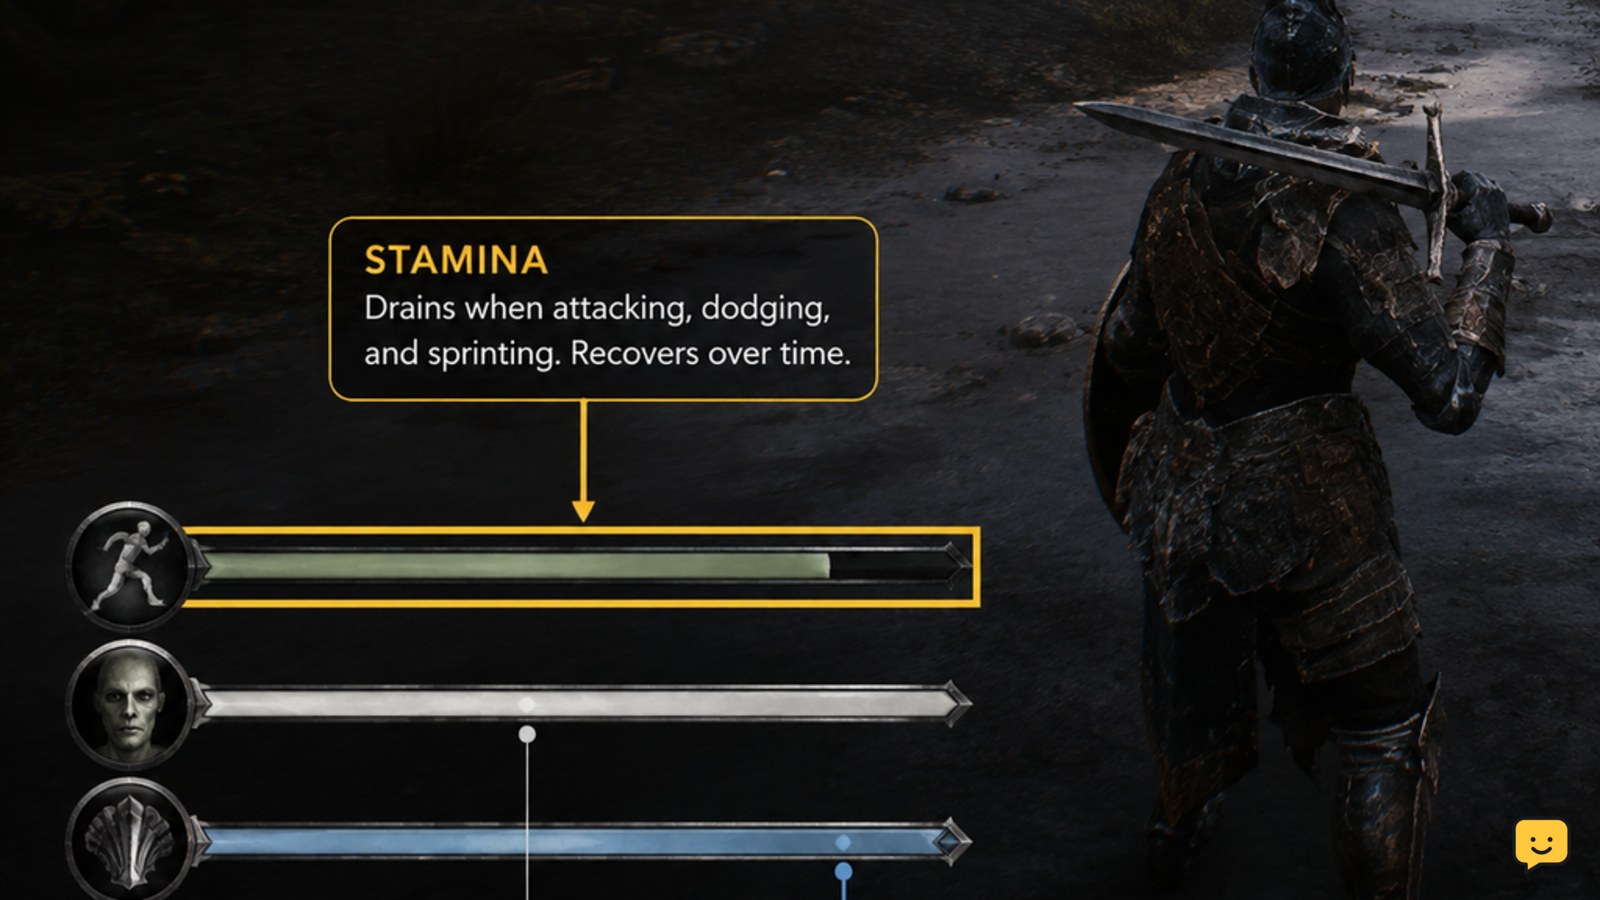
Mortal Shell II consumes the Harden resource when you activate the ability, and the bar then refills gradually rather than staying available continuously. GameRant describes the bar as emptying on use and slowly filling again on its own.
Check the bar before starting a risky exchange. If it is empty or still recovering, plan to dodge, move away, or wait for a safer attack pattern instead of assuming Harden will activate.
The resource creates a simple combat rhythm: spend Harden to absorb a high-value normal strike, take your counterattack or escape, then avoid forcing another trade until the bar has recovered enough for the next defensive window.
Verify a successful Harden
A successful Mortal Shell II Harden is confirmed by the hardened visual state and by the normal incoming attack failing to deal its expected damage.
- Test the ability against a slow, clearly telegraphed normal attack.
- Activate Harden before the hit reaches you.
- Check that the Shell visibly hardens at the moment of contact.
- Compare your health afterward; a normal strike should not produce its usual damage result.
- Check the Harden bar and confirm that it was spent and has begun recovering.
Do not use a red-flash attack as your first test. If the enemy’s move is unblockable or a grab, a failed result does not prove that the input is wrong; it may simply be an attack that Harden cannot stop.
What to do if Harden does not work
If Mortal Shell II Harden appears not to work, first separate an input problem from an attack that bypasses the mechanic.
| What you see | Likely cause | Safest next action |
|---|---|---|
| Red flash before impact | The move is unblockable | Dodge or leave the attack’s range. |
| Enemy reaches for your Shell | The move is a grab | Create distance and do not trade into the grab. |
| No hardened state appears | The bar may be recovering or the input may be incorrect | Check the resource and current controls prompt. |
| Harden starts, but the hit still lands | The activation was too early or too late | Practice against a slower normal attack and press nearer to contact. |
If the control prompt and the available Harden bar both look correct but the ability never activates, stop testing it in a live encounter. Recheck the current control layout in a safe area or restart the encounter before continuing.
Against tougher encounters, learn to read elite enemy attacks before choosing Harden or a dodge: read elite enemy attacks
Frequently asked questions
Does Hardening block every attack in Mortal Shell II?
No. Harden blocks most ordinary incoming attacks, but red-flash unblockable attacks and enemy grabs bypass it. Read the attack indicator before committing to the ability.
Can you attack while Hardened in Mortal Shell II?
Yes. Harden is especially useful when a normal attack is about to interrupt your attack or recovery animation. Absorb the hit, finish the exchange if safe, and retreat before another enemy can punish you.
Why is Hardening unavailable after I use it?
Using Harden empties its resource bar, which then refills gradually. Wait for recovery, avoid relying on the ability while the bar is empty, and use movement or dodging during the gap.
What is a Perfect Harden?
A Perfect Harden is the more precise version of the timing, performed very close to an incoming attack’s impact. Gameplay guides describe it as an advanced timing technique, so practice first against a slow, predictable normal attack.
What should I do against a red-flash attack?
Do not Harden it. A red flash signals an unblockable attack, so dodge or move outside its range. The same caution applies when the enemy begins a grab animation.