Use a bread maker’s gluten-free cycle with gluten-free all-purpose flour, warm milk or water, eggs, oil, vinegar, sugar, salt, and instant yeast. Add ingredients in the order your manual specifies, scrape the pan during the first mix, and expect a thick batter rather than elastic dough. Cool the baked loaf completely before slicing so the crumb can set.
For more help with this topic, use the Cooking Basics guides.
Use This Gluten-Free Bread Maker Formula
This gluten-free bread maker recipe makes one medium sandwich loaf with a soft, sliceable crumb. The formula is designed for a bread maker pan that holds about 1.5 to 2 pounds, but the machine manual takes priority for cycle, loaf size, and ingredient order.
Ingredients
- 1 1/2 cups lukewarm milk or water
- 2 large eggs
- 2 tablespoons neutral oil or olive oil
- 1 tablespoon apple cider vinegar
- 2 tablespoons sugar
- 3 cups gluten-free all-purpose flour, preferably a blend containing xanthan gum
- 1 1/2 teaspoons salt
- 2 1/4 teaspoons instant yeast
For a dairy-free loaf, use water or unsweetened dairy-free milk and confirm that the flour and yeast are dairy-free. Gluten-free bread-machine recipes commonly use an all-purpose gluten-free blend, and both Mama Knows Gluten Free and Allrecipes identify this type of flour as a practical base.
Load the Pan in the Manual’s Order
The bread maker pan should receive the liquid, eggs, oil, vinegar, sugar, gluten-free flour, salt, and yeast in the order specified by the machine manufacturer. Many machines place liquids first and yeast last, but models differ, so use the printed manual when its order conflicts with this list.
- Fit the kneading paddle and check that it turns freely.
- Add the milk or water, eggs, oil, vinegar, and sugar.
- Add the gluten-free flour and salt, keeping the salt away from the yeast until mixing begins.
- Make a shallow well in the flour and add the yeast if your manual uses a separated yeast placement.
- Close the lid and select the gluten-free cycle. Choose a medium crust if the machine offers crust settings.
Do not use a standard wheat-bread cycle unless your manual specifically recommends it for gluten-free dough. Gluten-free mixtures usually need a different mixing and rising pattern because they do not develop a wheat-gluten network.
Check the Batter During the First Mix
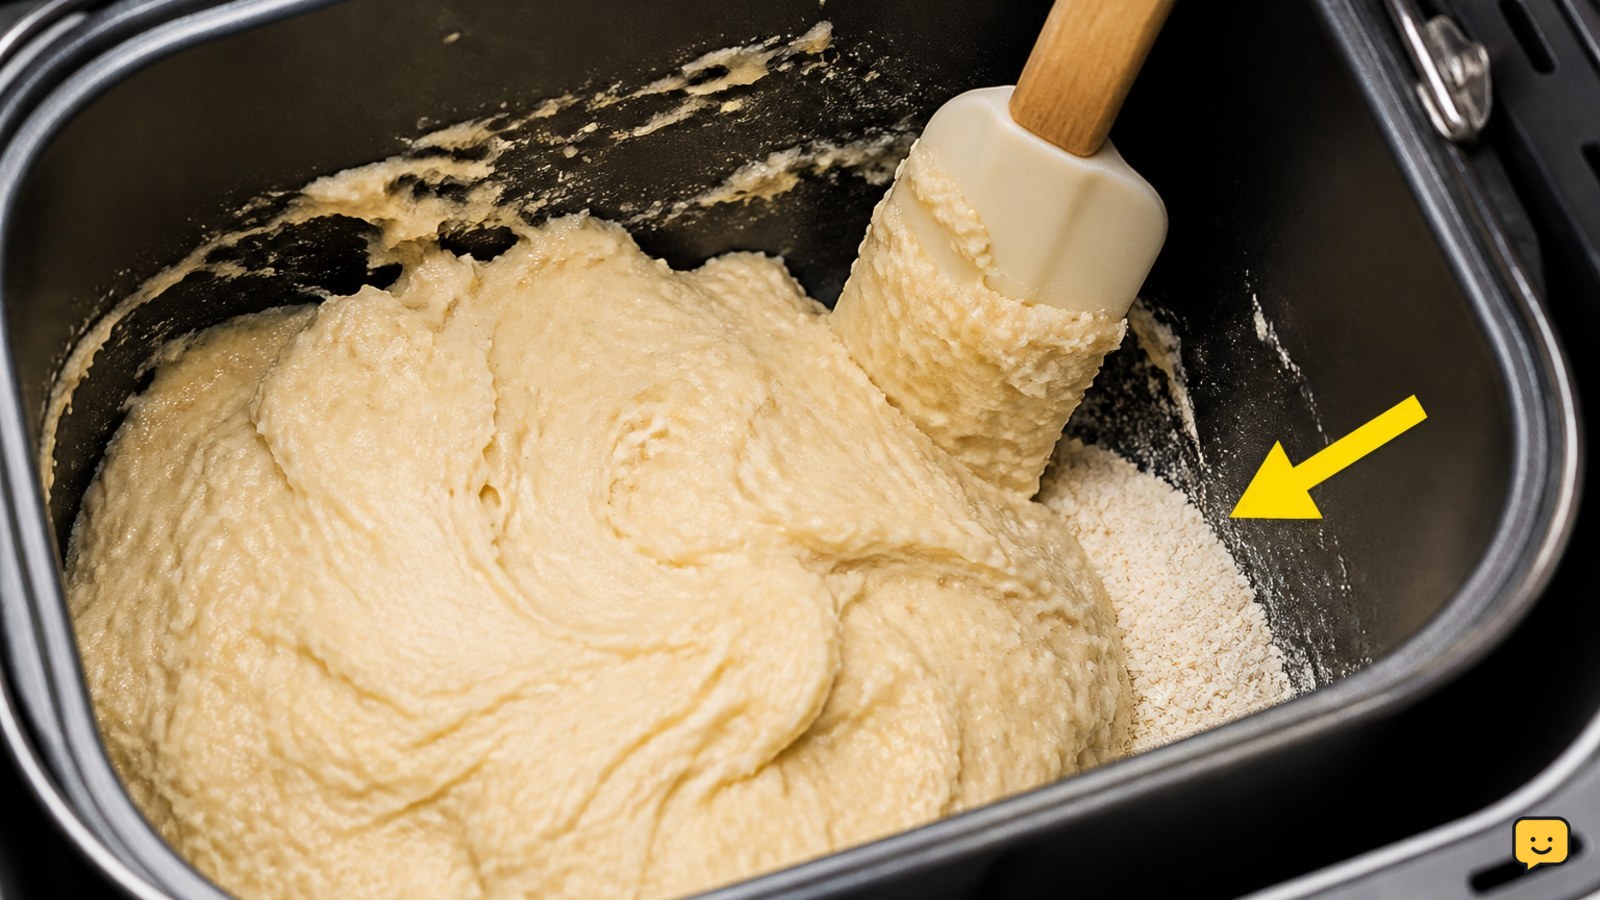
After about 5 minutes of mixing, gluten-free bread batter should look thick, smooth, and sticky, similar to muffin batter; it should not form a springy dough ball.
- Pause only if your manual allows opening the lid during mixing.
- Use a silicone spatula to scrape flour from the pan corners and the area beneath the paddle.
- Check that no dry pockets remain and that the paddle is moving through the full mixture.
- Close the lid and let the selected cycle continue.
A small amount of batter clinging to the paddle is normal. If the mixture is loose and glossy like cake batter, wait several minutes before adjusting it because gluten-free flour absorbs liquid gradually. If it remains watery, add flour 1 tablespoon at a time. If it is crumbly or leaves dry flour, add water or milk 1 teaspoon at a time.
Verify Rise, Bake, and Internal Doneness
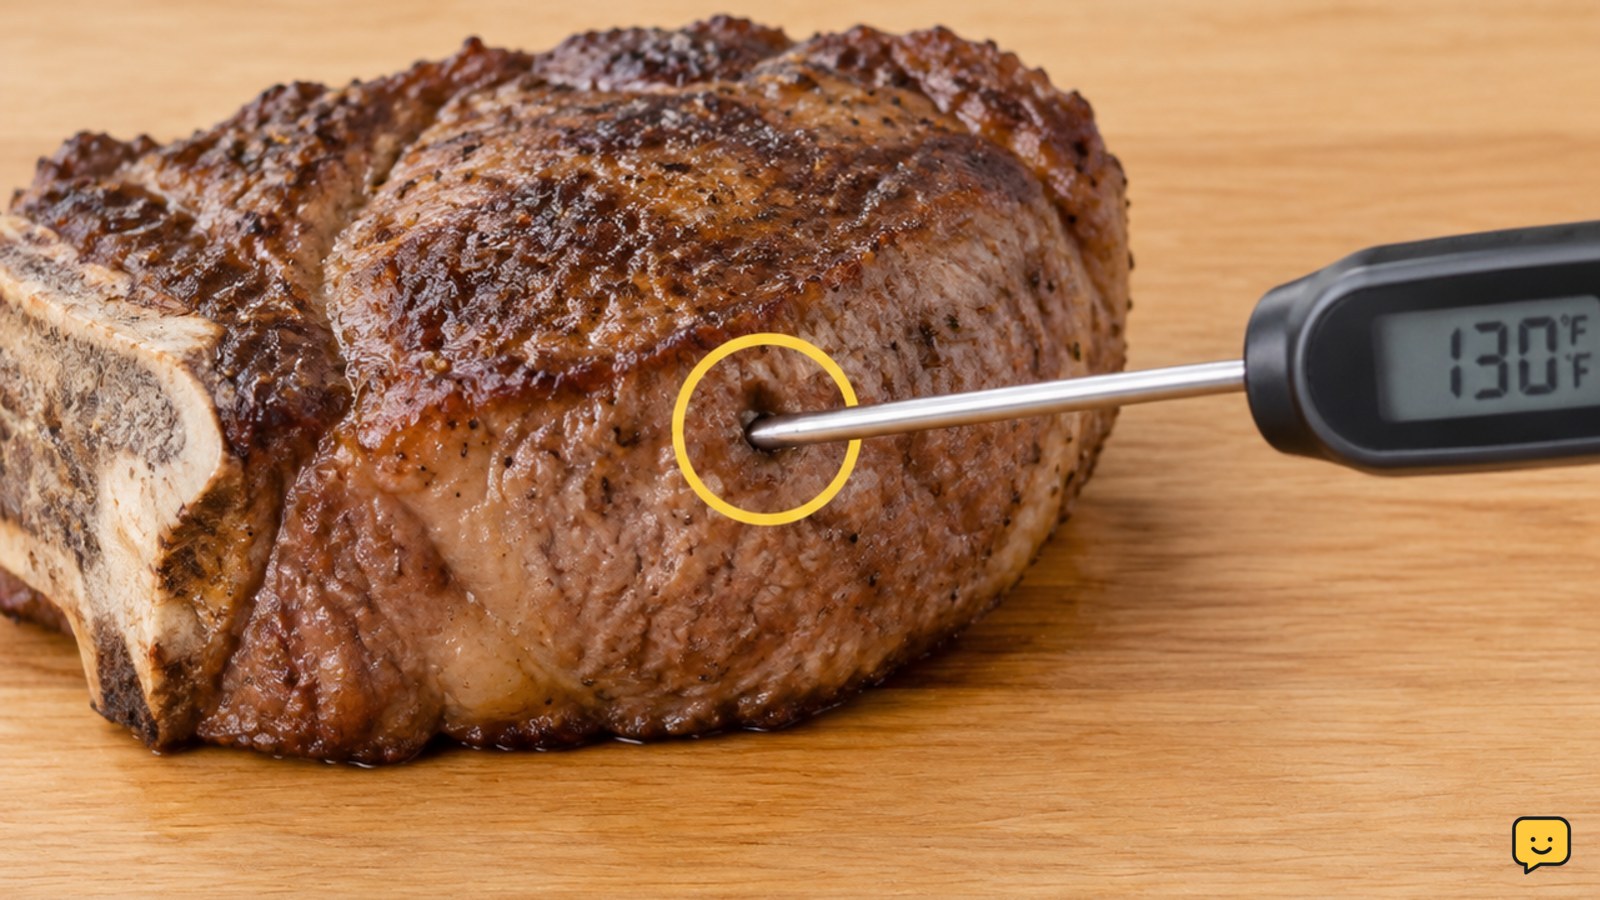
The loaf is ready when the gluten-free cycle has finished, the top is firm, and the center reaches about 200 to 205°F (93 to 96°C) when checked with an instant-read thermometer.
- Keep the lid closed through the final rise and bake.
- When the cycle ends, remove the pan using oven mitts.
- Turn the loaf onto a rack and remove the paddle carefully if it remains inside.
- Let the loaf cool completely, preferably for at least 1 hour, before slicing.
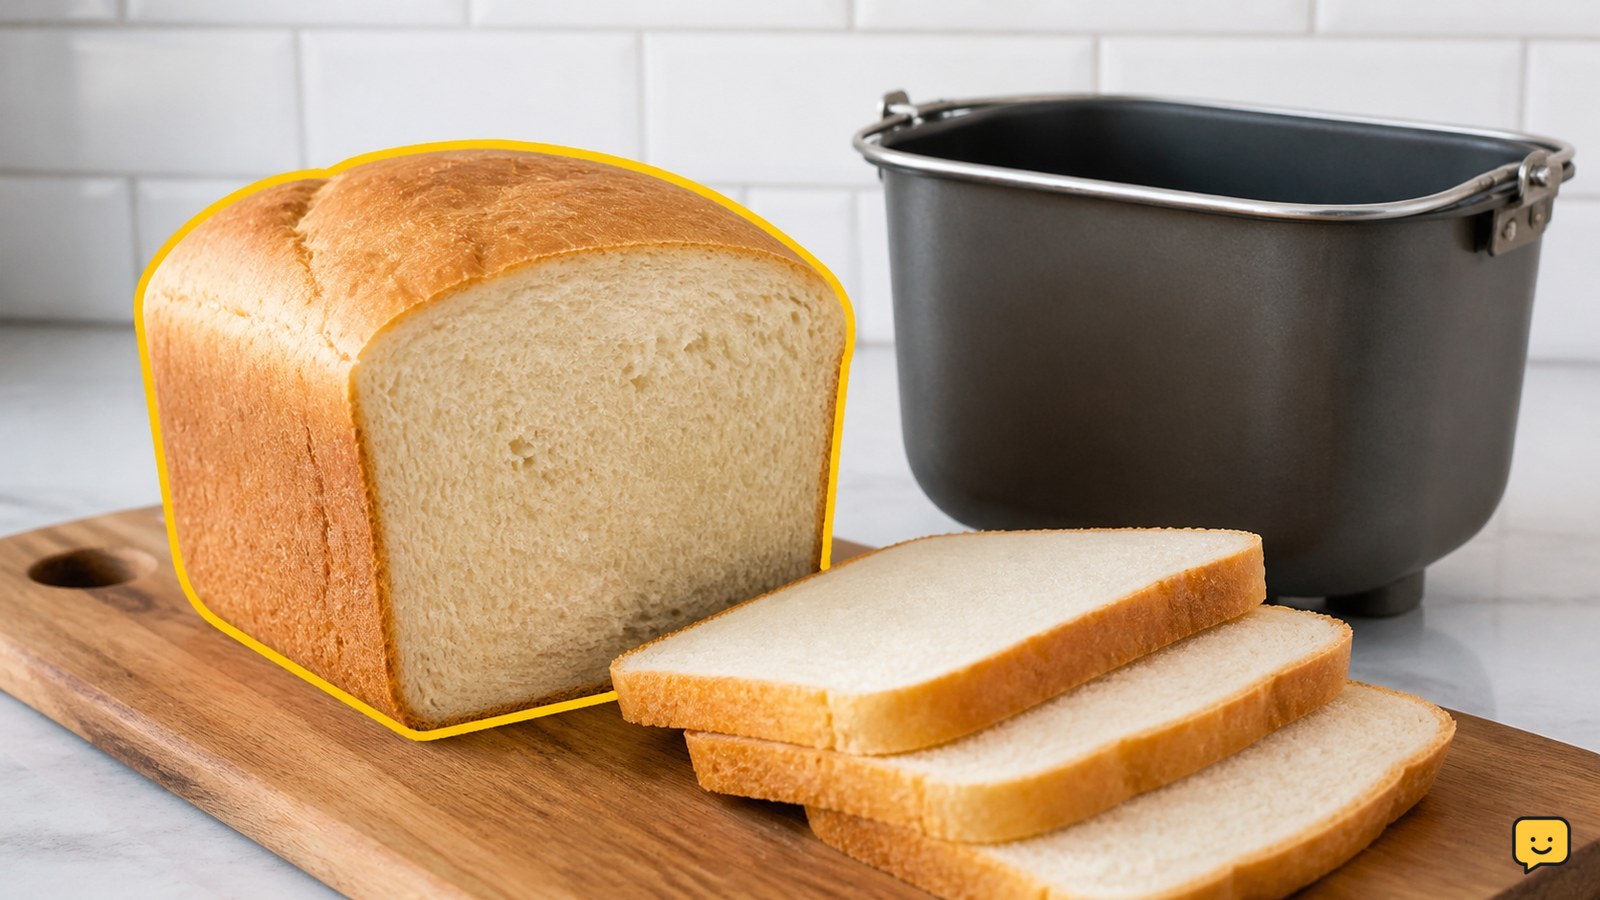
The finished loaf should have a set center, a browned top, and slices that hold together without a wet streak. A slightly domed or gently rounded top is acceptable. If the center is wet, return the loaf to the pan only if your machine manual provides a bake-only cycle; otherwise, finish it in a conventional oven at 350°F (175°C) until the center reaches the target temperature.
Fix a Sunken, Dense, or Crumbly Loaf
A sunken gluten-free loaf usually points to excess liquid, too much yeast, or over-rising, while a dense or crumbly loaf more often indicates insufficient liquid, weak yeast, or a flour blend that absorbs more moisture.
| Result | Likely cause | Next batch adjustment |
|---|---|---|
| Wet center | Underbaking or excessive liquid | Verify the temperature and reduce liquid by 1 tablespoon if the batter was very loose. |
| Deeply collapsed top | Over-rising or too much liquid | Measure carefully and reduce yeast by 1/4 teaspoon if the rise reached the lid. |
| Heavy, tight crumb | Dry batter, weak yeast, or missed corner flour | Add 1 tablespoon liquid and check the yeast’s date and storage. |
| Crumbly slices | Insufficient moisture or slicing while warm | Cool fully before cutting and add 1 tablespoon liquid next time. |
Change one variable per batch. Different gluten-free blends vary in starches and absorbency, so a small liquid adjustment is safer than replacing several ingredients at once.
Store the Cooled Loaf for Better Slices
A completely cooled gluten-free loaf slices more cleanly and keeps its structure better than a warm loaf. Use a serrated knife and wipe the blade between cuts if the crumb is soft.
- Cool the loaf uncovered on a rack until no warmth remains in the center.
- Slice only what you need if you plan to freeze the rest.
- Wrap slices tightly or place them in an airtight freezer container with parchment between pieces.
- Thaw individual slices at room temperature or warm them briefly before serving.
If the loaf becomes sticky, develops mold, or has an unusual odor, discard it rather than trying to salvage individual slices.
Frequently asked questions
Can I make this bread maker recipe without eggs?
Yes, but the texture will change. Replace each egg with a suitable commercial egg replacer according to its package directions, then check the batter during mixing. Do not replace eggs with extra liquid in equal volume, because the loaf may collapse or remain wet in the center.
Why does gluten-free bread need a gluten-free cycle?
A gluten-free cycle is generally suited to a thick batter that needs mixing, one rise, and baking. Gluten-free flour does not form the elastic wheat-gluten structure used by standard bread cycles. If your machine lacks this setting, use another program only when the manual identifies it as suitable for gluten-free bread.
Can I use regular flour in this bread maker recipe?
No. This formula is proportioned for gluten-free all-purpose flour and will not produce the same result with wheat flour. If you need ordinary wheat bread, use the machine’s regular bread recipe and cycle instead. For strict gluten avoidance, prevent cross-contact from the pan, paddle, measuring tools, and work surface.