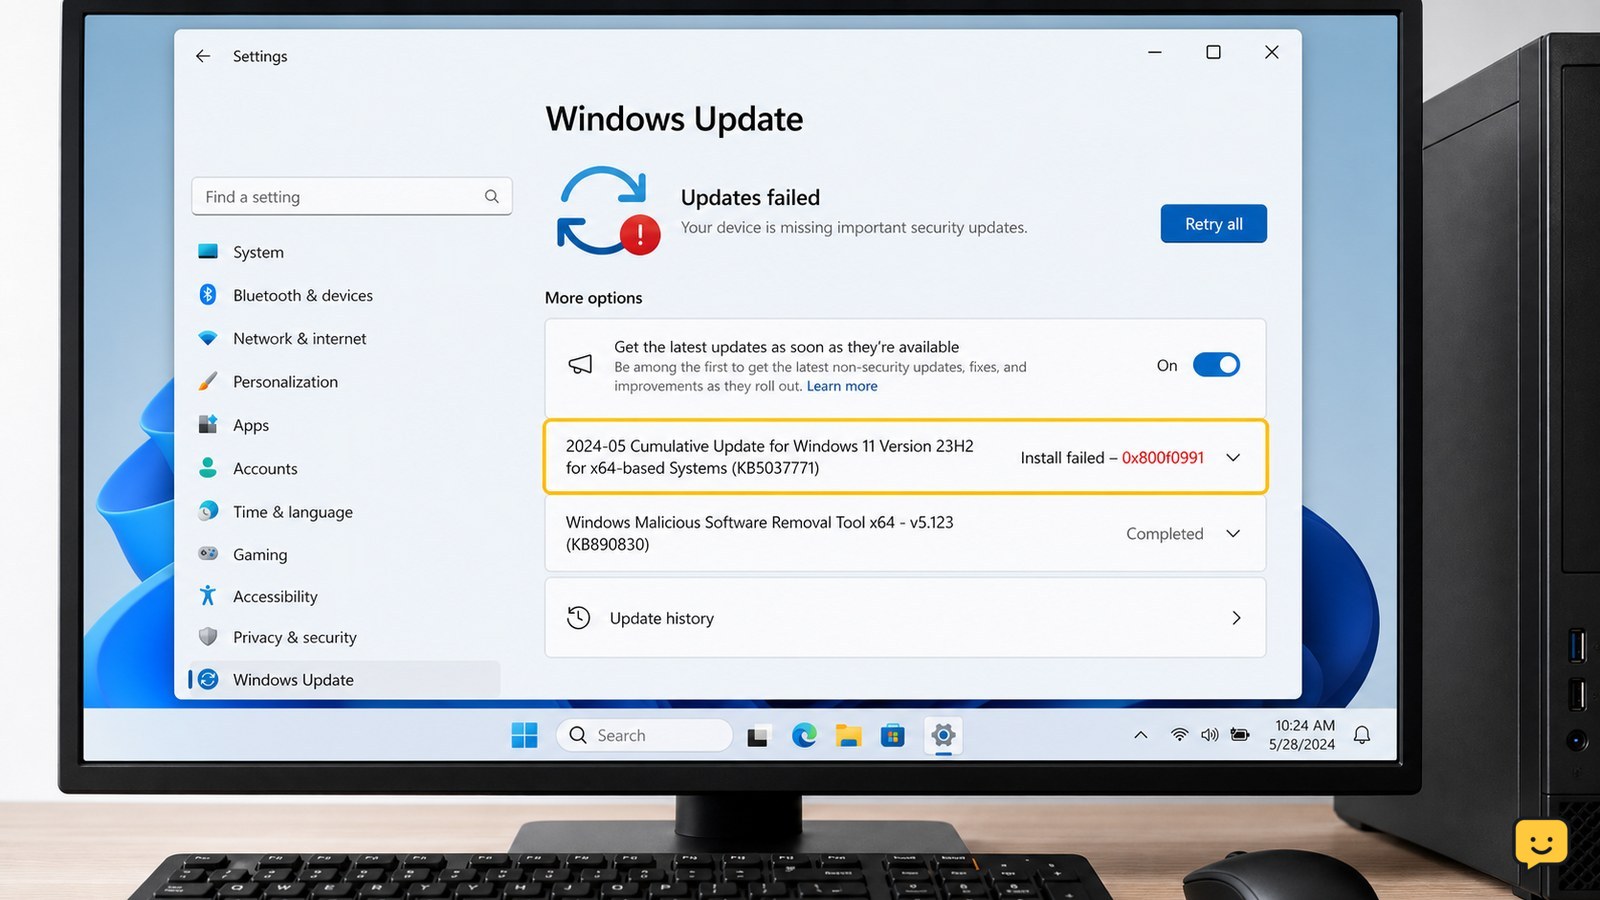
Windows Update error 0x800f0991 is usually resolved by restarting Windows, checking the failed KB number, repairing the Windows component store with DISM and SFC, and retrying the update. If it still fails, reset the Windows Update cache or install that exact KB from the Microsoft Update Catalog. Stop before deleting files if BitLocker recovery or drive errors appear.
For more help with this topic, use the Computers Internet guides.
Check the failed update and basic Windows conditions
Windows Update error 0x800f0991 should first be tied to a specific failed update, because the recovery path depends on whether the failure affects one cumulative update or every update.
- Open Settings > Windows Update > Update history.
- Expand Quality updates and record the failed KB number, such as
KBxxxxxxx. - Restart the PC, then return to Settings > Windows Update and select Check for updates.
- Check Settings > System > Troubleshoot > Other troubleshooters, run Windows Update if it is available, and apply only the recommended repair.
Success means the update changes to Installing, Pending restart, or Successfully installed. If the same KB immediately returns with 0x800f0991, continue with component repair.
For comparison, the related Windows Update error 0x80070306 also uses staged update and repair checks, but its code and likely failure point are different.
If another update code appears after restarting, compare its recovery path with Windows Update error 0x80070306 before changing system files.
Repair Windows components with DISM and SFC
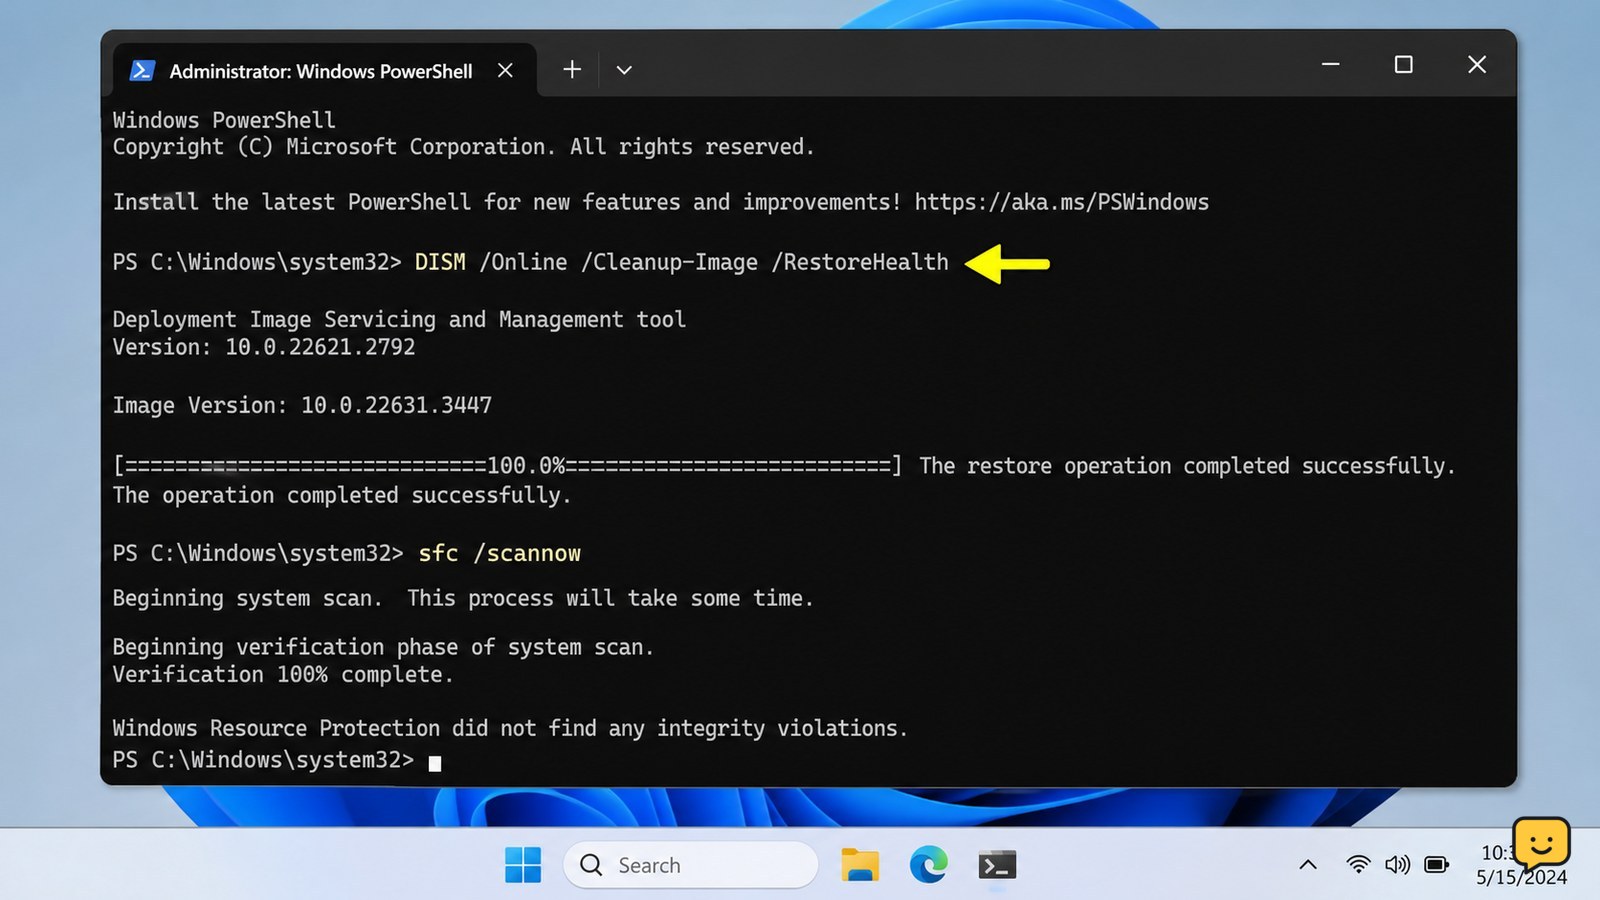
Windows component repair checks whether damaged servicing files are preventing the update from being applied. Microsoft Learn documents DISM as the tool for repairing the Windows image, while SFC checks protected system files afterward.
- Right-click Start and select Terminal (Admin) or Windows PowerShell (Admin).
- Run this command and wait for it to reach 100%:
DISM /Online /Cleanup-Image /RestoreHealth - When DISM finishes, run:
sfc /scannow - Restart Windows, then retry the failed update.
DISM should finish with a repair or no-corruption message, and SFC should report either that it found no integrity violations or that it repaired files. If SFC says it could not perform the requested operation, restart and run it again once. If DISM cannot find source files, stop repeating the command and use matching Windows installation media or Microsoft Support.
Reset the Windows Update download cache
If system files are healthy but the same update still fails, damaged or incomplete cached update data is a reasonable next suspect. This procedure rebuilds the update cache without removing personal documents.
- Open Terminal (Admin).
- Run each command separately:
net stop wuauserv
net stop bits
net stop cryptsvc
net stop msiserver- Open File Explorer and go to
C:\Windows. RenameSoftwareDistributiontoSoftwareDistribution.old. - Go to
C:\Windows\System32and renamecatroot2tocatroot2.old. - Return to Terminal and start the services again:
net start msiserver
net start cryptsvc
net start bits
net start wuauserv- Restart the PC and select Check for updates.
Windows should create fresh replacement folders. If a folder cannot be renamed, one of the services is still active; stop there, restart Windows, and do not force deletion.
Install the exact failed KB manually
Manual installation is useful when Windows Update repeatedly fails on one known KB while the rest of the system works normally.
- Search the Microsoft Update Catalog for the exact KB number recorded in Update history.
- Choose the package matching the PC’s Windows release, processor architecture, language, and package type.
- Download the package, close open programs, and run the downloaded installer.
- Restart when prompted, even if the installer appears to finish without an immediate restart.
Verify the result in Settings > Windows Update > Update history. The KB should appear under the appropriate update category without a failed status. If the catalog offers several versions and you cannot identify the correct one, do not guess; return to Windows Update or use Microsoft Support.
Use recovery options when 0x800f0991 keeps returning
Persistent 0x800f0991 after component repair, cache reset, and a matching manual package points to a deeper servicing or installation problem rather than a normal download failure.
- Check Settings > System > Recovery for Fix problems using Windows Update or a repair reinstall, if that option is offered by the installed Windows version.
- Before using reset or reinstall options, back up documents, browser data, and any files stored only on the PC.
- Review Settings > Windows Update > Update history for whether multiple unrelated KBs are failing.
- If several updates fail, or Windows reports missing source files, contact Microsoft Support or the PC manufacturer with the KB number, Windows edition, and the exact DISM and SFC result.
Do not continue with repeated resets if Windows cannot boot normally, BitLocker recovery appears unexpectedly, or storage diagnostics report errors. Protect the data first and use a qualified repair path.
Frequently asked questions
What does Windows install error 0x800f0991 mean?
It means Windows could not complete an update installation. The code alone does not identify one faulty part, so check Update history for the failed KB, then repair Windows components and rebuild update cache data if needed.
Can I fix 0x800f0991 without losing personal files?
Usually, yes. Restarting, running DISM and SFC, rebuilding the Windows Update cache, and installing a matching KB package do not normally remove personal files. Back up important data before any repair reinstall, reset, or recovery operation.
Why does the same KB fail again after a restart?
A repeated failure often means the problem is not a temporary restart issue. The update cache may be incomplete, or Windows servicing files may need repair. Run DISM followed by SFC, retry once, and then use the exact KB in the Microsoft Update Catalog.
Should I delete the SoftwareDistribution folder for 0x800f0991?
Do not delete it while update services are running. Stop the listed services first, rename the folder instead of deleting it, restart Windows, and confirm that a new SoftwareDistribution folder is created. If Windows refuses the rename, stop and restart the PC.
What should I do if DISM says source files cannot be found?
Stop repeating the same command. Use matching Windows installation media as a repair source or contact Microsoft Support. A mismatched image can make servicing problems worse, especially when the Windows release, language, or architecture does not match.