Your car reverse lights may not work because of failed bulbs, a blown fuse, corrosion, damaged wiring, a faulty reverse-light switch, or an automatic transmission range-sensor problem. Check whether one or both lights are out, confirm the correct fuse, inspect the lamp connectors, and test for power only as your vehicle manual allows. Do not work beneath an unsupported vehicle.
Start with the symptom
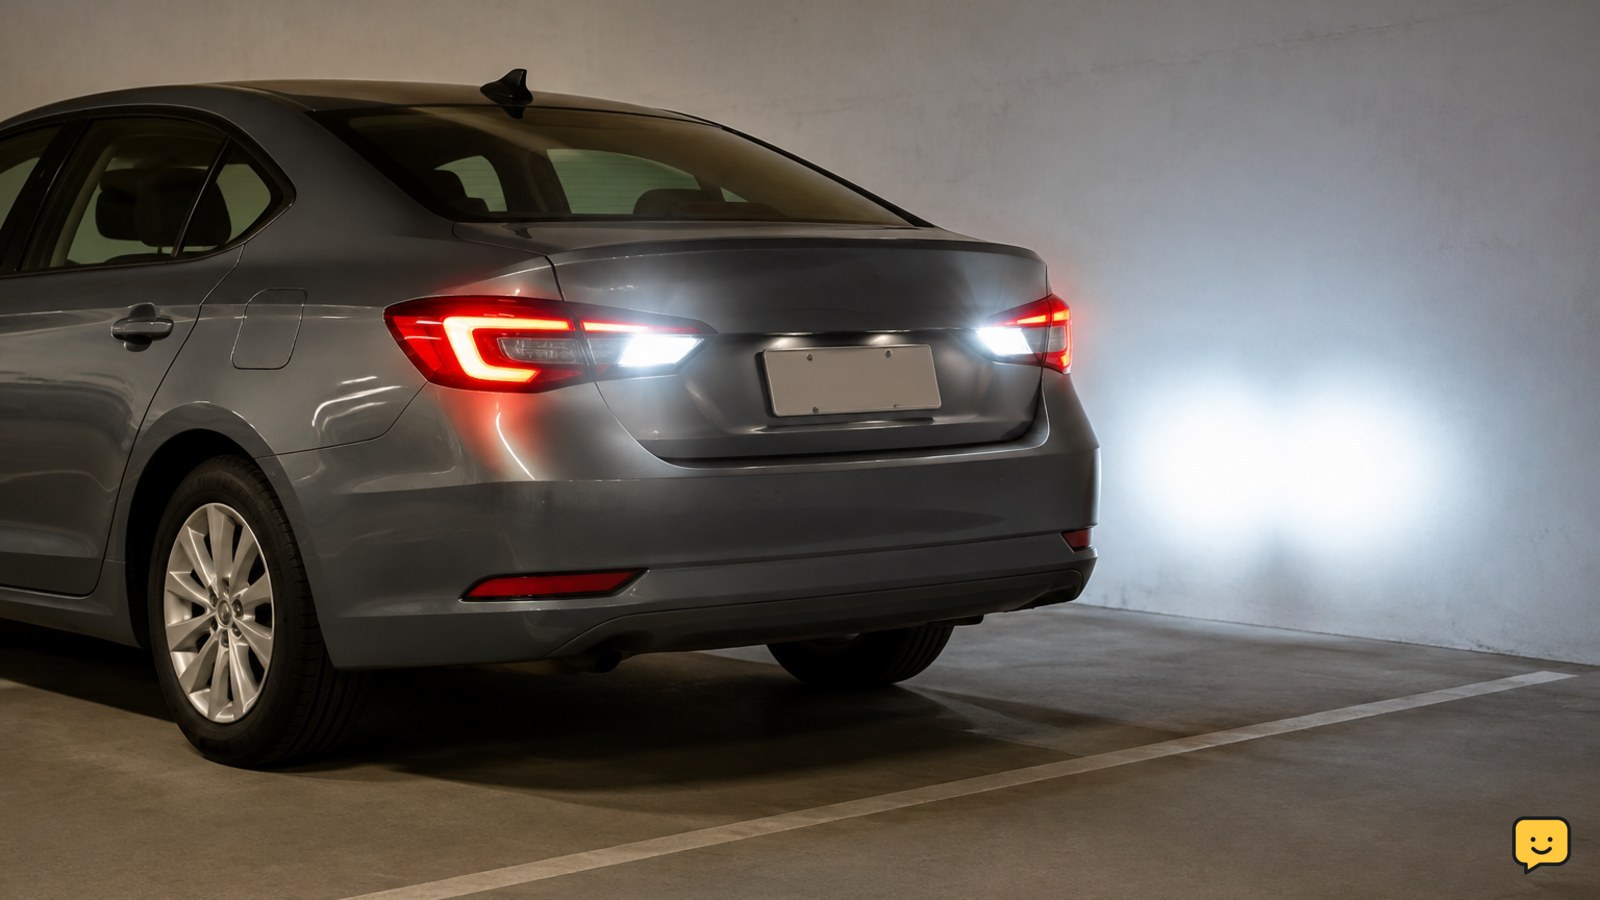
First confirm what has failed. With the vehicle safely stationary, switch on the ignition as required by the manual and select Reverse only when a helper is outside the vehicle and the parking brake is firmly applied. Check whether one light or both lights are dark.
If one reverse light works, a bulb, socket, or local wiring fault is more likely. If both are out, begin with the shared fuse, reverse-light switch, transmission range signal, or common wiring. Also check whether the dashboard shows the correct selected gear and whether the backup camera or parking sensors activate.
Verification: Repeat the check in daylight and in a shaded area, because a bright lamp can be difficult to see in direct sun. Do not continue if the vehicle moves unexpectedly.
Inspect the bulbs and lamp sockets
Remove the lamp access cover or assembly only as described in the owner manual. Inspect each bulb for a broken filament, darkened glass, loose base, or incorrect fitment. LED-equipped vehicles may use a sealed lamp or an LED module rather than a replaceable bulb.
Look at the socket for green or white corrosion, bent contacts, water, looseness, or heat discoloration. Clean only with an electrical-contact product approved for automotive use, and let it dry before reconnecting. Replace a failed bulb with the exact type and rating listed for the vehicle; do not assume two bulbs with a similar shape are interchangeable.
Failure path: If a new correct bulb remains dark while the other lamp works, move to socket-power and ground checks. If both replacement bulbs fail, do not keep fitting bulbs—check the fuse and circuit for a short.
Verification: Refit the lamp securely and test Reverse again. Confirm that the bulb is bright, steady, and not affected by gently moving the connector.
Check the reverse-light fuse
Find the reverse-light or backup-light fuse using the fuse-box diagram in the manual. The circuit may share a fuse with the transmission control, body electronics, or another lighting function, so use the vehicle-specific diagram rather than a generic fuse chart.
With the ignition switched off, remove and inspect the fuse. A broken metal link or visible heat damage indicates failure. Replace it only with the same amperage and fuse type. Never install a larger fuse or bridge the terminals with metal.
Failure path: If the replacement fuse blows immediately or blows again when Reverse is selected, stop. A shorted wire, socket, switch, or control component may be drawing excessive current.
Verification: After installing the correct fuse, test the reverse lights and any other function listed on that fuse. If several unrelated functions remain dead, diagnose the shared power supply rather than replacing more fuses.
Trace power, ground, and wiring safely
If the bulbs and fuse are good, inspect the wiring from the rear lamp toward the body. Pay particular attention to hatchback or trunk hinges, trailer wiring, areas where the harness can rub against metal, and connectors exposed to road spray. Look for cuts, crushed insulation, loose pins, corrosion, or an aftermarket trailer splice.
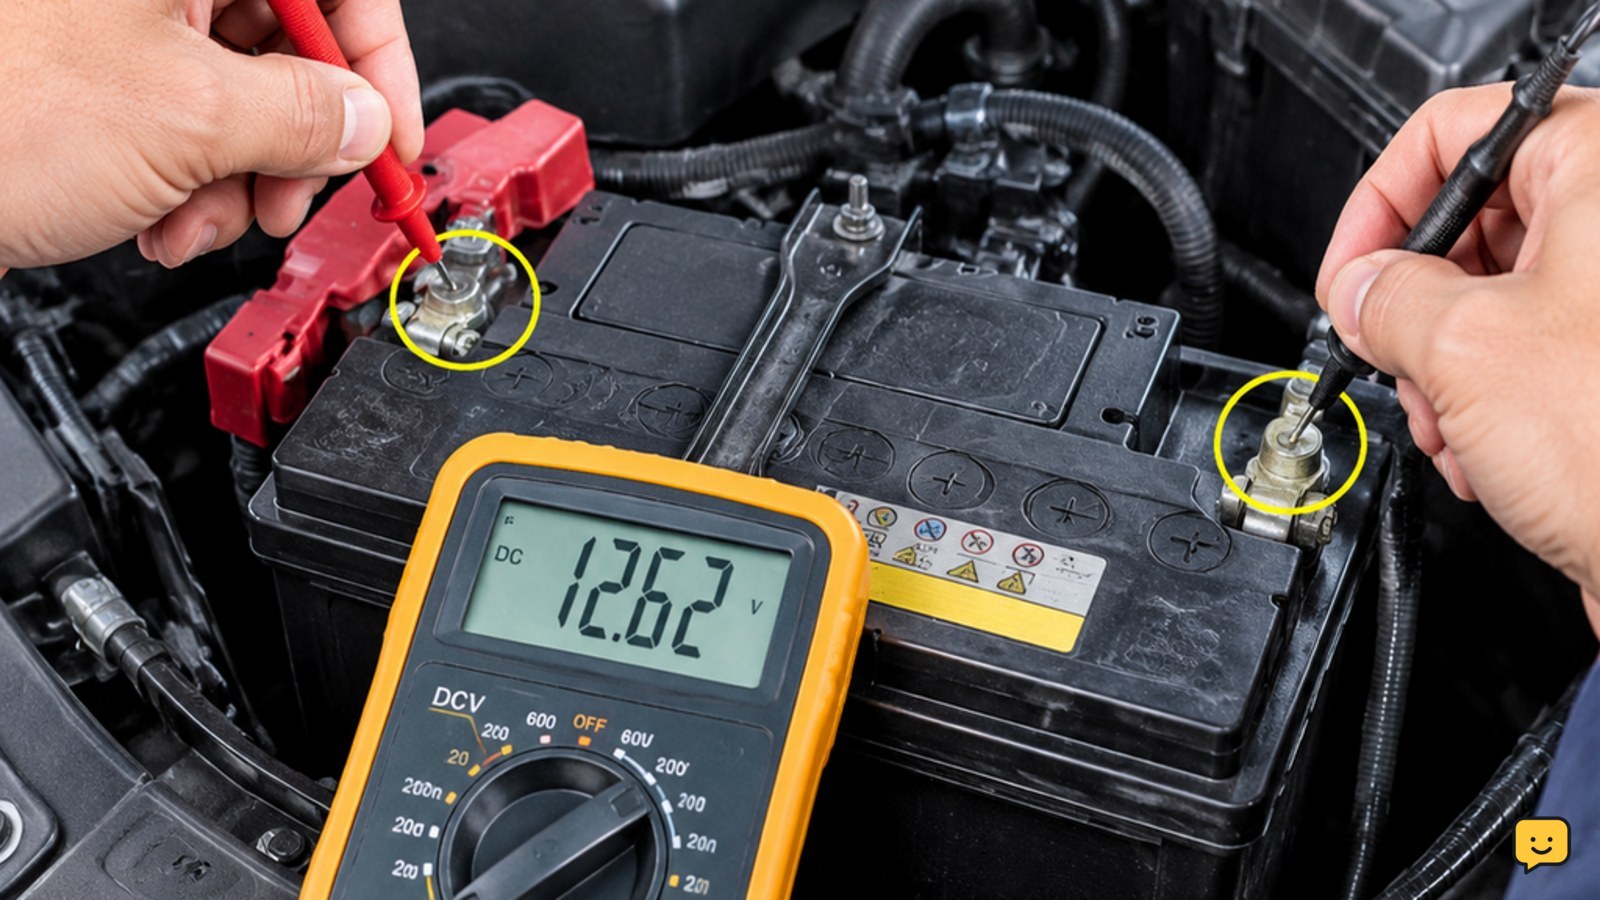
A multimeter or test light can help identify whether voltage reaches the socket when Reverse is selected, but the exact test points and expected readings vary by vehicle. Follow the manual’s circuit diagram. Use the correct meter setting, avoid shorting adjacent terminals, and keep probes clear of belts, fans, hot exhaust parts, and moving linkages.
Check the ground connection if the circuit design uses a separate ground. A loose or corroded ground can make both lamps dim or inoperative. Do not pierce insulation unless the manufacturer’s procedure permits it; back-probe suitable terminals instead.
Failure path: If power reaches the socket but the lamp does not illuminate, suspect the socket, ground, or lamp assembly. If power does not reach the socket, continue toward the switch, range sensor, connector, or control module.
Check the reverse switch or transmission-range signal
Manual-transmission vehicles commonly use a reverse-light switch threaded into the transmission. Automatic vehicles may use a transmission range sensor or a selector-position switch to report Reverse to the vehicle electronics. Their location, access, and testing method are vehicle-specific.
Use the manual to identify the component before testing. Do not disconnect or bridge a transmission connector based on a general online diagram. A technician may need to check whether the switch changes state, whether the range sensor is correctly adjusted, and whether the body control module receives the Reverse signal.
Useful clues include reverse lights that work only when the selector is held in a particular position, a gear indicator that does not match the shifter, a backup camera that also fails, or a vehicle that will not start in Park or Neutral. These symptoms point beyond a simple bulb fault.
Stop condition: Leave this stage to a qualified technician if access requires lifting the vehicle, the transmission linkage is damaged, or the diagnostic procedure involves live transmission components.
Confirm the repair
After replacing a bulb, fuse, socket, switch, or damaged wiring, reassemble every connector, seal, cover, and lamp fastener. Test both reverse lights several times with the vehicle secured and a helper observing from a safe position.
Confirm that the lights turn on only when Reverse is selected, remain off in Park, Neutral, and Drive, and do not flicker when the hatch, trunk, or nearby harness is moved. Check the backup camera and gear display if they were affected. If the fault returns, stop replacing parts and obtain a circuit diagnosis.
Frequently asked questions
Why are both reverse lights not working at the same time?
Both reverse lights failing together usually points to a shared fuse, reverse-light switch, transmission-range signal, common ground, or wiring fault rather than two bulbs failing simultaneously. Check the correct fuse and inspect the rear harness first. If the backup camera, gear display, or other functions also fail, arrange vehicle-specific electrical diagnosis.
Can a blown fuse cause reverse lights not to work?
Yes, a blown fuse can disable the reverse-light circuit. Find the fuse using the owner manual and replace it only with the same type and amperage. If it blows again, stop testing and do not fit a larger fuse; an electrical short or failed component needs diagnosis.
Why does one reverse light work but the other does not?
One working light usually means the shared switch and main power feed are functioning. Inspect the dark lamp’s bulb, socket, connector, ground, and nearby wiring. Water intrusion, corrosion, a loose terminal, or a damaged harness can interrupt power locally.
Can a bad transmission range sensor stop reverse lights from working?
Yes. On many automatic vehicles, the range sensor tells the control system when Reverse is selected. A fault or adjustment problem can also cause an incorrect gear display, backup-camera failure, or starting problems in Park or Neutral. Because testing varies by model, use the manual or a qualified technician.
Is it safe to drive with reverse lights that do not work?
The vehicle may still move, but dark reverse lights reduce your visibility to others and can violate local equipment rules. Avoid reversing in dark or crowded areas until the fault is fixed. Use a helper and extra caution for any necessary short move, and stop if other transmission or electrical symptoms appear.
Browse more Maintenance & Repair guides for help with this topic.