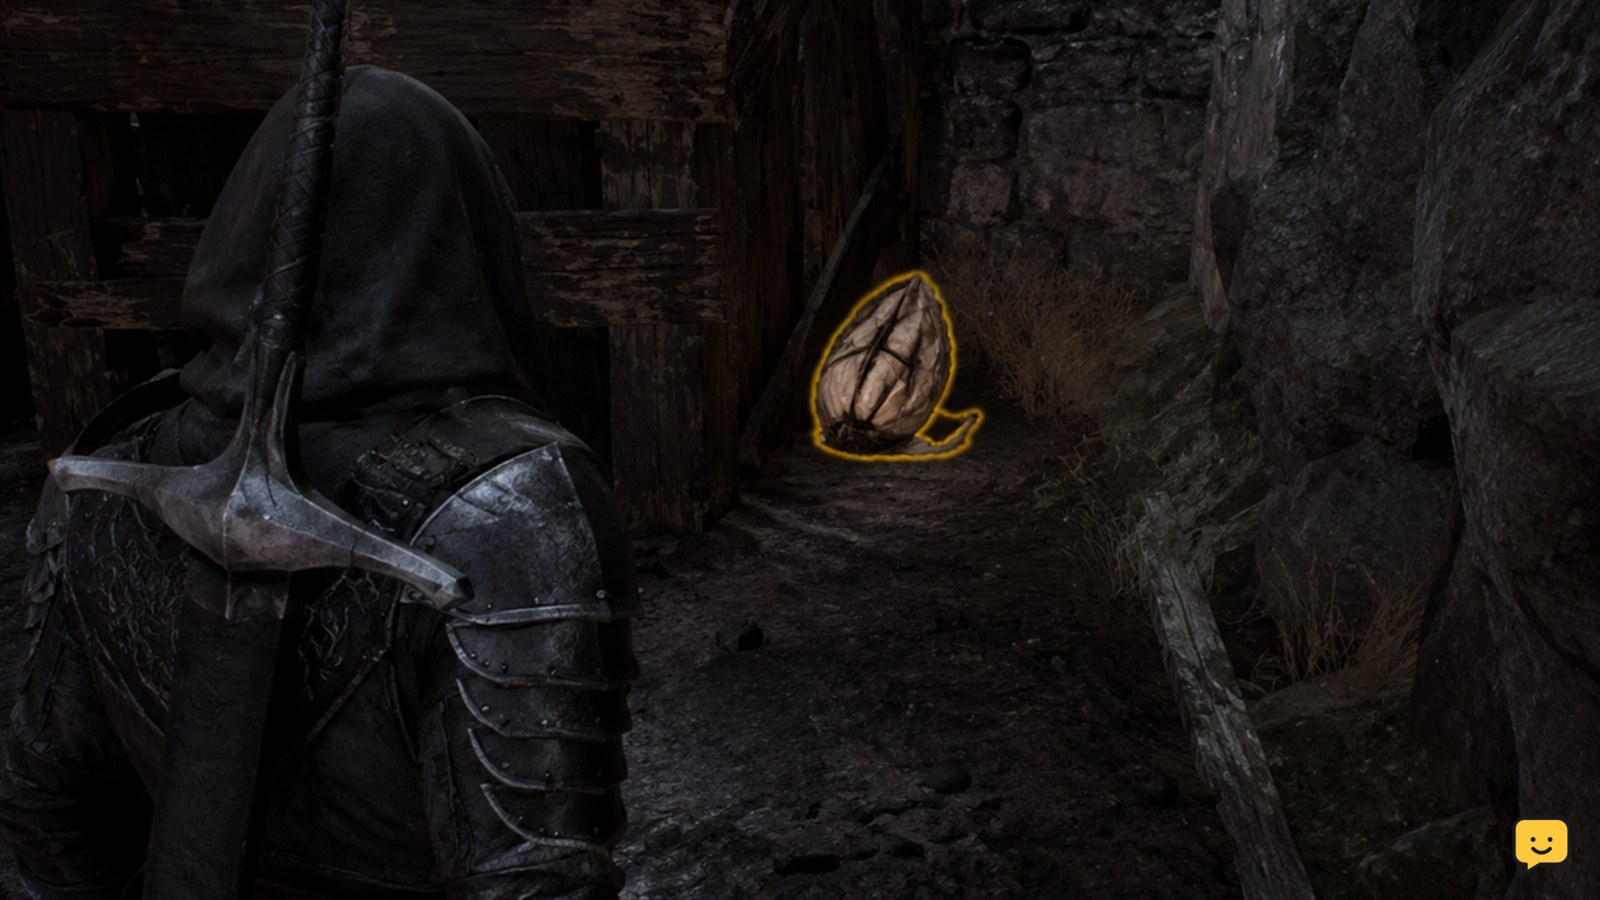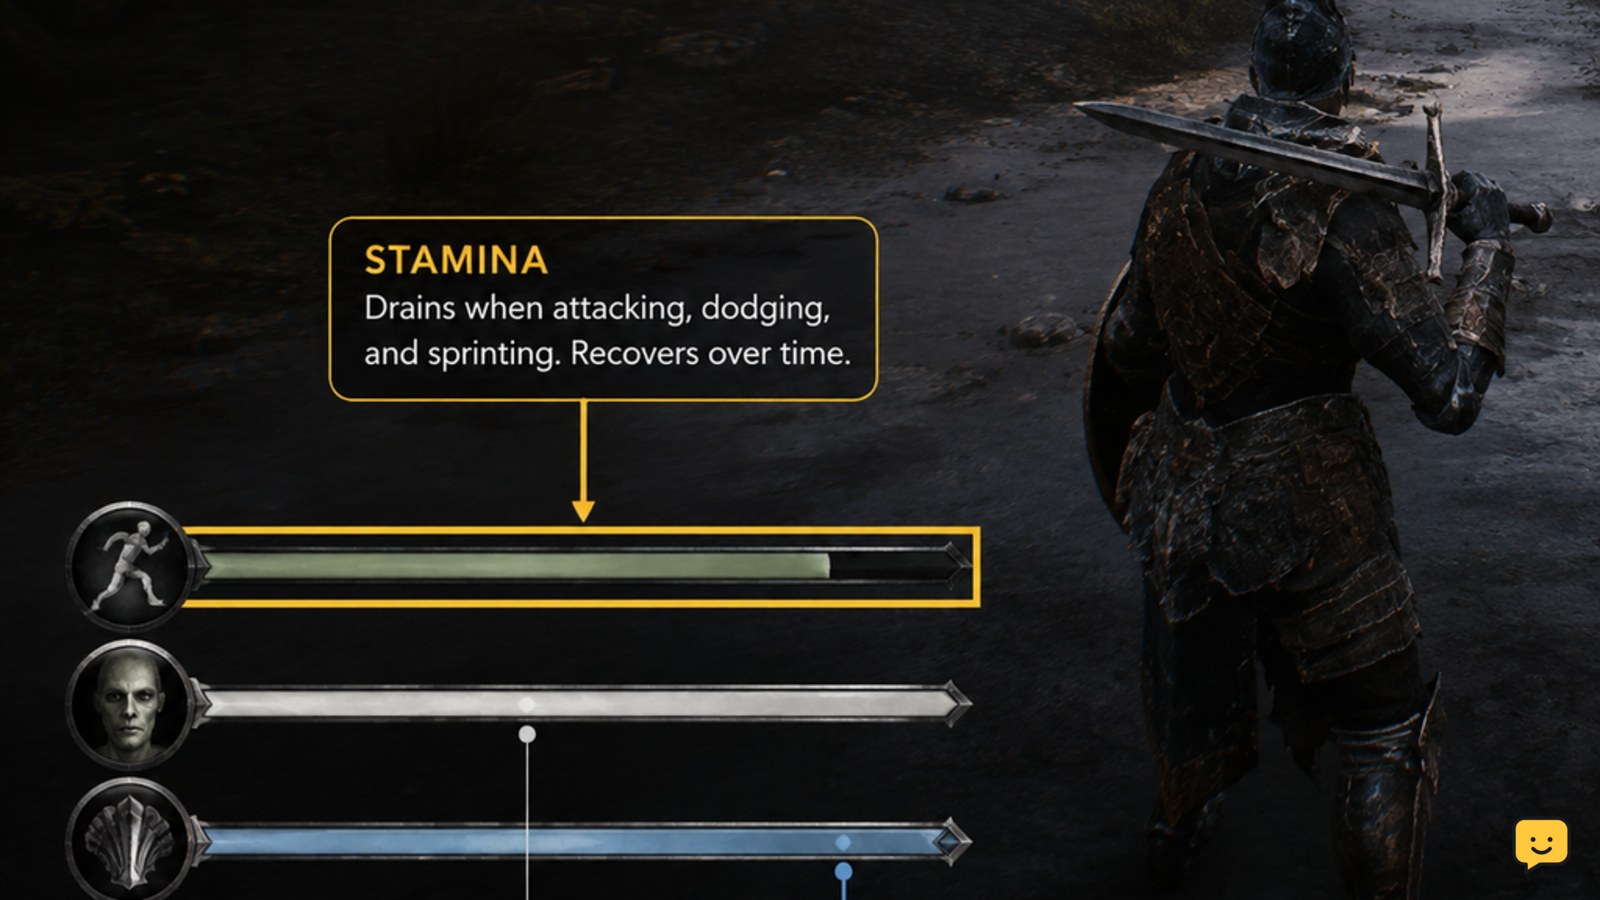
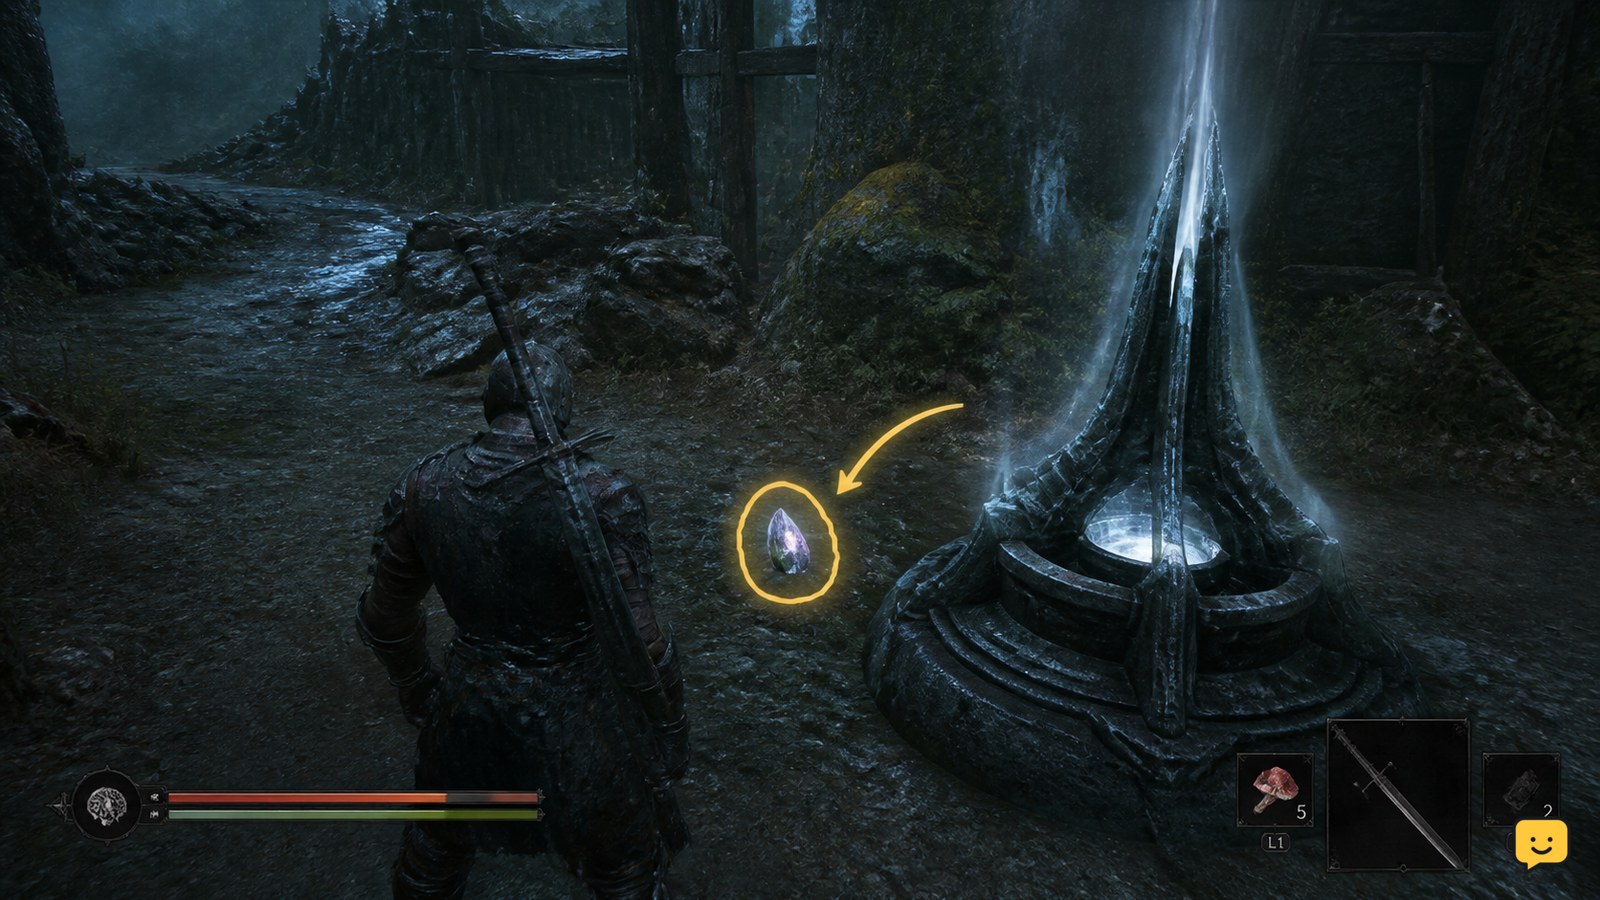
Find Glimpses by checking around Cleansed Beacons, dungeons, and key overworld locations. Pick them up, then spend them from the relevant Shell progression or skill-tree screen. Because Glimpses are limited during a playthrough, use them on confirmed Shell upgrades first and only burn them for map reveals or NPC summons when that benefit matters now.
Browse more Mortal Shell II guides
Find Glimpses around Cleansed Beacons and dungeons
Start your search near Cleansed Beacons. Current gameplay references also place Glimpses in certain dungeons and at important overworld locations. After cleansing a Beacon or reaching a major area, inspect the surrounding paths, platforms, side rooms, and nearby dead ends instead of moving straight to the next objective.
There is no supported basis for treating one ordinary enemy or one repeatable route as a permanent Glimpse source. Search completed areas carefully, especially locations connected to Beacons and dungeon entrances. If you find one, collect it before fast travelling or advancing the area.
Verify that the Glimpse pickup counted
After collecting a Glimpse, check the resource total shown by the game’s HUD, inventory, or progression screen. The number should increase before you spend it. This gives you a useful checkpoint: if the total does not change, you may have interacted with scenery, missed the pickup prompt, or encountered a location-state problem.
Return to the exact spot once and look for the item or interaction prompt again. If the area is complete but the Glimpse still cannot be collected, reload the area or revisit it after progressing normally. Do not assume that a video location guarantees an uncollected item in your playthrough.
Spend Glimpses on Shell upgrades and skill trees
Open the relevant Shell progression or skill-tree screen and select the upgrade you want. Confirm the displayed Glimpse cost before accepting it. Glimpses are used for strengthening Shells and progressing their skill trees, so these purchases usually provide the most durable value across the rest of a playthrough.
Prioritize an upgrade that improves the Shell you actually use. If the screen shows a requirement you have not met, do not spend the resource elsewhere just to clear space. Record the requirement, continue exploring, and return when the game makes the upgrade available.
Exact costs should be treated as launch-era information rather than permanent rules. One current guide reports that revealing a Shell location can take roughly three to four Glimpses, while further upgrades require more. Use the number shown in your own game as the final authority.
Use Glimpses to reveal Shell locations only when needed
Some Glimpses can be burned to reveal the location of another Shell on the map. This is useful when you have decided which Shell you want next but cannot locate it through ordinary exploration. Open the map or related discovery option, read the current Glimpse cost, and confirm the reveal only if the resulting marker solves an immediate problem.
Do not treat a map reveal as free information. The same resource also supports Shell progression, and current evidence describes Glimpses as finite during a playthrough. If you are close to an upgrade cost, keep the Glimpses and search the relevant area manually first.
Summon NPCs after checking the cost and purpose
Glimpses may also be burned for certain NPC summons. Use this option only after checking what the summon does and whether the current screen displays a cost. A summon can be worthwhile when it advances a task or provides a service you need immediately, but it is a temporary convenience compared with a permanent Shell improvement.
If the summon prompt is missing, the NPC may not yet be available, the required progression state may be incomplete, or the Glimpse option may not apply in that location. Recheck the related objective and return later. Do not repeatedly spend Glimpses on a prompt whose result you cannot verify.
Fix a missing Glimpse or missing spending option
If a known location contains no Glimpse, first check whether you collected it earlier. These items should not be treated as an endlessly respawning farm. If the resource total is correct but a Shell upgrade, map reveal, or summon is unavailable, inspect the screen for a locked requirement or prerequisite rather than assuming the resource is broken.
When an older guide conflicts with your game, trust the current in-game cost, prompt, and map marker. Exact totals and placement details can change as launch-day information is corrected, while the broader uses supported by current references remain the safer guide: exploration pickups, Shell progression, Shell-location reveals, and selected NPC summons.
Stop if the game takes the Glimpse but does not show the promised upgrade, marker, or summon. Reload before making another purchase and verify the result from the relevant screen.
Frequently asked questions
Can you farm Glimpses in Mortal Shell II?
Current evidence indicates that Glimpses are finite during a playthrough rather than an endlessly repeatable farming resource. Search Cleansed Beacons, certain dungeons, and key locations carefully, then spend the total shown in your game. Do not repeatedly clear one area unless a current in-game prompt confirms that its Glimpse has returned.
What should you spend Glimpses on first?
Spend Glimpses on a Shell upgrade or skill-tree improvement that benefits the Shell you use most. These purchases provide lasting progression. Save map reveals and NPC summons for situations where you need their result immediately, especially if you are near the cost of a confirmed upgrade.
How many Glimpses reveal a Shell location?
A current launch-era guide reports that revealing a Shell location can require roughly three to four Glimpses, but the exact cost should be checked in your game. Treat the displayed map prompt as authoritative because costs and progression details may be adjusted.
Why is a Glimpse location empty?
The Glimpse may already have been collected, may be positioned in a nearby side path, or may depend on the area’s current progression state. Recheck the surrounding Beacon, dungeon, or key location once, confirm your resource total, and stop relying on the location if the pickup still does not appear.