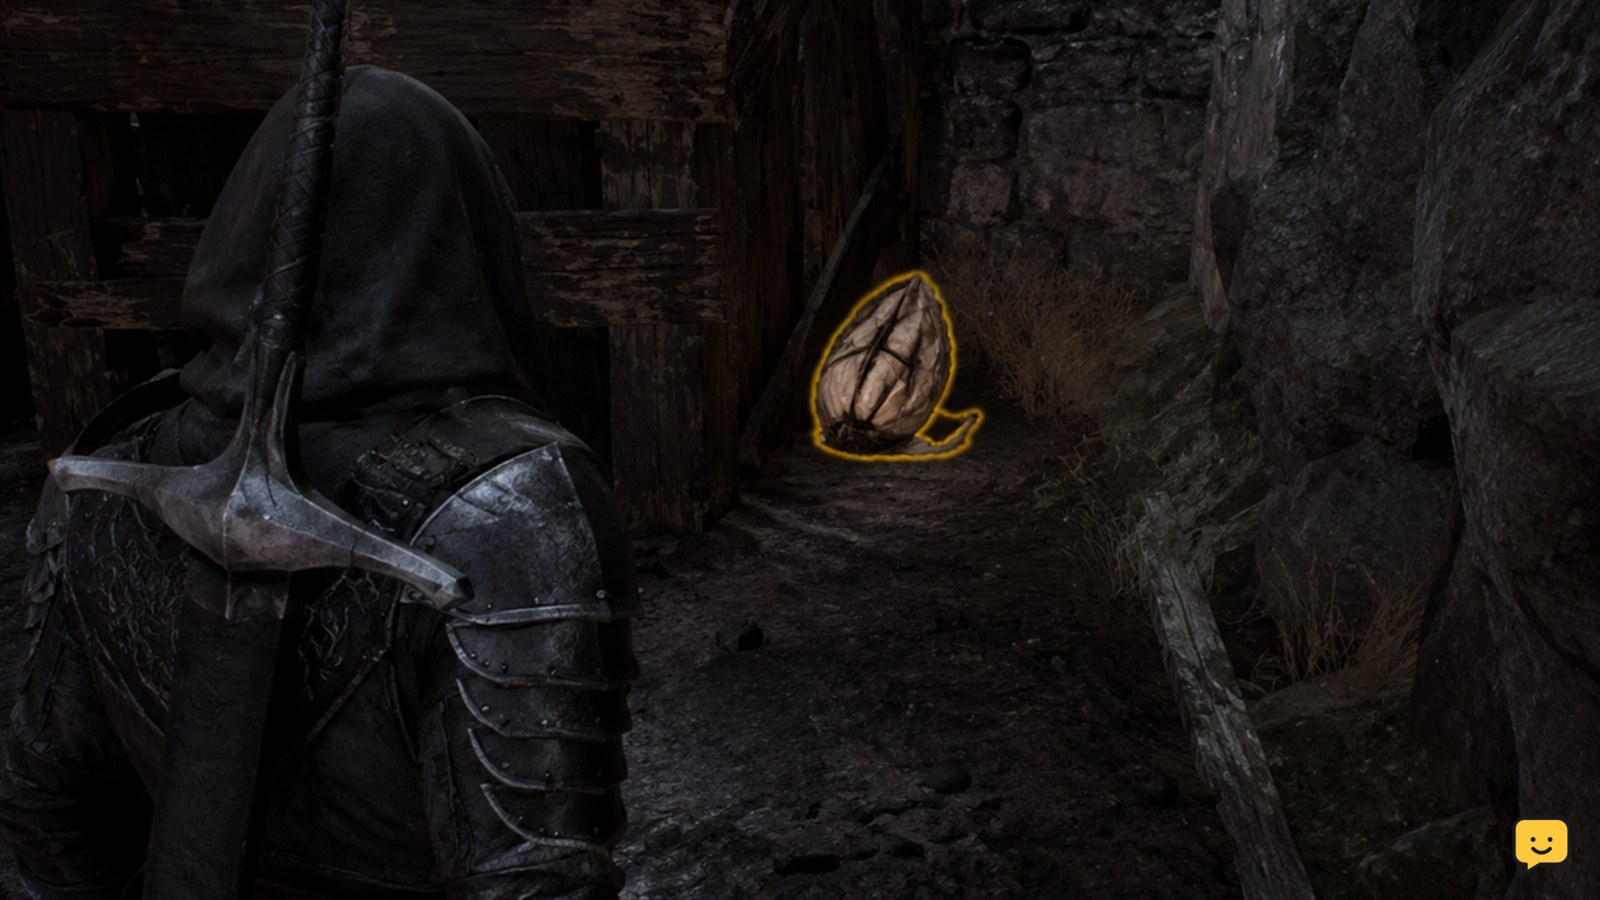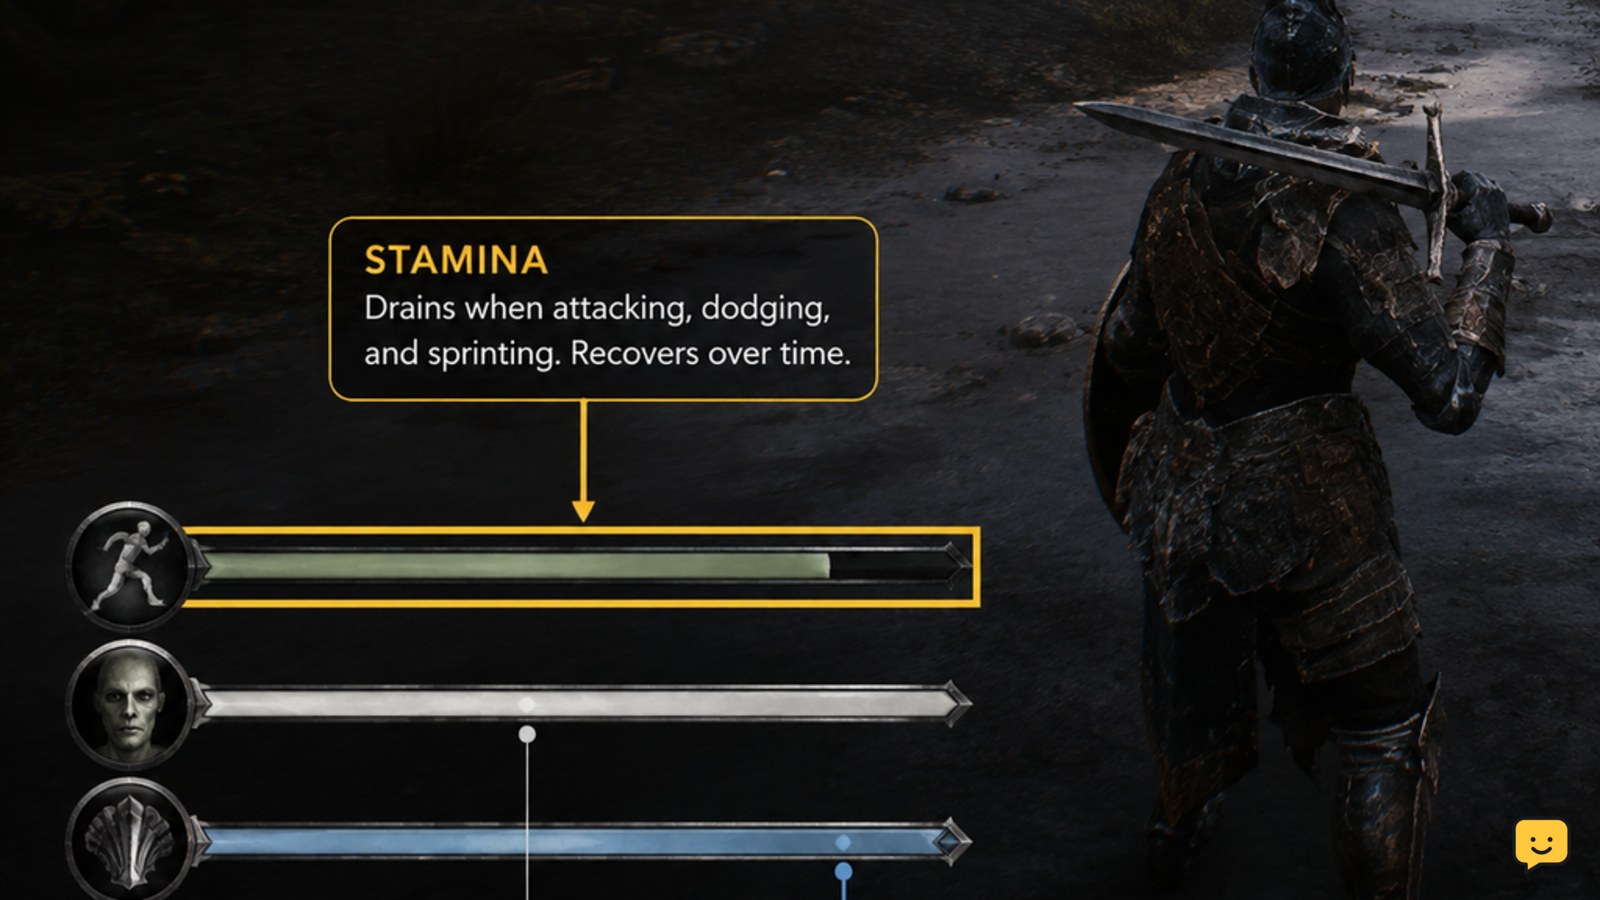
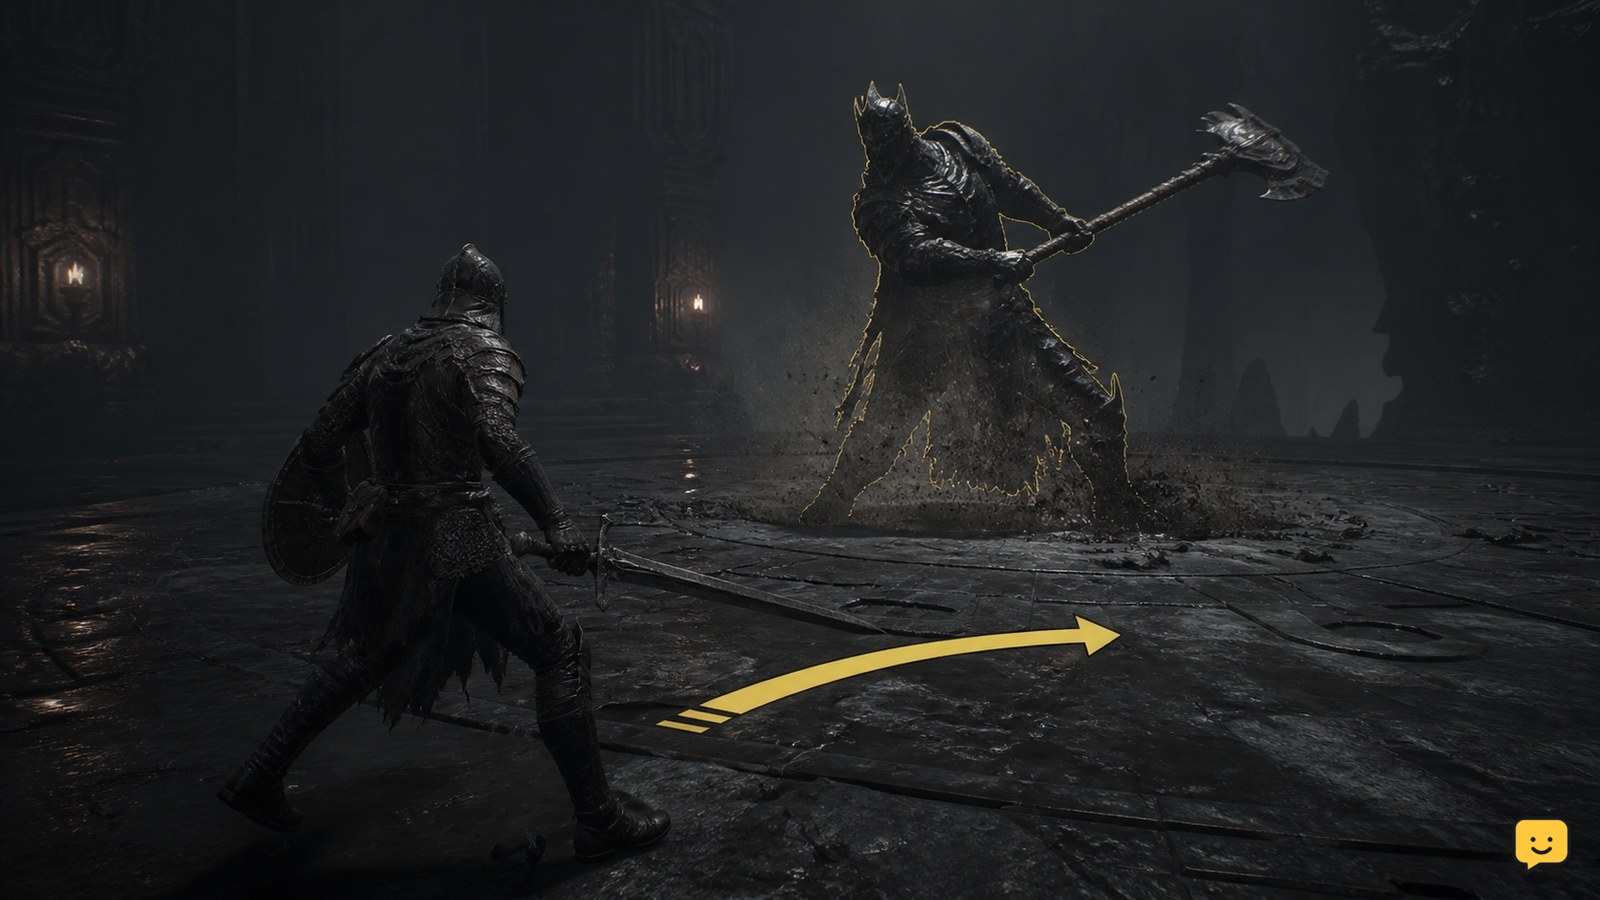
To defeat bosses in Mortal Shell II, begin each attempt by watching instead of attacking. Identify the boss’s recovery window, evade the committed attack, use Harden or another defensive option to survive a mistake, then punish with a short combo. Keep Resolve for reliable opportunities, heal or reset at a Beacon when needed, and stop attacking when the boss changes pattern or the arena becomes unsafe.
Browse more Mortal Shell II guides
Watch the boss before spending resources
Mortal Shell II bosses are safest to learn by observing one complete attack cycle before committing to damage. Stay at a distance where you can see the boss’s weapon, body movement, and follow-up direction. Record which attacks travel forward, which cover the area around the boss, and which leave a recovery window.
Do not treat every animation as an opening. A short pause can be a delayed strike, a feint, or the start of a second hit. Your first goal is not damage; it is identifying the attack that you can consistently evade. Once you can recognize that tell, build the encounter around it.
Evade the committed attack, then punish briefly
After you identify a committed attack, Mortal Shell II rewards a short counterattack rather than a full combo. Dodge or reposition through the danger, confirm that the boss has finished moving, and land one or two attacks before returning to a defensive stance.
This loop prevents the most common boss-fight failure: extending a punish until the recovery window closes. If the boss turns toward you, raises its weapon again, or begins a new animation, stop attacking immediately. A small number of safe hits is more valuable than a larger punish that costs the attempt.
Gameplay guidance for the Monolith specifically identifies its spinning attack as a pattern that can be dodged; it also describes the Shrike Stone as a way to gain immunity during that attack. Treat that as a boss-specific option, not a universal answer for every encounter.
Use Harden or Resolve only on confirmed opportunities
Harden is a defensive answer to a mistimed attack, but it should not replace learning the boss’s timing. Use it when an incoming hit is already committed and you cannot safely move away. After the boss’s strike is absorbed or avoided, wait for the animation to finish before attacking.
Resolve is most useful when you can spend it during a reliable opening. Avoid draining the meter at the start of an attempt just because the boss is nearby. Farm or preserve Resolve before the encounter when that route is available, then spend it after a missed attack, a stagger opportunity, or another clearly confirmed recovery state.
Because boss-specific guides describe different combinations of parries, dodges, Resolve preparation, and stone effects, do not assume that one resource plan applies to every boss. Test one defensive choice at a time and keep the option that produces a repeatable result.
Reset the fight when positioning breaks down
A Mortal Shell II boss attempt is usually worth resetting when you are pinned near an arena edge, have lost sight of the boss, or are reacting instead of reading. Create distance only after the boss’s current attack ends; running during an active tracking move can put you in the next hitbox.
If your health is low, return to a Beacon when the route is safe and use the verified healing interaction there. Check that health and Resolve change as expected before re-entering. If the Beacon does not respond, does not restore the expected resource, or the checkpoint state looks wrong, stop the run and reload rather than spending more consumables in an uncertain state.
Adapt when the boss changes phase or tempo
When a Mortal Shell II boss changes speed, adds an attack, or alters its spacing, discard the old punish timing until you observe the new cycle. A phase transition is not automatically a damage window. Move away, watch the next attack, and identify whether the previous opening still exists.
Use a simple decision rule: if the attack ends with the boss facing away or visibly recovering, take a short punish; if it ends with the boss already turning, advancing, or chaining another move, disengage. Repeat this rule until the new phase becomes predictable.
Frequently asked questions
What should I learn first during a Mortal Shell II boss fight?
Learn one attack that you can recognize and evade consistently. Ignore damage during the first observation cycle, then punish only that attack. Expanding your response list too early makes delayed strikes and follow-ups harder to identify.
Should I parry or dodge Mortal Shell II bosses?
Use whichever response you can repeat reliably against the specific attack. Dodge is the safer starting point when the timing or follow-up is unclear. Add parries after you can identify the attack’s release point without guessing.
When should I spend Resolve against a boss?
Spend Resolve only during a confirmed recovery window or stagger opportunity. Saving the meter until the boss has committed to a predictable attack is safer than spending it while the boss can still turn, chain a hit, or punish your animation.
What should I do if a boss fight goes wrong?
Stop forcing damage, create space after the current attack ends, and return to the nearest Beacon if the route is safe. Verify health, Resolve, and checkpoint behavior before trying again. Reload if an interaction or arena state does not respond normally.