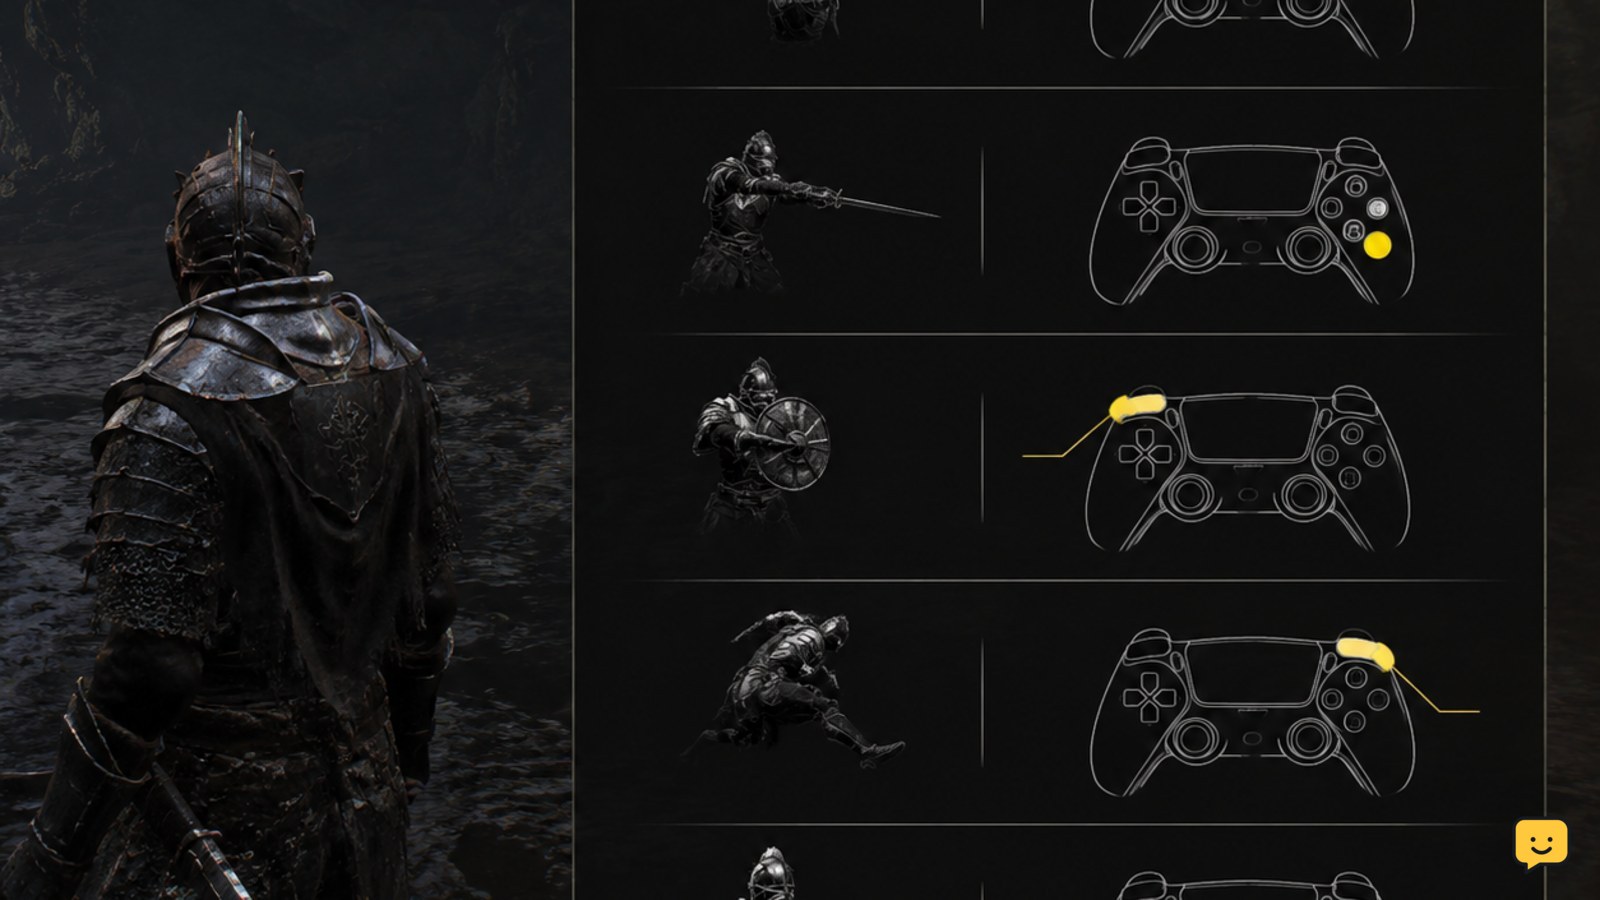
Open the game’s controls menu first and use the displayed bindings for movement, light and heavy attacks, dodge, Harden, interaction, and camera control. Button labels can differ by platform or custom layout. In combat, preserve stamina, use Harden to absorb a dangerous hit, dodge when Harden is unavailable, and confirm each input in a safe encounter before relying on it.
Browse more Mortal Shell II guides
Check the displayed combat bindings before fighting
Open the settings or controls menu from the game’s title screen or pause screen, then locate the entries for movement, camera control, light attack, heavy attack, dodge, Harden, interaction, and any lock-on command shown for your platform. The reliable control is the one displayed in your current layout, not a button remembered from another game or an older video.
Write down the attack, dodge, and Harden inputs before leaving the menu. If the game allows rebinding, choose positions you can reach without releasing movement or camera control. Avoid assigning two important actions to the same input unless the menu clearly supports that combination.
Verify it: return to play and press each non-combat input in a safe space. A successful check produces the relevant movement, camera response, attack animation, dodge, or Harden state. If nothing happens, reopen the controls page and check whether the game is reading the intended keyboard, mouse, or controller.
Use light and heavy attacks as separate decisions
Use the light attack for your regular opening and learn its reach before adding heavy attacks. Heavy attacks generally commit you for longer, so they are safer after an enemy whiffs, finishes an animation, or is already vulnerable. Do not spend the whole stamina bar attacking; leave enough resource to retreat or respond.
Start with one or two attacks, then pause to read the enemy. This prevents a missed swing from becoming a full exchange in which you cannot dodge. Lock-on, if your current control layout provides it, can help keep a target in view, but release or reposition when the camera makes nearby threats difficult to see.
Verify it: your character should complete the selected attack and return to a state in which movement remains available. If the attack stops early or the camera points away, create more distance, check the target direction, and test the same input without lock-on.
Spend Harden on the hit you cannot safely avoid
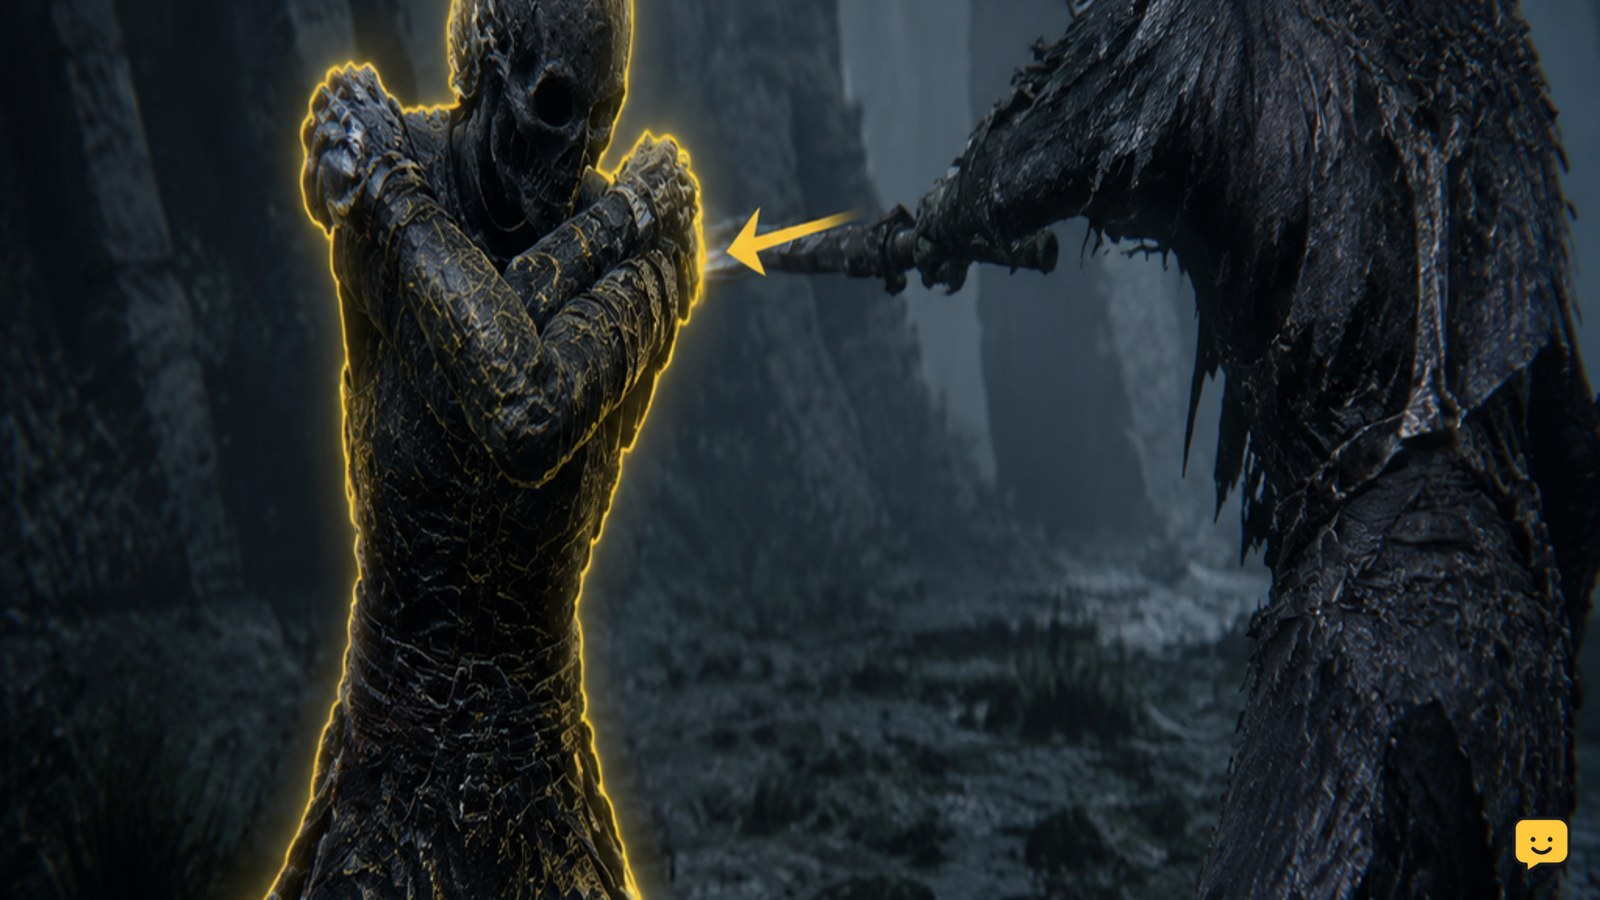
Harden is the key defensive action to practice early. Activate it when an incoming strike is about to connect and you cannot move clear in time. The mechanic lets you turn a dangerous moment into a planned defensive exchange, but it is not a reason to stand still and absorb every attack.
Watch the Harden cooldown or availability indicator after use. Evidence from beginner guidance consistently identifies Harden availability and stamina as separate combat decisions: one controls whether the defensive action can be used, while the other limits movement and attacks. If Harden is unavailable, create space or dodge instead of waiting in front of the enemy.
Verify it: a correctly timed Harden produces the game’s defensive response and interrupts or absorbs the expected incoming pressure. If you are hit normally, the timing was late, the action was unavailable, or the input did not register. Retreat and test again against a single, readable attack rather than repeating the attempt in a crowd.
Dodge with stamina left for the escape
Use dodge to leave the attack’s path, not simply to move closer or spend the last part of your stamina bar. Begin by dodging one clear attack at a time. After the enemy’s swing passes, stop moving briefly and decide whether to counterattack or continue creating distance.
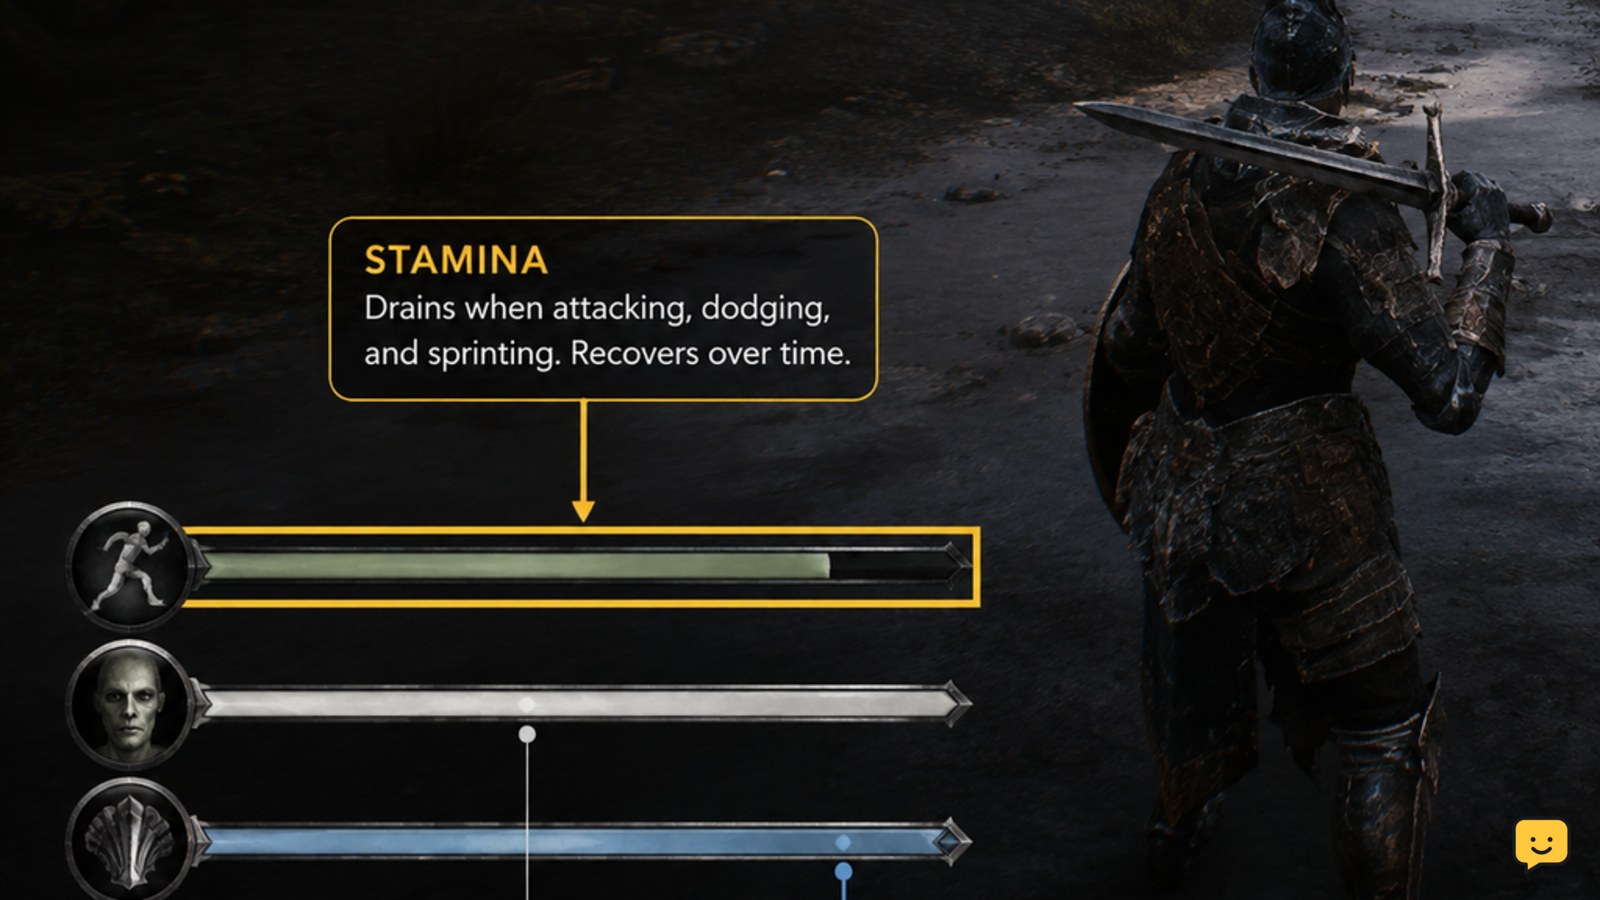
Stamina is a combat resource, so repeated attacks, movement, and evasive actions can compete for it. When the bar is low, stop attacking and retreat until you can move deliberately again. This is safer than trying to dodge repeatedly while exhausted.
Verify it: a successful dodge places your character outside the incoming strike and leaves enough control to reposition. If the dodge travels into the attack, change direction before pressing the input. If it does not occur, check stamina, the displayed binding, and whether another animation is still finishing.
Run a three-input practice check before a real encounter
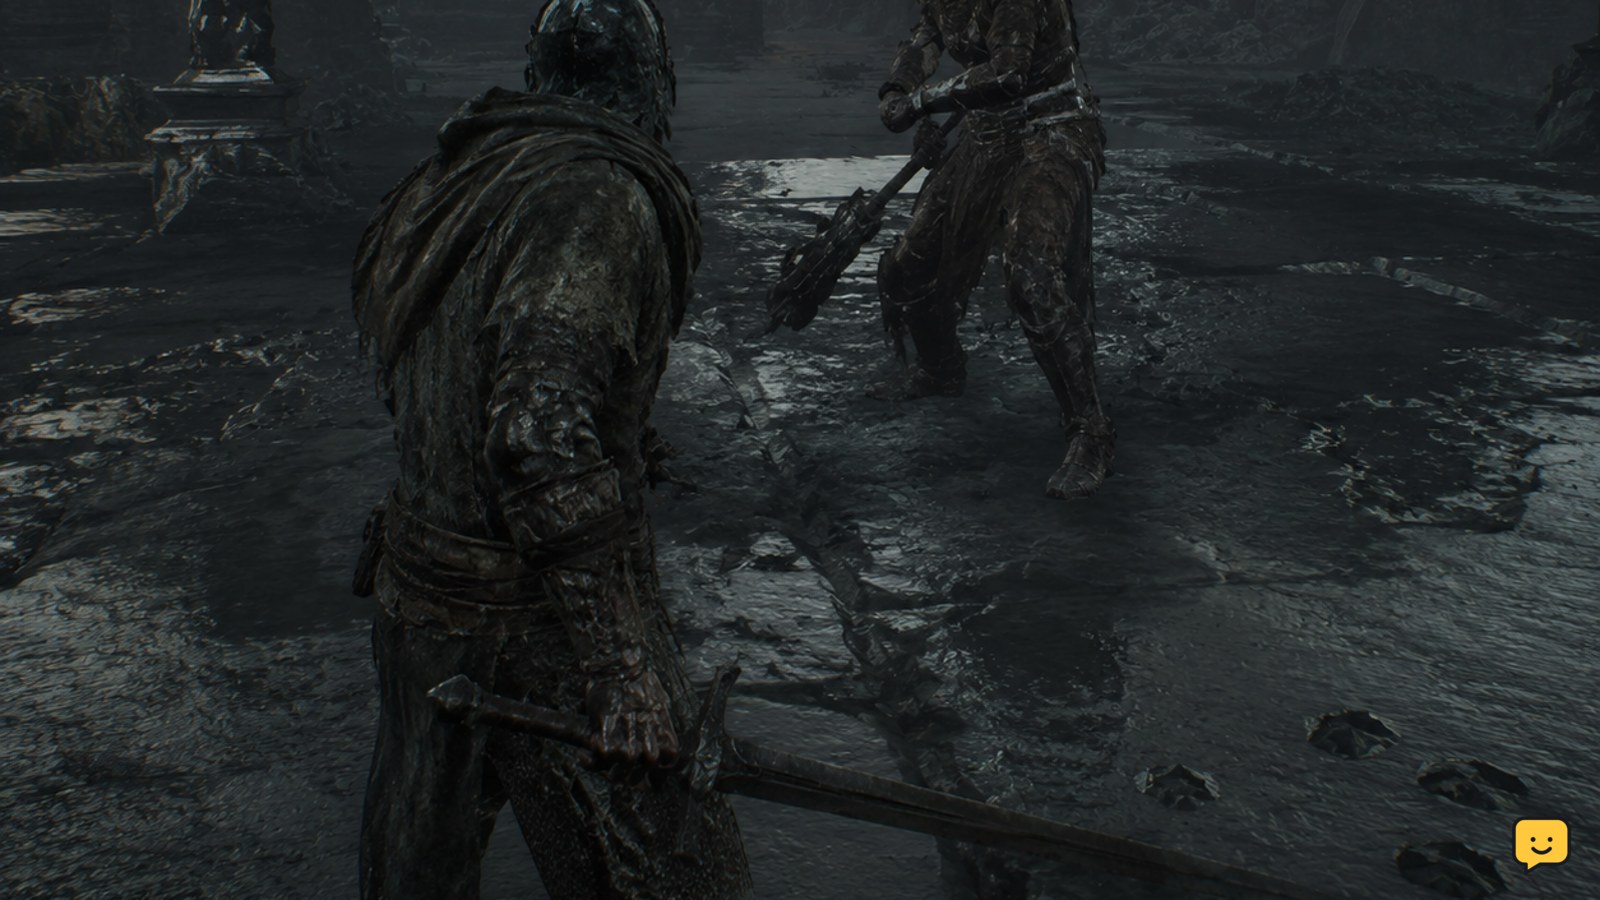
Use a low-risk area or a lone enemy to test the complete sequence: attack once, wait for an incoming strike, then choose Harden or dodge. Recover your spacing afterward instead of chasing a second hit automatically. Repeat until you can identify the character’s attack recovery, the defensive response, and the stamina cost without watching the controls menu.
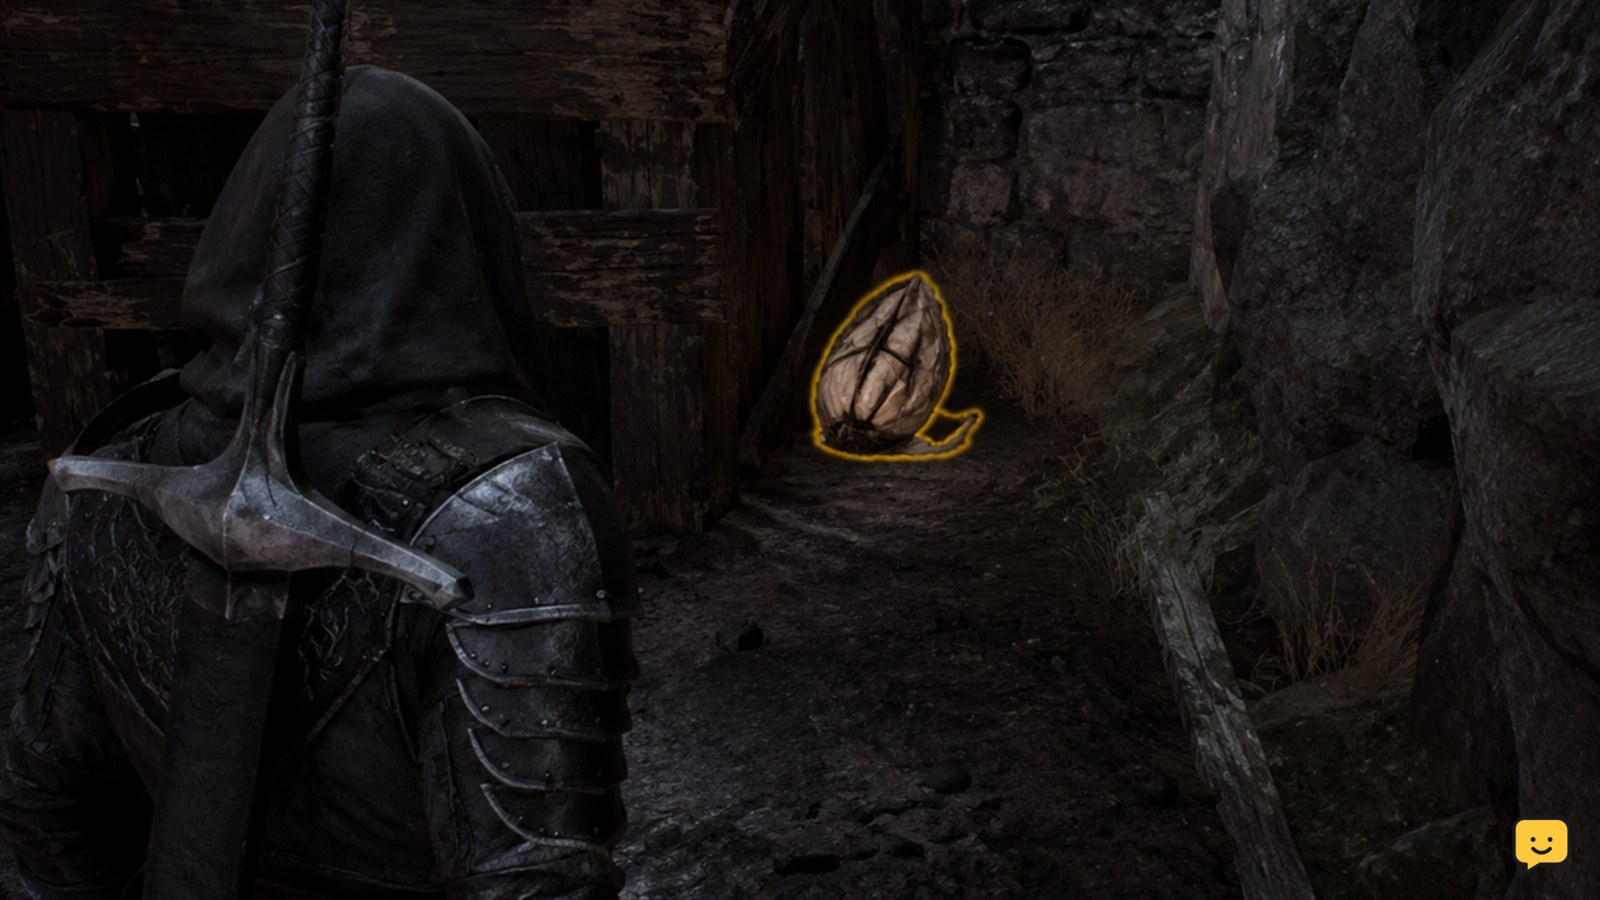
This practice confirms the durable combat loop rather than a launch-day route or temporary recommendation. Early guides may also mention acquiring a lute, battle axe, or additional shells, but those are progression details. They are not required to understand the core inputs listed here, and their availability can depend on where you are in the current game.
Success looks like this: you know which displayed inputs attack, evade, and Harden; you can see when stamina is low; and you can identify when Harden is unavailable. Stop the test once those three facts are clear. Do not continue practicing in a fight that has become unsafe.
Fix a combat input that does not respond
First, pause and confirm that the intended action is still assigned to the input you are pressing. Rebinding, changing devices, or switching between controller and keyboard can make a remembered layout unreliable. Next, test the input in a safe area and check whether the character is already committed to another animation or lacks the stamina or defensive availability required for that action.
If movement and camera work but one combat action fails, inspect that action’s individual binding rather than resetting every control. If several actions fail, return to the default layout if the game offers that option, apply the change, and restart the game. Re-test the three-input sequence before entering another difficult encounter.
If the displayed binding works in a safe area but fails only during an attack animation, the issue may be timing or action commitment rather than a missing control. If it never works after a confirmed binding and restart, stop changing unrelated settings and seek a current report for your platform and input device.
Frequently asked questions
Should I copy Mortal Shell II controls from a video?
No. Use the controls shown in your own game because platform, device, accessibility, and custom bindings can change the displayed inputs. A video is useful for seeing the timing of Harden or dodge, but not as the authority for your button layout.
What should I do when Harden is unavailable?
Create distance or dodge the attack if you have enough stamina. Harden has an availability or cooldown state, so pressing its input repeatedly will not replace a defensive option that is currently unavailable. Wait for a safe opening before attacking again.
Why can I not dodge after attacking?
The character may still be finishing the attack animation, or your stamina may be too low. Test the dodge from a neutral stance, leave stamina in reserve, and check the displayed binding. If it fails even while standing safely and having stamina, inspect the individual control assignment.
Is Harden better than dodging every attack?
No. Harden is one defensive choice, not a universal replacement for movement. Use it for an incoming hit you cannot safely avoid, then track its cooldown or availability. Dodge when Harden is unavailable or when leaving the attack’s path gives you a safer position.