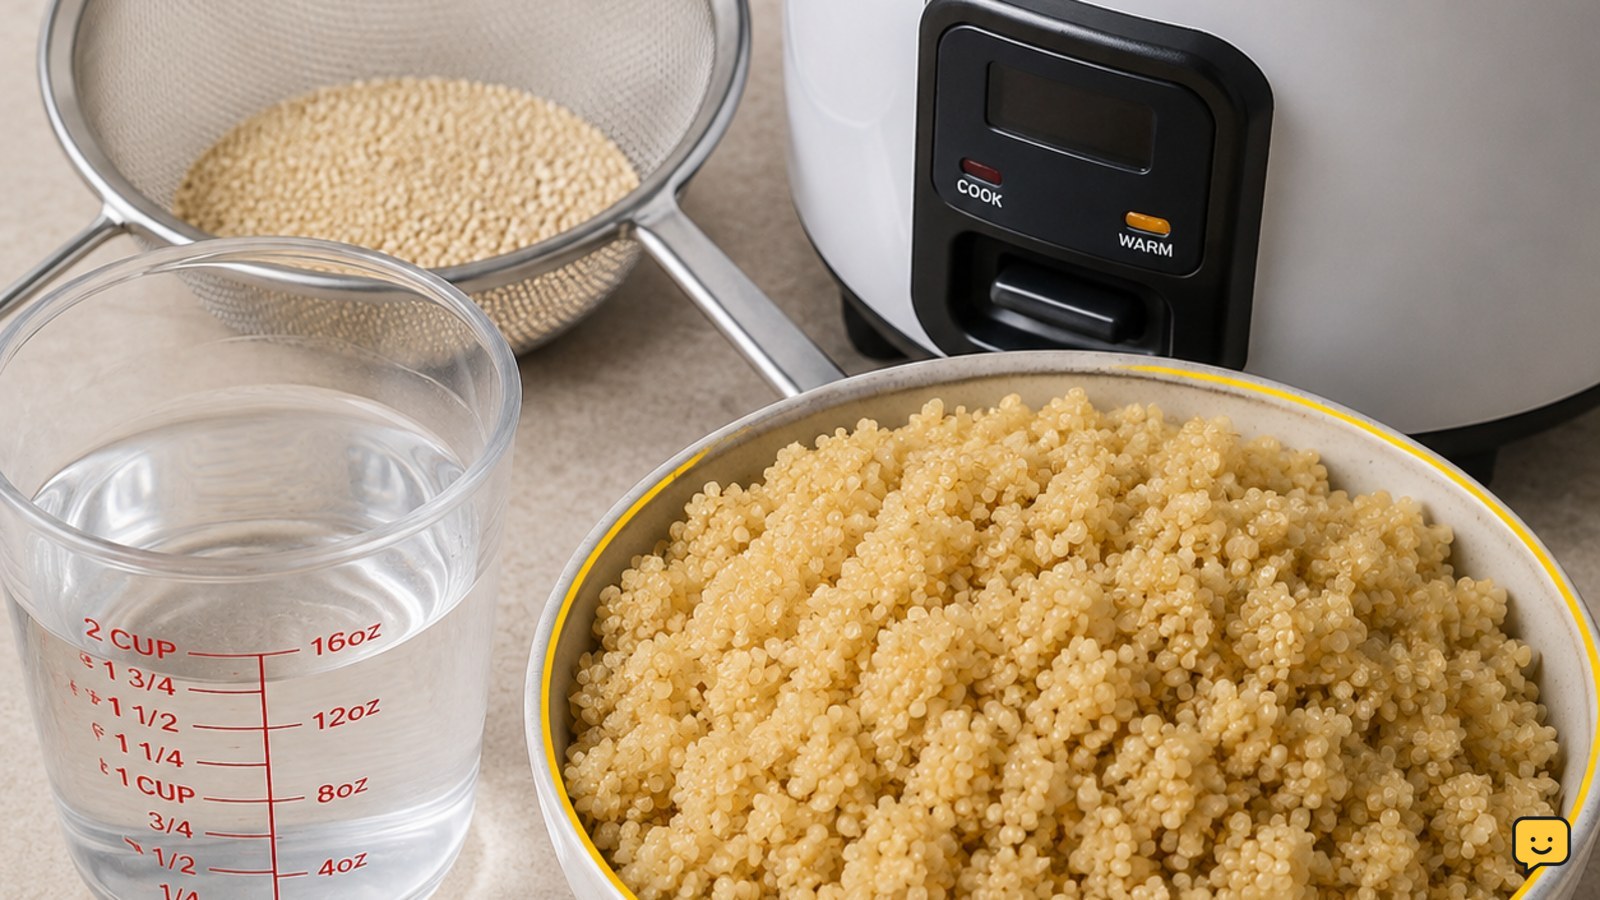
Rinse 1 cup of quinoa in a fine-mesh strainer, drain it well, and add it to the rice cooker with 1 3/4 cups water or broth and a pinch of salt. Stir, close the lid, and start the regular white-rice or cook cycle. When it switches to warm, let the quinoa rest for 5 minutes, then fluff it with a fork.
For more help with this topic, use the Cooking Basics guides.
Rinse the quinoa and drain it thoroughly
Rinsing quinoa removes surface residue that can make the cooked grains taste bitter. Put 1 cup of dry quinoa in a fine-mesh strainer and rinse under cool running water for about 30 seconds, moving the grains with your fingers.
Let the quinoa drain until it is no longer dripping heavily. Excess water changes the cooking ratio and can leave the finished grains wet. The Kitchn’s rice-cooker method also starts with rinsing and draining the quinoa before adding liquid and salt.
Add quinoa, liquid, and salt to the rice cooker
For a standard batch, add the drained quinoa, 1 3/4 cups water or broth, and 1/2 teaspoon kosher salt to the rice cooker. Use less salt if your broth is already seasoned.
Stir once so the grains are spread across the bottom, then check that no quinoa is stuck high on the sides of the pot. Broth adds flavor, while water gives you a neutral base for salads, bowls, or breakfast recipes. I Heart Vegetables also lists water or broth, salt, and the rice cooker as the basic setup.
If your appliance manual gives a quinoa-specific ratio, use that guidance instead. Rice cookers vary in heat, bowl shape, and sensor behavior, so the first batch is a useful calibration point.
Run the regular rice cooker cycle
Close the lid and select the regular white-rice or standard cook setting if your rice cooker does not have a quinoa setting. Press start and leave the lid closed during cooking.
The cycle is complete when the cooker switches from cooking to warm and the quinoa grains look swollen. Most grains should show a small white spiral or ring, called the germ, and there should be little or no free liquid at the bottom.
Do not rely on a fixed minute count alone. The cooking time depends on the cooker and the batch size; the automatic change to warm is the more useful checkpoint.
Rest and fluff the cooked quinoa
Let the quinoa sit covered on the warm setting for 5 minutes after the cooking cycle ends. This short rest allows remaining moisture to distribute through the grains instead of collecting at the bottom.
Open the lid carefully, release steam away from your face, and fluff the quinoa with a fork. It should be tender, separate easily, and have no hard center. If the texture is right, transfer it to a serving bowl or spread it on a tray if you want it to cool quickly for meal prep.
Fix quinoa that is wet, crunchy, or mushy
Rice-cooker quinoa is usually recoverable when the texture misses the target, but the correction depends on the symptom.
| Result | Likely cause | Next action |
|---|---|---|
| Wet or pooled liquid | Too much liquid, insufficient draining, or a small batch in a wide pot | Leave the lid open for 5 minutes, then fluff. For the next batch, drain the rinse water more thoroughly or reduce the liquid by 2 tablespoons. |
| Crunchy center | Not enough liquid or the cooker ended early | Check that the pot is not scorched. Add 2 to 4 tablespoons hot water, close the lid, and run another cook cycle if the manual permits it. Stop if burning begins. |
| Mushy grains | Too much liquid or overcooking on warm | Spread the quinoa on a plate or tray to release steam. Reduce the liquid slightly and remove the batch from warm sooner next time. |
| Bitter flavor | Quinoa was not rinsed well | Discard or season only if the bitterness is mild; rinse every batch under running water before cooking. |
Cool and store leftover quinoa safely
Cooked quinoa should be cooled promptly rather than sitting in the rice cooker on warm for an extended period. Transfer leftovers to a shallow container, cover once cooled, and refrigerate them.
Use refrigerated quinoa within 3 to 4 days. Reheat only the portion you plan to eat, adding a splash of water if the grains have dried. Stop and discard it if the leftovers smell sour or otherwise unusual, feel slimy, or show visible mold.
Frequently asked questions
Can you cook quinoa in a rice cooker without rinsing it?
Yes, but rinsing is recommended because it removes surface residue that can give quinoa a bitter taste. If you skip rinsing, measure the liquid carefully and expect the flavor to be less clean. A fine-mesh strainer prevents the small grains from escaping during rinsing.
What liquid can you use instead of water for rice cooker quinoa?
Use vegetable, chicken, or mushroom broth instead of water for more flavor. Choose low-sodium broth if you are adding salt, and check the label for seasoning before adjusting the recipe. The liquid amount should stay the same unless your rice cooker manual specifies another ratio.
Why does quinoa stick to the bottom of the rice cooker?
Quinoa can stick when the batch is small, the cooker runs hot, or the grains remain on warm after cooking. Fluff it after a short rest and transfer it out of the inner pot once tender. If you notice scorching, stop the cooker and do not scrape burnt material into the food.
How much cooked quinoa does 1 cup of dry quinoa make?
One cup of dry quinoa makes several cups of cooked grains, depending on the variety and how much liquid the cooker retains. Use the cooked texture rather than an exact volume as the serving check: the grains should be tender, swollen, and separated by a visible germ ring.