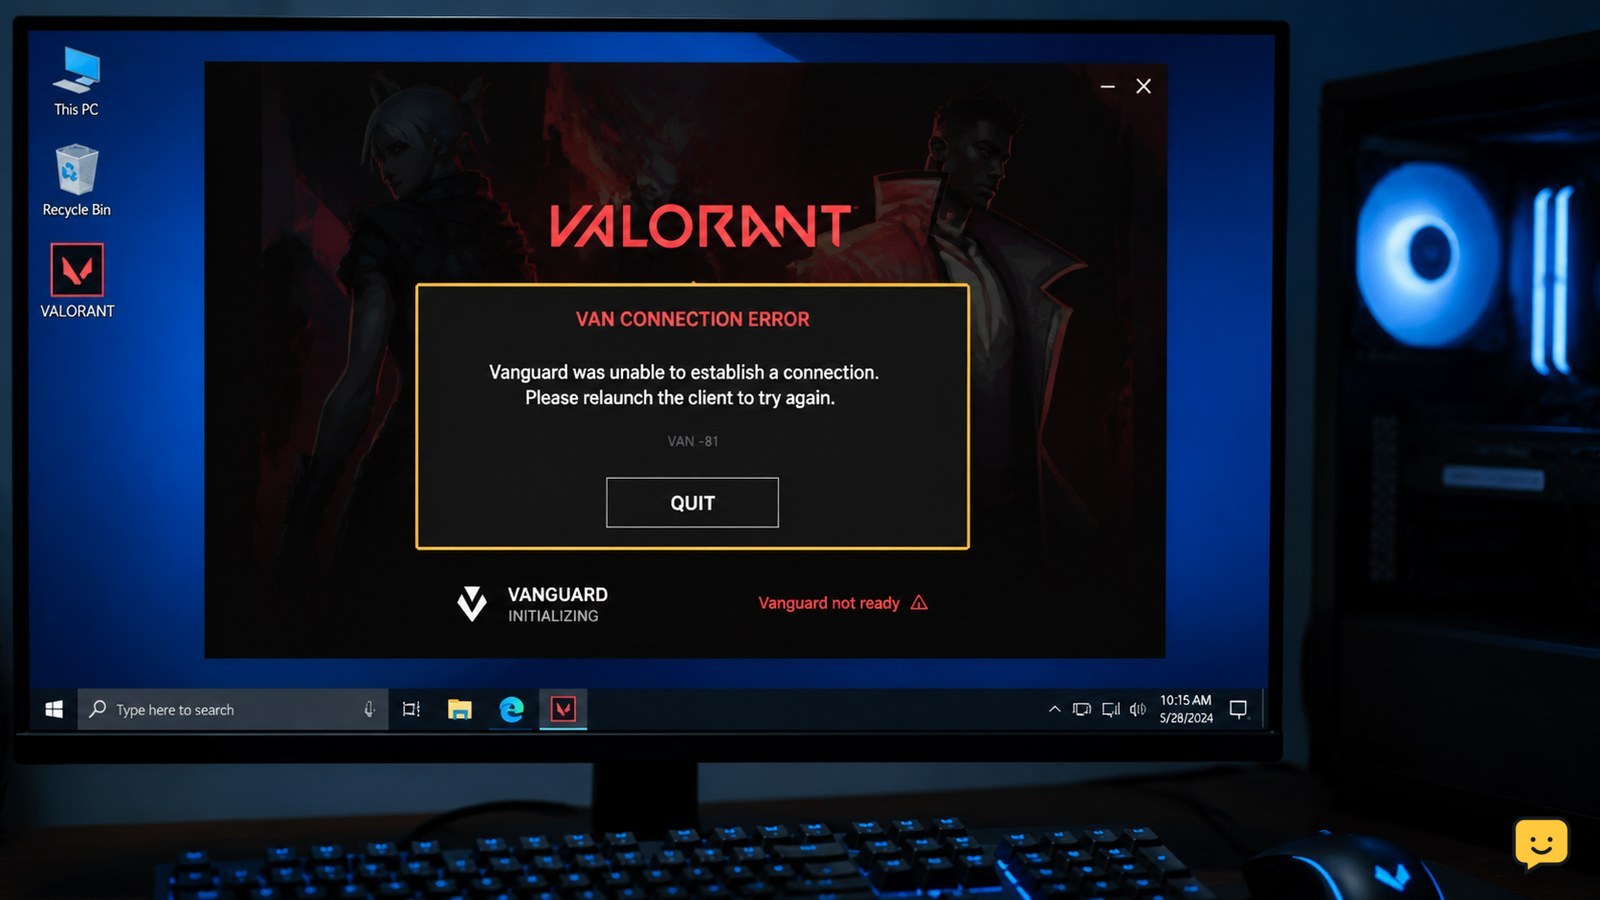
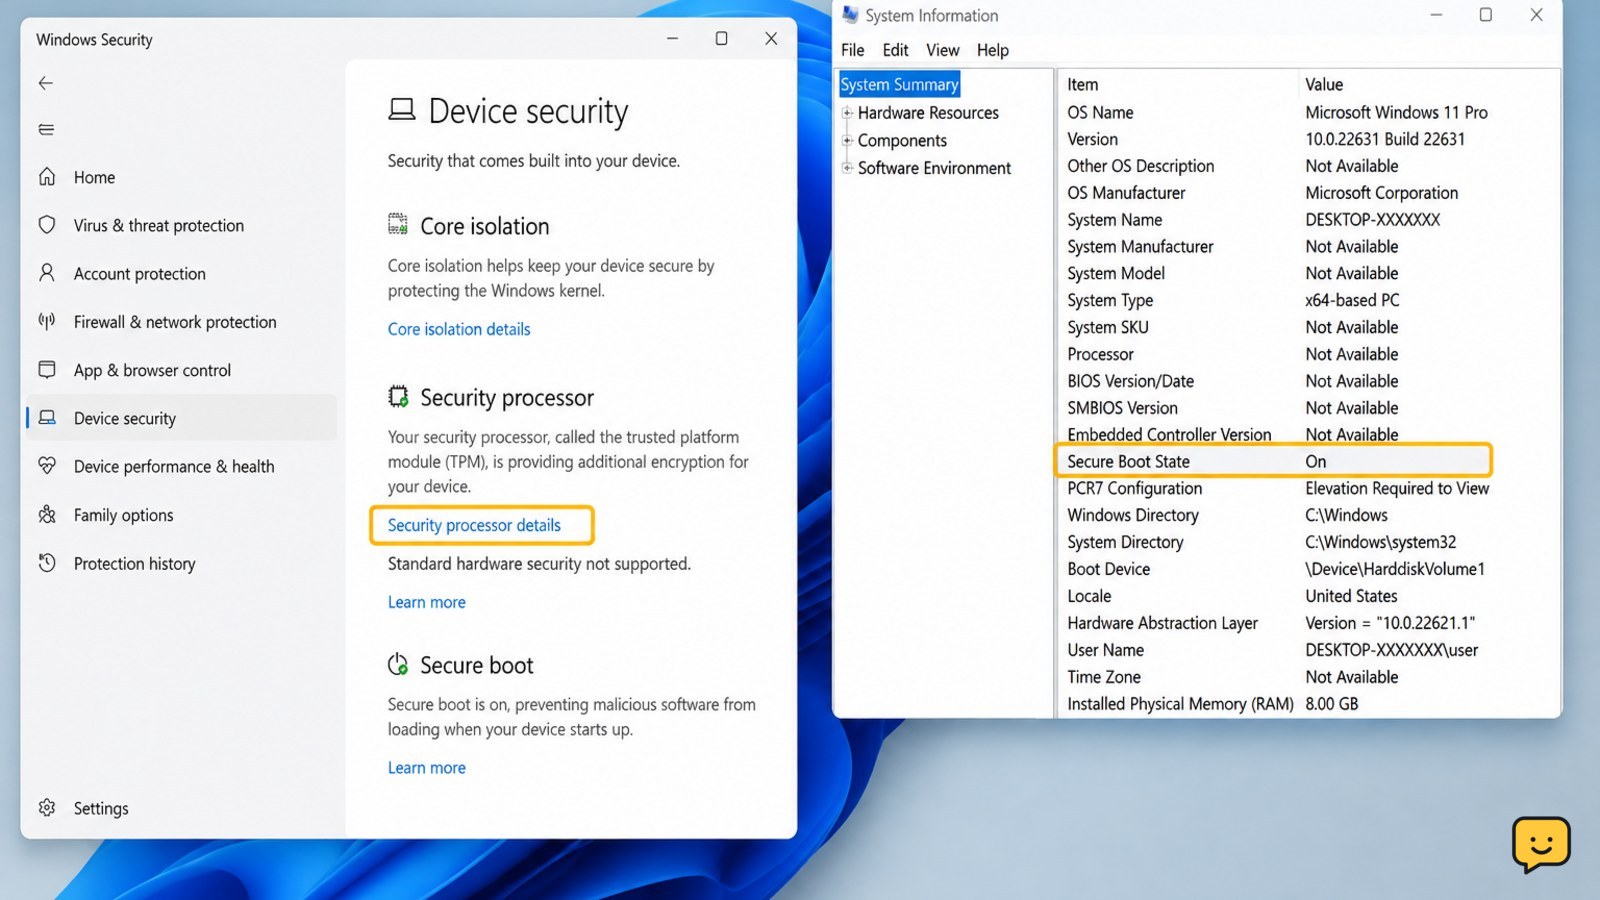
Valorant’s VAN restriction message usually means Vanguard cannot verify TPM 2.0 and Secure Boot on Windows 11. Check both settings in Windows first, then enable the matching options in your UEFI firmware. Restart and verify the result before repairing Vanguard. Do not change unrelated BIOS settings or disable Windows security features to bypass the warning.
What the VAN restriction error means
On Windows 11, Vanguard may require hardware-backed security checks before Valorant starts. The warning commonly names TPM 2.0 and Secure Boot. TPM stores security information in a protected hardware or firmware module, while Secure Boot helps ensure that trusted boot software loads when Windows starts.
This is a system-configuration requirement, not a request to change your Riot account. Complete the checks below in order. If both features already pass in Windows, skip the BIOS changes and continue with the Vanguard repair section.
1. Check TPM 2.0 in Windows 11
- Press Windows key + R, type
tpm.msc, and press Enter. - Check the status message. A working TPM should report that it is ready for use.
- Check Specification Version. It must show 2.0, not 1.2 or an unavailable value.
- Record whether the TPM is missing, disabled, or using an older specification. These results determine the next step.
If Windows reports that a compatible TPM cannot be found, the module may be disabled in UEFI, unsupported by the hardware, or affected by firmware settings. Do not clear the TPM simply to test it; clearing can remove stored security information and may trigger an encryption recovery prompt.
2. Check Secure Boot and firmware mode
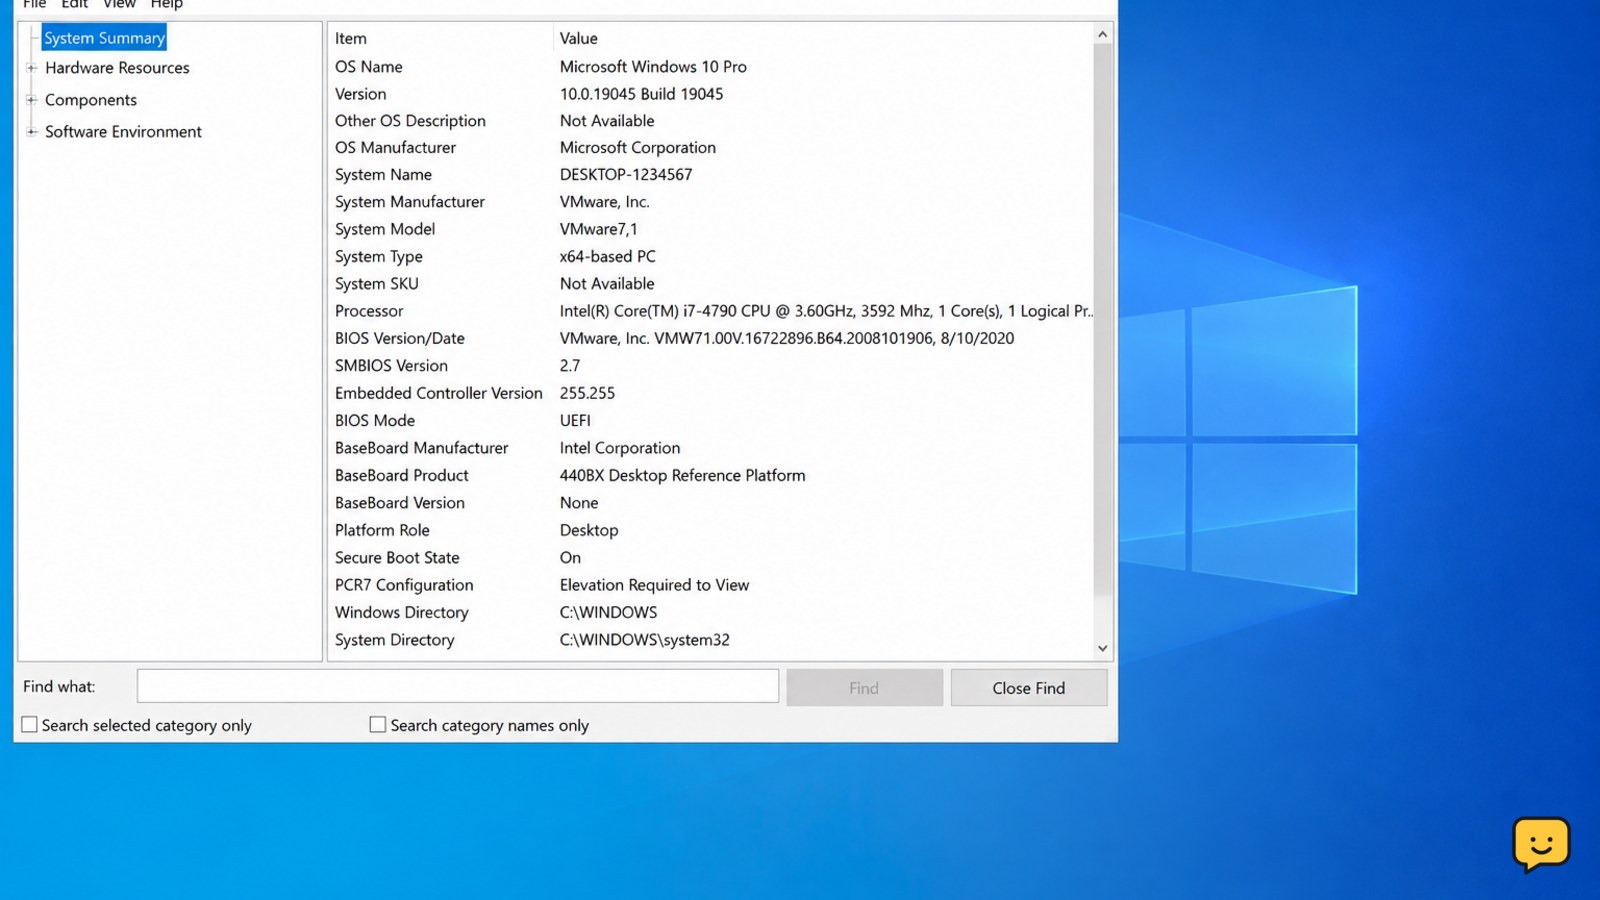
- Press Windows key + R, type
msinfo32, and press Enter. - In System Summary, find BIOS Mode. For Secure Boot to work correctly, this should normally be UEFI.
- Find Secure Boot State. The required result is On.
- Note any result showing Legacy, Off, or Unsupported before leaving the window.
If BIOS Mode says Legacy, do not switch firmware modes blindly. A Windows installation using the wrong boot mode may fail to start. Check your manufacturer’s instructions and confirm that the system disk and Windows installation support the required UEFI configuration before making a change.
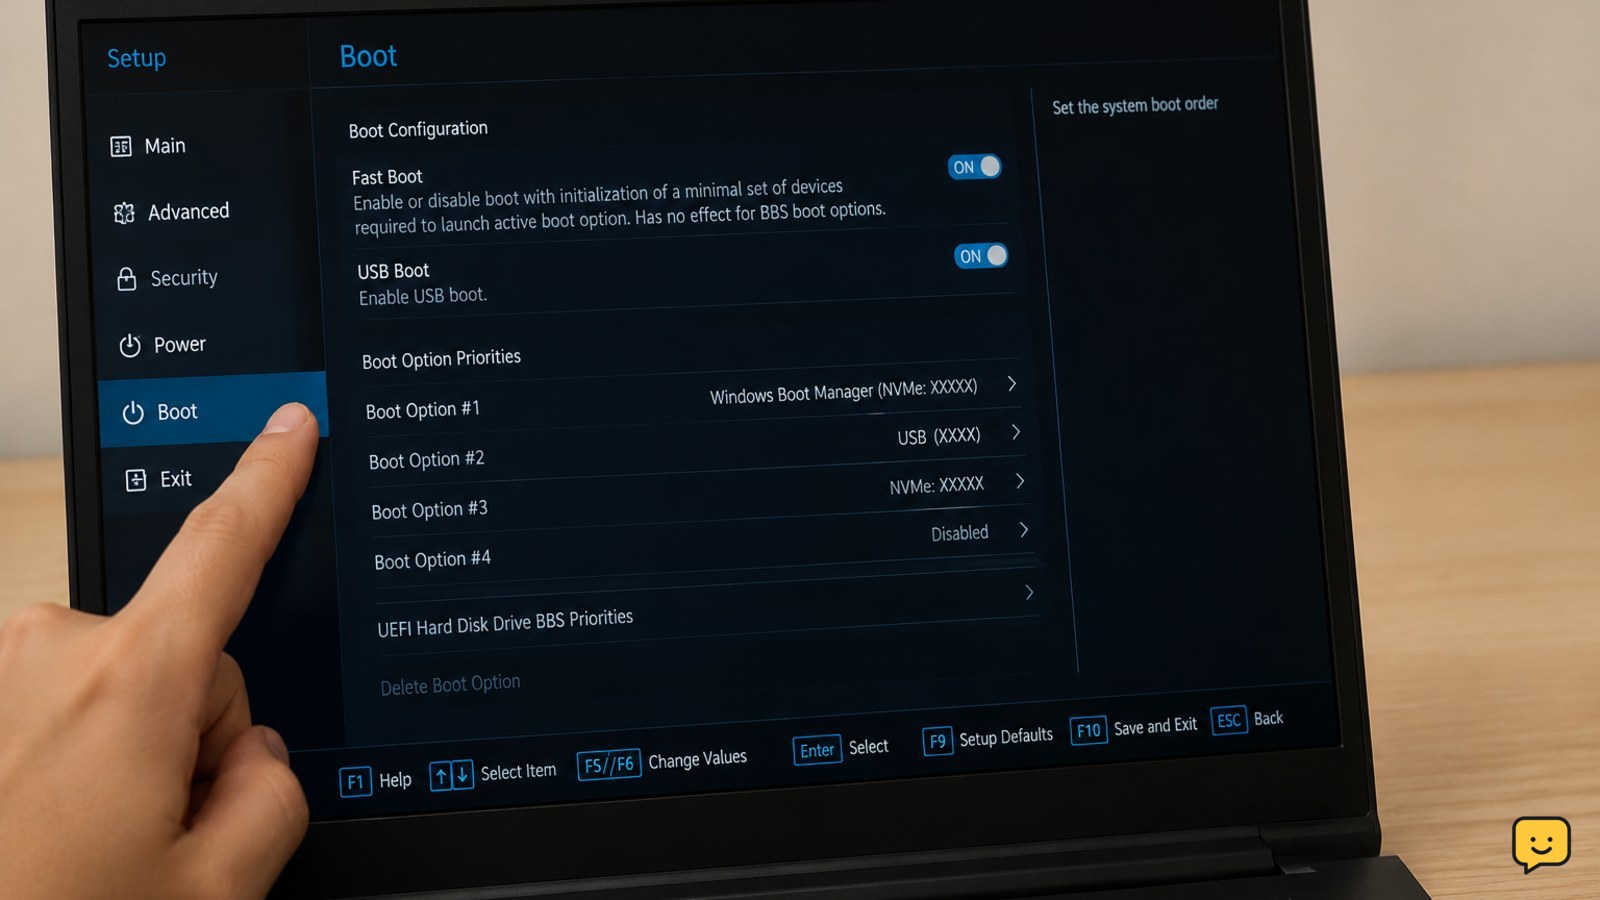
3. Enable TPM 2.0 and Secure Boot in UEFI
Only change the two security settings you need. Menu names differ by manufacturer and processor platform.
- Open Settings > System > Recovery.
- Next to Advanced startup, select Restart now.
- Choose Troubleshoot > Advanced options > UEFI Firmware Settings > Restart.
- Find the TPM setting. It may be called TPM Device, Security Device Support, Intel PTT, or AMD fTPM. Set it to Enabled.
- Find Secure Boot under Boot, Security, or Authentication settings and set it to Enabled.
- Save changes and exit. Allow Windows to boot normally.
Do not disable CSM or Legacy support unless the manufacturer’s instructions confirm that Windows is installed for UEFI. Do not change boot order, CPU security settings, virtualization settings, or storage-controller modes as part of this fix.
Failure path: If Secure Boot cannot be enabled, return to Windows and check whether BIOS Mode is UEFI. If it is already UEFI but Secure Boot remains unavailable, use the PC manufacturer’s support guide for your exact model. Do not force the setting.
4. Verify the settings after restarting
- Open
tpm.mscagain and confirm that the TPM is ready and its specification version is 2.0. - Open
msinfo32again and confirm BIOS Mode: UEFI and Secure Boot State: On. - Restart Windows one more time after both checks pass.
- Open the Riot Client and start Valorant.
Verification is important because enabling a firmware option does not guarantee that Windows or Vanguard has detected it yet. If the VAN restriction message disappears, stop here. Do not reinstall Vanguard or alter additional security settings.
5. Repair Vanguard only if the error remains
- Close Valorant and the Riot Client completely.
- Open Settings > Apps > Installed apps.
- Find Riot Vanguard, select the menu button, and choose Uninstall.
- Restart Windows.
- Open the Riot Client and start Valorant. The client should reinstall Vanguard if it is required.
- Restart Windows again if the Riot Client requests it, then test Valorant.
Use this repair after TPM 2.0 and Secure Boot pass their Windows checks. Reinstalling Vanguard cannot correct a disabled TPM, Legacy firmware mode, or Secure Boot that remains off.
Failure path: If Vanguard will not uninstall, Windows reports a service or permission error, or the same VAN restriction returns after a clean restart, do not use registry cleaners or unofficial commands. Capture the exact VAN code, the two msinfo32 values, the TPM status, and recent Windows or firmware changes, then submit those details to Riot Support.
When to contact Riot or the PC manufacturer
Contact the PC manufacturer when TPM 2.0 is unavailable, Secure Boot is unsupported, UEFI settings are locked, or Windows stops booting after a documented change. Contact Riot Support when both Windows checks pass but Vanguard still reports the requirement, or when the restriction message identifies a different VAN code.
Keep the troubleshooting record factual: Windows version, TPM specification version, BIOS Mode, Secure Boot State, motherboard or laptop model, and the exact message shown by Valorant. Do not share passwords, recovery keys, or other sensitive account information in a support ticket.
Frequently asked questions
Does Valorant require TPM 2.0 and Secure Boot on Windows 11?
Yes, Vanguard can require both security features on Windows 11. Confirm them in Windows with tpm.msc and msinfo32 before changing firmware settings. TPM must report specification version 2.0, while System Information should show UEFI firmware mode and Secure Boot State set to On.
Why is Secure Boot enabled in BIOS but still off in Windows?
Secure Boot may not be active if Windows is booting in Legacy mode, if the firmware configuration was not saved, or if the system uses an incompatible boot configuration. Check BIOS Mode in msinfo32. If it says Legacy, stop before changing modes and follow the manufacturer’s exact UEFI migration guidance.
Can I clear TPM to fix the Valorant VAN restriction error?
No. Clearing TPM is not a normal fix for this error and can remove stored security information or trigger a BitLocker recovery request. First confirm whether the TPM is disabled, unsupported, or already running version 2.0. Enable the appropriate firmware setting instead of clearing the module.
Should I reinstall Vanguard before enabling TPM 2.0 and Secure Boot?
No. Check and enable the security requirements first, then restart and test Valorant. Reinstall Vanguard only if TPM 2.0 and Secure Boot both pass in Windows but the VAN restriction remains. This avoids treating a firmware configuration problem as a game-installation problem.
Browse more Valorant guides for help with this topic.