When wheel speed sensor cleaning is worth trying
Cleaning may help when an ABS-capable scan tool points to one wheel and you find mud, road grime, or metallic debris on an accessible sensor face. ABS wheel speed sensors operate without touching the rotating target, but contamination around the sensing area can interfere with a reliable signal.
Do not assume a dirty ABS sensor is the only possible cause. Damaged wiring, loose or corroded connectors, a cracked tone ring, a damaged magnetic encoder ring, wheel-bearing play, an incorrect sensor air gap, or a failed sensor can produce a similar code or warning light.
Cleaning is not a suitable repair for a cut cable, broken connector, damaged sensor head, swollen or torn O-ring, loose wheel bearing, or damaged ring. A seized sensor should not be forced from its mounting hole.
How to clean an ABS sensor
-
Read the ABS diagnostic trouble codes
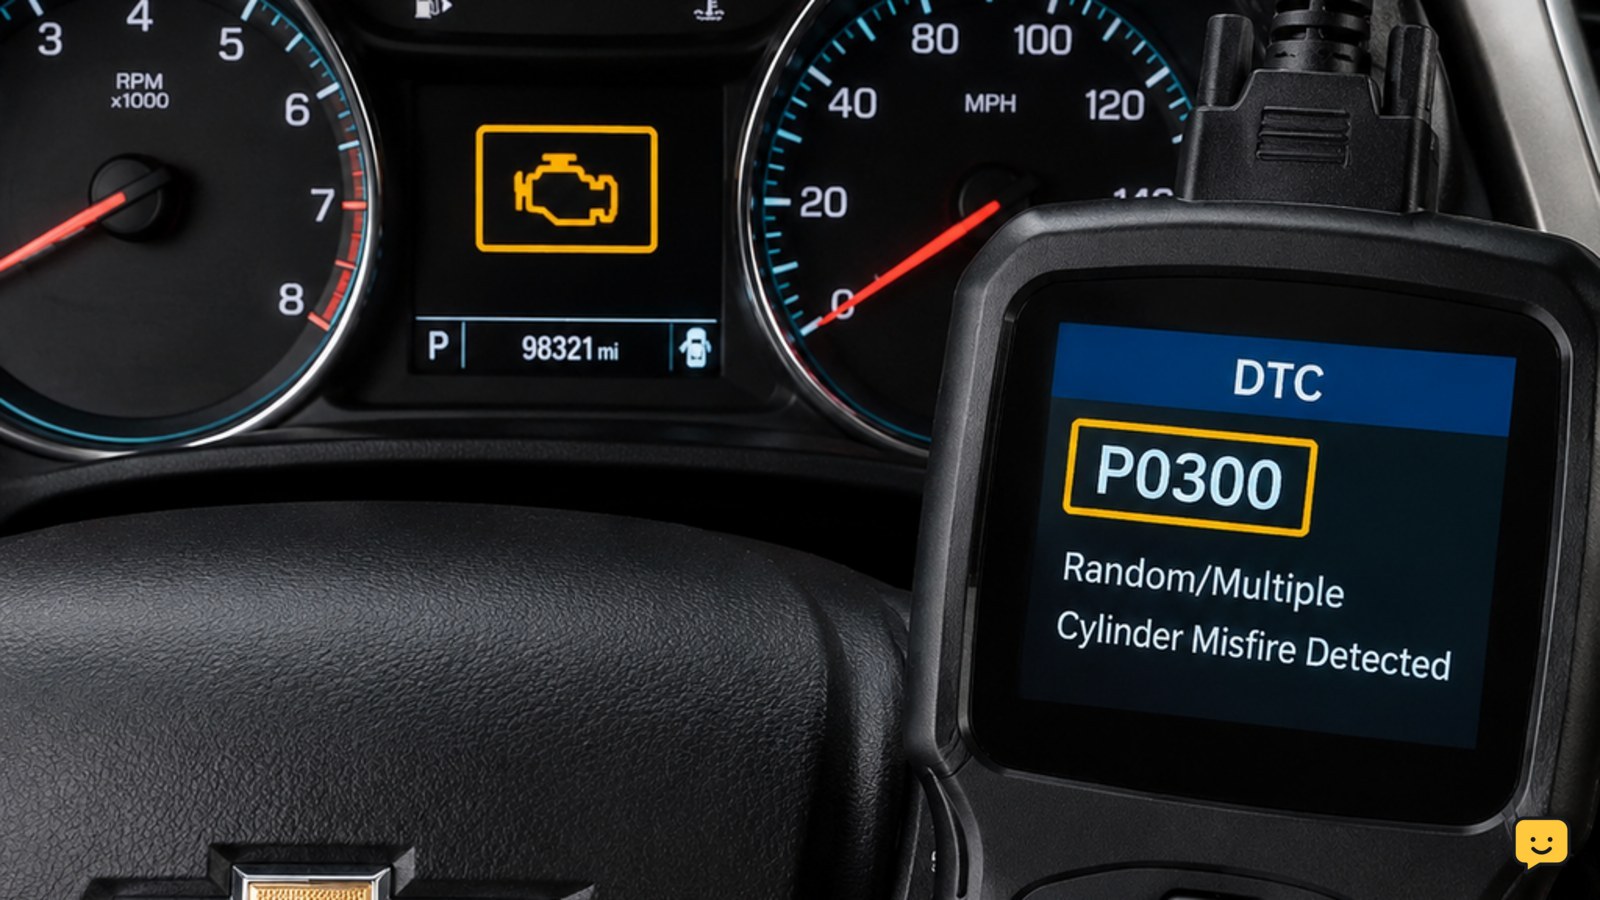
Connect an ABS-capable scan tool and record every stored, pending, and current code before taking anything apart. A basic engine-code reader may not communicate with the ABS module. The trouble code should point you toward the affected wheel or circuit, but it does not prove that the sensor itself is defective.
Expected result: You have a record of the codes and know which wheel or circuit needs inspection.
-
Check the vehicle-specific procedure
Find the sensor location, lifting point, wheel-nut specification, sensor fastener torque, connector release method, and removal procedure in the owner’s manual or service information. Confirm whether the sensor can be removed separately from the hub or bearing.
Expected result: You know the correct access and reassembly requirements for your exact vehicle.
-
Secure, lift, and support the vehicle
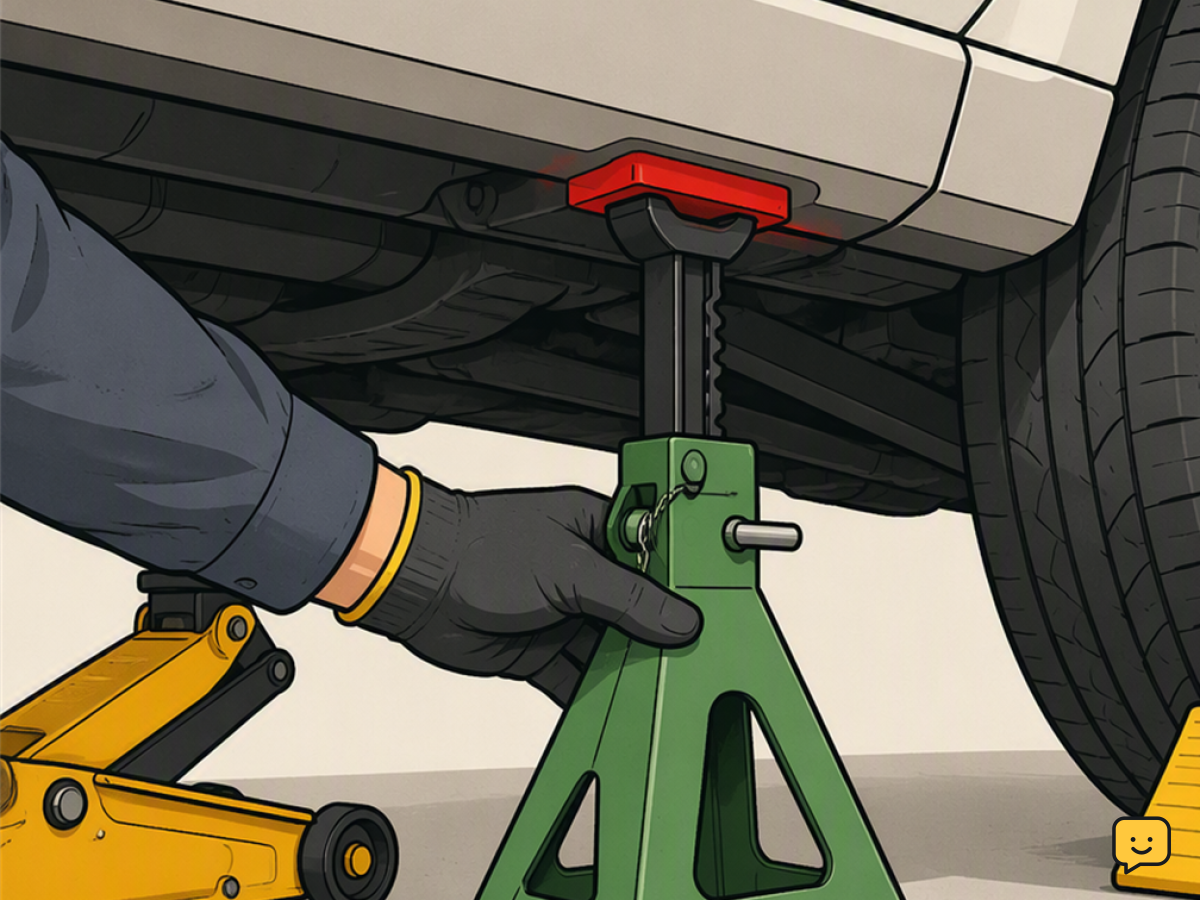
Use the specified lifting point and support the vehicle with a jack stand before removing the wheel. Park on level, solid ground, apply the parking brake, and chock the wheels that will remain on the ground. Loosen the required wheel nuts only as directed, lift at the specified point, place jack stands at approved support points, and remove the wheel. Wear eye protection around the brake and hub area.
Expected result: The vehicle is stable on jack stands and the affected wheel area is safely accessible.
-
Locate the sensor and inspect the harness
Trace the wheel speed sensor cable from the hub or steering knuckle to its connector. Look for rubbing, cuts, stretched sections, melted insulation, loose clips, bent pins, moisture, or corrosion. Do not pull on the wire to disconnect it, and do not flood the connector with solvent.
Expected result: The cable and connector are either confirmed visually sound or identified as likely fault sources.
-
Disconnect and remove the sensor as specified
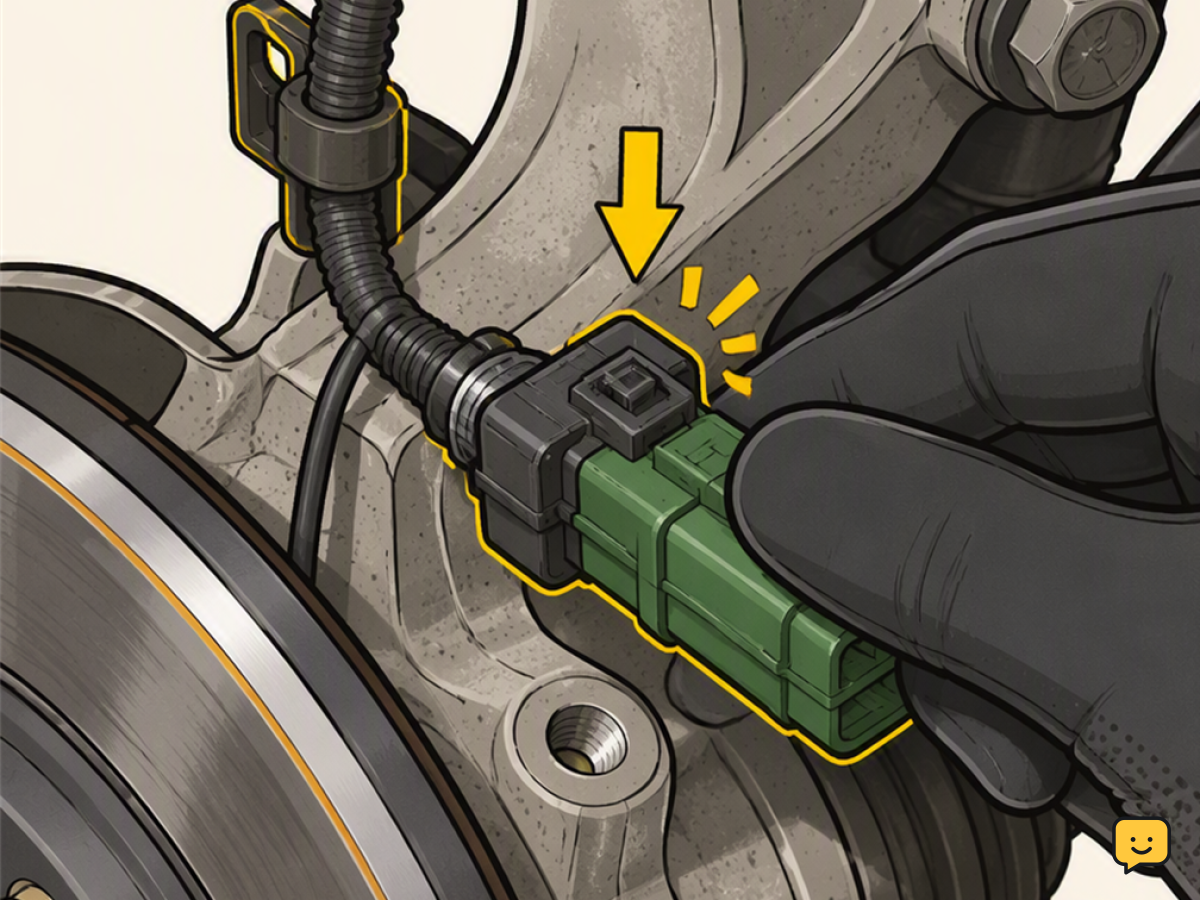
Release the connector by its locking tab rather than pulling on the sensor cable. Release the connector lock and remove the sensor fastener with the correct tool. Pull only in the direction specified by the service procedure. Do not grab or twist the plastic sensor with pliers. If corrosion has seized it in place, stop rather than breaking the sensor or damaging its mounting bore.
Expected result: The sensor comes out without damage, or you stop safely because professional removal or replacement is needed.
-
Clean the sensor tip gently
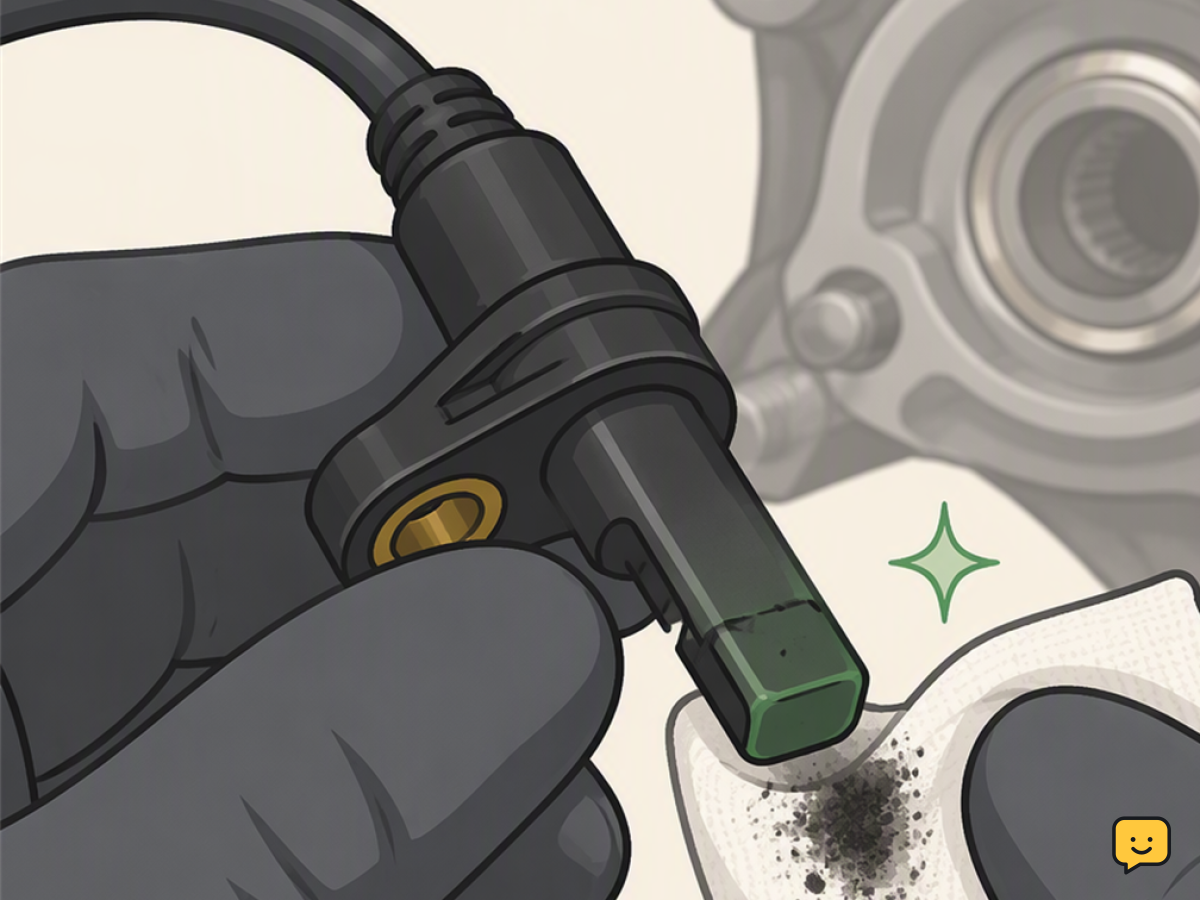
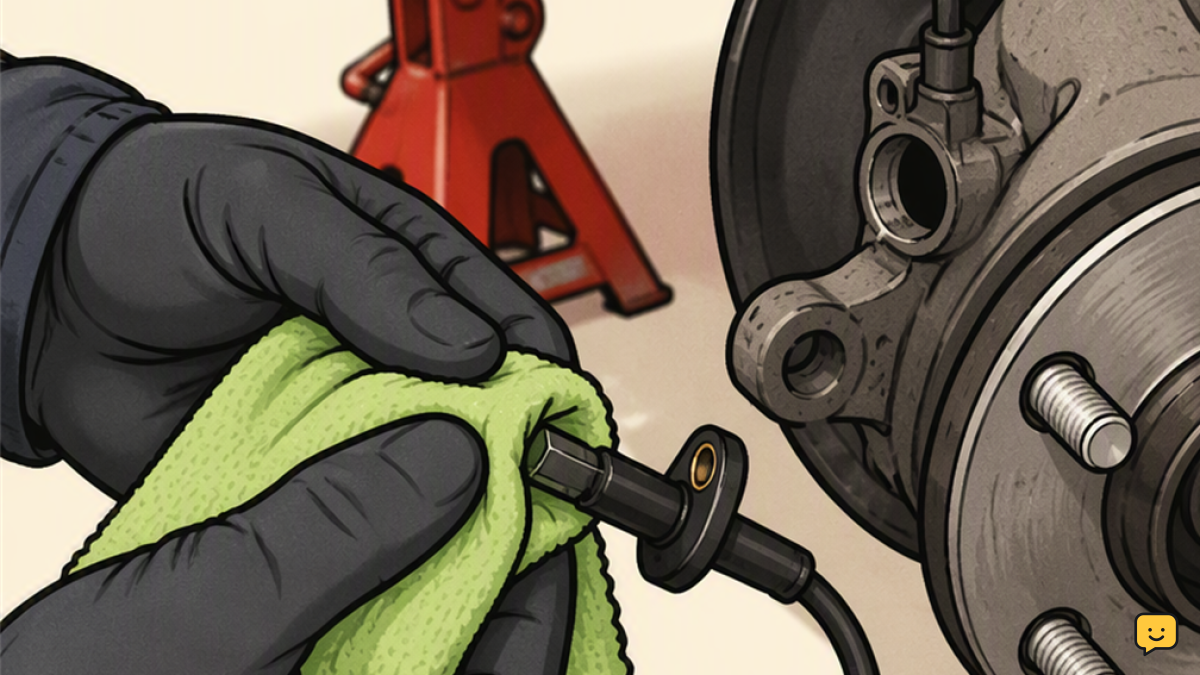
Wipe loose debris from the sensor tip without sanding, scraping, or using a magnet. Use a dry microfiber or lint-free cloth to wipe loose debris from the sensor head. A soft nylon brush can help with dry dirt in small recesses. Do not sand, scrape, or use an abrasive pad on the tip. Do not direct compressed air into the hub or blow debris deeper into the bearing area.
Expected result: Loose contamination is removed without scratching or changing the sensor surface.
-
Inspect the sensor, seal, mounting area, and ring
Check the sensor head for cracks, impact marks, swelling, or heavy wear. Inspect its O-ring or seal for tears and flattening. If the vehicle procedure permits, clean loose corrosion or dirt from the mounting seat separately with a lint-free cloth or soft nylon brush so the sensor can sit fully in place.
Inspect the visible tone ring for cracked, missing, bent, or heavily corroded teeth. If the vehicle uses a magnetic encoder ring, look for physical damage or contamination without scraping it. Never place a magnet against an encoder ring. Do not rotate or disturb components in a way the service procedure prohibits.
Expected result: The sensor can seat correctly, and no obvious damage is found on the sensor, seal, mounting area, tone ring, or encoder surface.
-
Reinstall the sensor and wheel
Install a serviceable O-ring or seal as directed, route the harness through every original clip, and reconnect the electrical plug until its lock engages. Tighten the sensor fastener to the vehicle manufacturer’s specification; there is no universal torque value. Refit the wheel, lower the vehicle correctly, and tighten the wheel nuts in the specified pattern and to the specified torque.
Expected result: The sensor is fully seated, the cable cannot contact moving parts, and all fasteners are tightened to the correct vehicle-specific specifications.
-
Verify the repair
If any brake component or pedal travel was disturbed during access, pump the brake pedal until it feels normal before moving the vehicle. Recheck your work, switch on the ignition, and scan the ABS module. Clear codes only after the repair is complete. Then perform a cautious, low-speed test in a safe area while watching for warning lights and unusual brake behavior.
Expected result: The brake pedal feels normal, the ABS system completes its checks, and the code does not return. If a light, code, noise, or unsafe brake symptom remains, stop driving and continue diagnosis.
If the ABS light stays on
An ABS light that remains on does not mean the cleaning was performed incorrectly. The module may still detect an electrical, mechanical, or signal problem that cleaning cannot fix.
| Symptom | Likely cause | Next action |
|---|---|---|
| The code returns as soon as the ignition is switched on | Open or shorted wiring, poor connector contact, or a failed sensor | Inspect the circuit using the vehicle’s wiring diagram and specified electrical tests. Repair wiring or replace parts only after confirming the fault. |
| The light returns after the vehicle starts moving | Damaged tone ring or encoder ring, incorrect air gap, weak sensor signal, or wheel-bearing play | Review live wheel-speed data and inspect the ring, bearing, sensor seating, and specified air gap. |
| The warning appears over bumps or while steering | Intermittent cable break, loose connector, or harness rubbing | Inspect the complete harness route and connector locks. Follow the manufacturer’s circuit-testing procedure. |
| One wheel-speed reading drops out or differs from the others | Ring damage, bearing movement, sensor alignment problem, or sensor failure | Compare scan-tool live data at low speed and inspect that wheel’s mechanical and electrical parts. |
| There is scraping, looseness, or roughness at the wheel | Wheel-bearing or tone-ring damage | Do not rely on sensor cleaning. Stop and have the hub, bearing, and brake assembly inspected. |
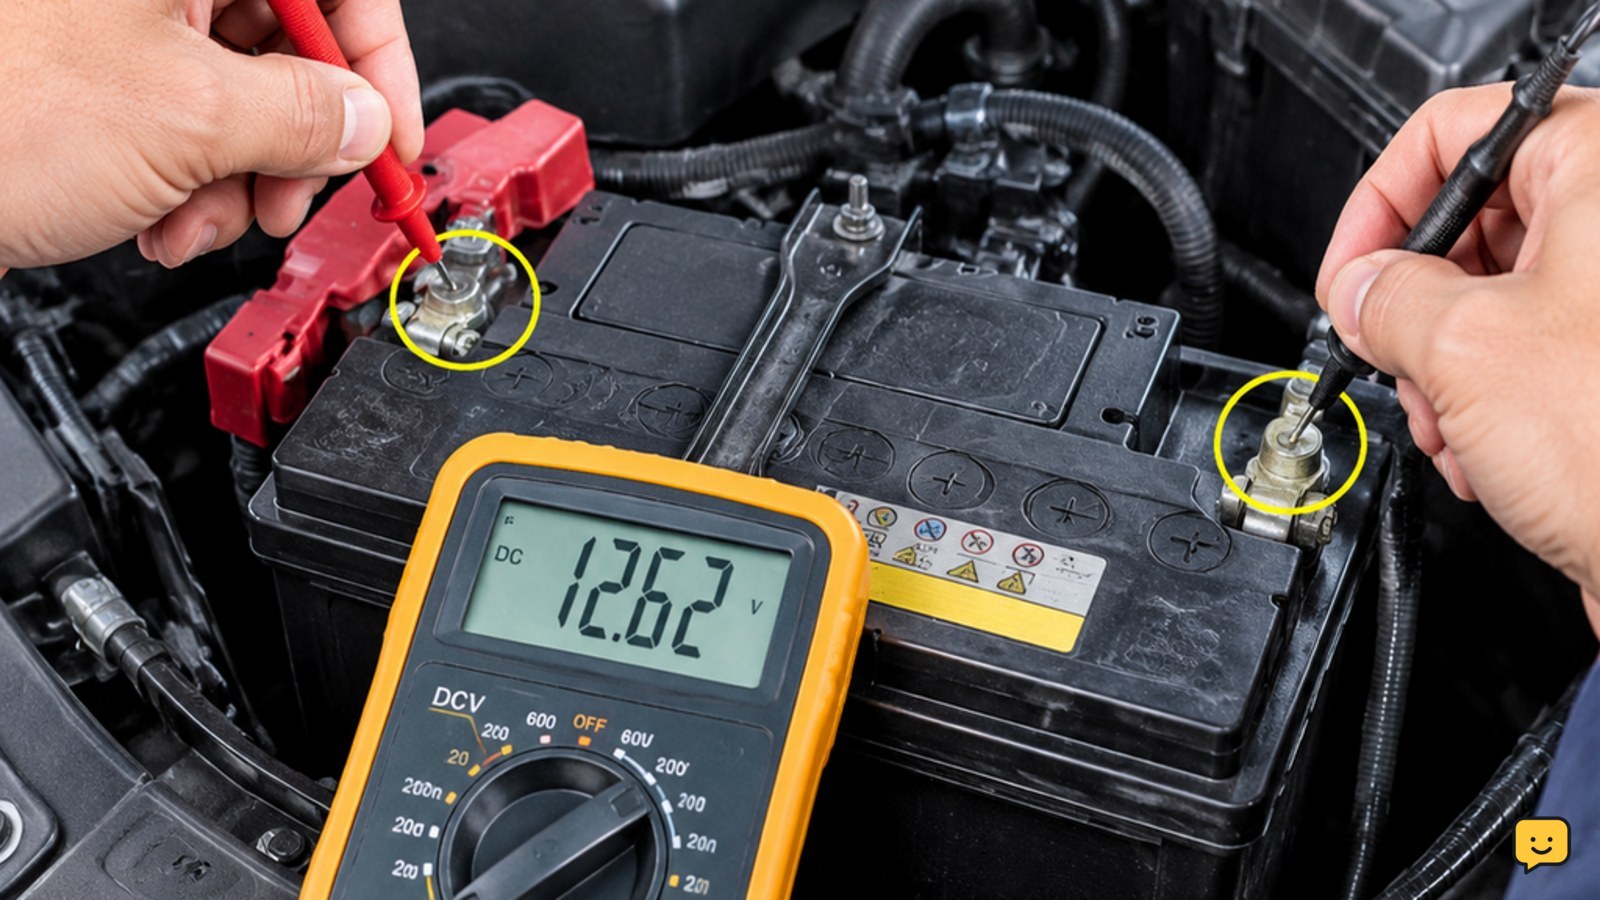
| Several warning lights appear or the scan tool cannot reach the ABS module | Low system voltage, power or ground fault, network problem, or module issue | Check battery condition and module power, ground, and communication using the service information, or use a qualified technician. |
Frequently asked questions
Can I clean an ABS sensor without removing it?
Sometimes. If the service information allows access to the sensor face or surrounding area, you may be able to remove loose surface debris without taking out the sensor. Do not push dirt into the hub, spray solvent into the connector, or use a tool that could damage the tone ring or encoder ring.
Should I spray brake cleaner on an ABS sensor?
A dry lint-free cloth or soft nylon brush is the safer general method. Solvent compatibility varies among sensor plastics, seals, bearing components, and encoder materials. Use a chemical cleaner only if the vehicle or product manufacturer specifically approves it for that location and material.
Will cleaning a dirty ABS sensor turn off the ABS light?
It may if debris was disrupting the wheel-speed signal, but cleaning is not a guaranteed repair. The light can remain on because of wiring, connector, ring, bearing, air-gap, sensor, voltage, or module faults. Read the codes again and confirm the repair with live data or the tests in the service manual.
Browse more Maintenance & Repair guides for help with this topic.
Sources and verification
- Bosch Mobility — Wheel-speed sensor overview: https://www.bosch-mobility.com/en/solutions/sensors/wheel-speed-sensor/
- Bosch Auto Parts — Wheel-speed sensor information: https://www.boschautoparts.com/p/wheel-speed-sensors-0986594506-
- HELLA Tech World — Checking and replacing ABS wheel-speed sensors: https://www.hella.com/techworld/uk/technical/sensors-and-actuators/check-and-change-abs-and-wheel-speed-sensors/
- Polaris Owner's Manual — ABS tone ring and sensor inspection: https://cdn.polarisportal.com/servicemanagement-public/OwnerManuals/9929430/Anti-LockBrakeSystemABSToneRingSens-247D8888.html