To clean grout lines, vacuum or sweep first, apply a mild tile-safe cleaner, scrub with a soft grout brush, then rinse away residue and dry the area. Test the cleaner on a hidden joint before covering the floor. For mold, use a labeled mold cleaner; for cracked, missing or crumbling grout, stop cleaning and plan a repair.
For more help with this topic, use the Cleaning Stain Removal guides.
Check the grout and tile before cleaning
Tile grout lines need a gentler method when the joints are damaged, colored, sealed or next to a moisture-sensitive surface.
- Look for loose sections, hairline cracks, pinholes, missing grout or powder on your fingertip. These are repair signs, not ordinary dirt.
- Check nearby tile for a polished or natural-stone finish. Do not use an untested acidic cleaner on stone or on grout surrounding stone.
- Test the intended cleaner in a hidden area. Leave it for the label’s stated contact time, scrub lightly, rinse completely and let it dry.
A successful test leaves the color and finish unchanged. If the joint darkens permanently, flakes or feels softer, rinse it immediately and use only the surface manufacturer’s approved product.
Remove loose dirt before wet scrubbing
Tile grout cleans more evenly after dry grit and hair have been removed from the floor or wall.
- Vacuum with a hard-floor setting or sweep with a soft broom.
- Use a dry microfiber cloth on wall tile and along edges where a vacuum cannot reach.
- Move rugs, bottles and small objects so the full grout line can be inspected and cleaned.
Do not start with a soaking-wet floor. Excess water can spread dirty residue into adjacent joints and makes it harder to see whether the grout is actually clean.
Scrub grout lines with a mild cleaner
For routine dirt, apply a small amount of warm water and mild tile-safe cleaner, then work one manageable section at a time.
- Follow the cleaner label for dilution and contact time. Do not assume a concentrated product works better.
- Apply the solution to the grout rather than flooding the whole surface.
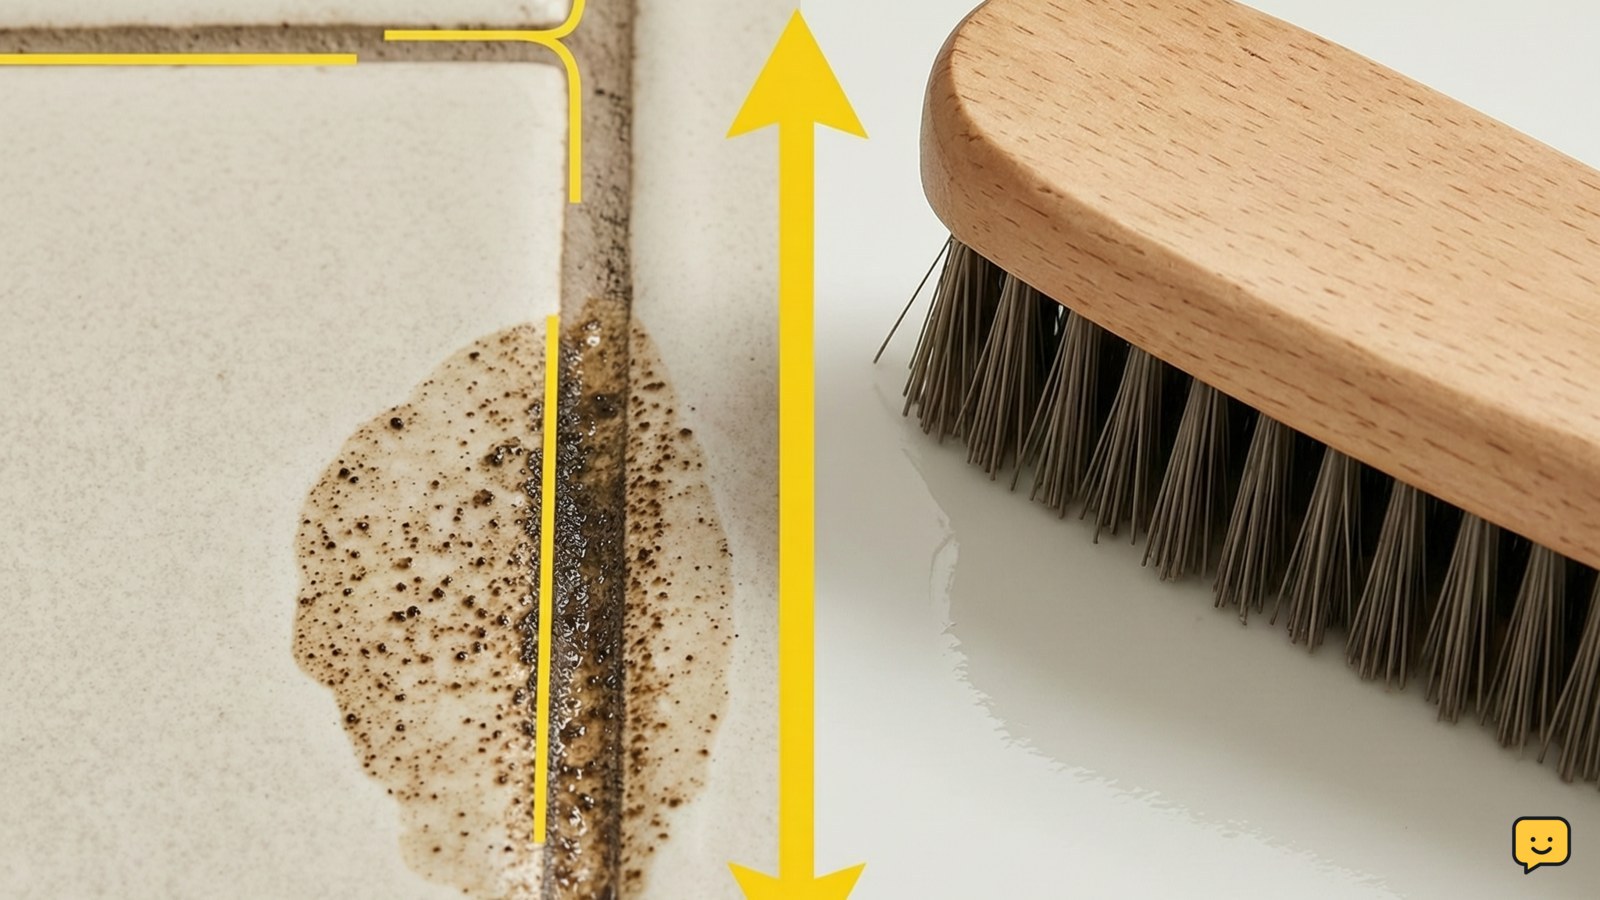
- Scrub along the joint with a soft nylon grout brush or soft-bristled brush. Use short strokes and light pressure, especially on older cement grout.
- Wipe up loosened soil with a microfiber cloth before it dries.
Bissell’s tile-and-grout guidance identifies a soft-bristled brush for grout stains and discusses steam cleaning for unsanded grout. Treat steam as an optional method only when the tile and grout manufacturer permits it; do not use it as a default on an unknown installation.
If the joint looks clean while wet but turns chalky or cloudy after drying, cleaner residue remains. Rinse again with clean water rather than adding a stronger chemical.
Rinse, dry and verify the result
Clean grout lines are verified only after cleaner residue has been removed and the joint has dried.
- Wipe the section with a clean, damp microfiber cloth.
- Rinse the cloth frequently and repeat until no slick or foamy residue remains.
- Dry tile and grout with a fresh towel, then provide ventilation until the joints are fully dry.
- Compare the cleaned area with an untouched section in the same light.
Success means the grout has an even appearance, no slippery film and no cleaner odor lingering at the surface. If dark marks remain but the grout is sound, repeat the mild treatment once after drying. Repeated aggressive scrubbing can remove or roughen grout without solving a deep stain.
Choose a targeted method for stains or mold
Stained grout needs a targeted, label-approved treatment after routine soil has been removed.
- Greasy or tracked-in dirt: Use a mild tile-safe cleaner and a soft brush, then rinse twice if the surface feels slippery.
- Mineral deposits: First check the tile and grout instructions. Avoid acids on natural stone or an unknown finish; choose a product explicitly labeled for that surface.
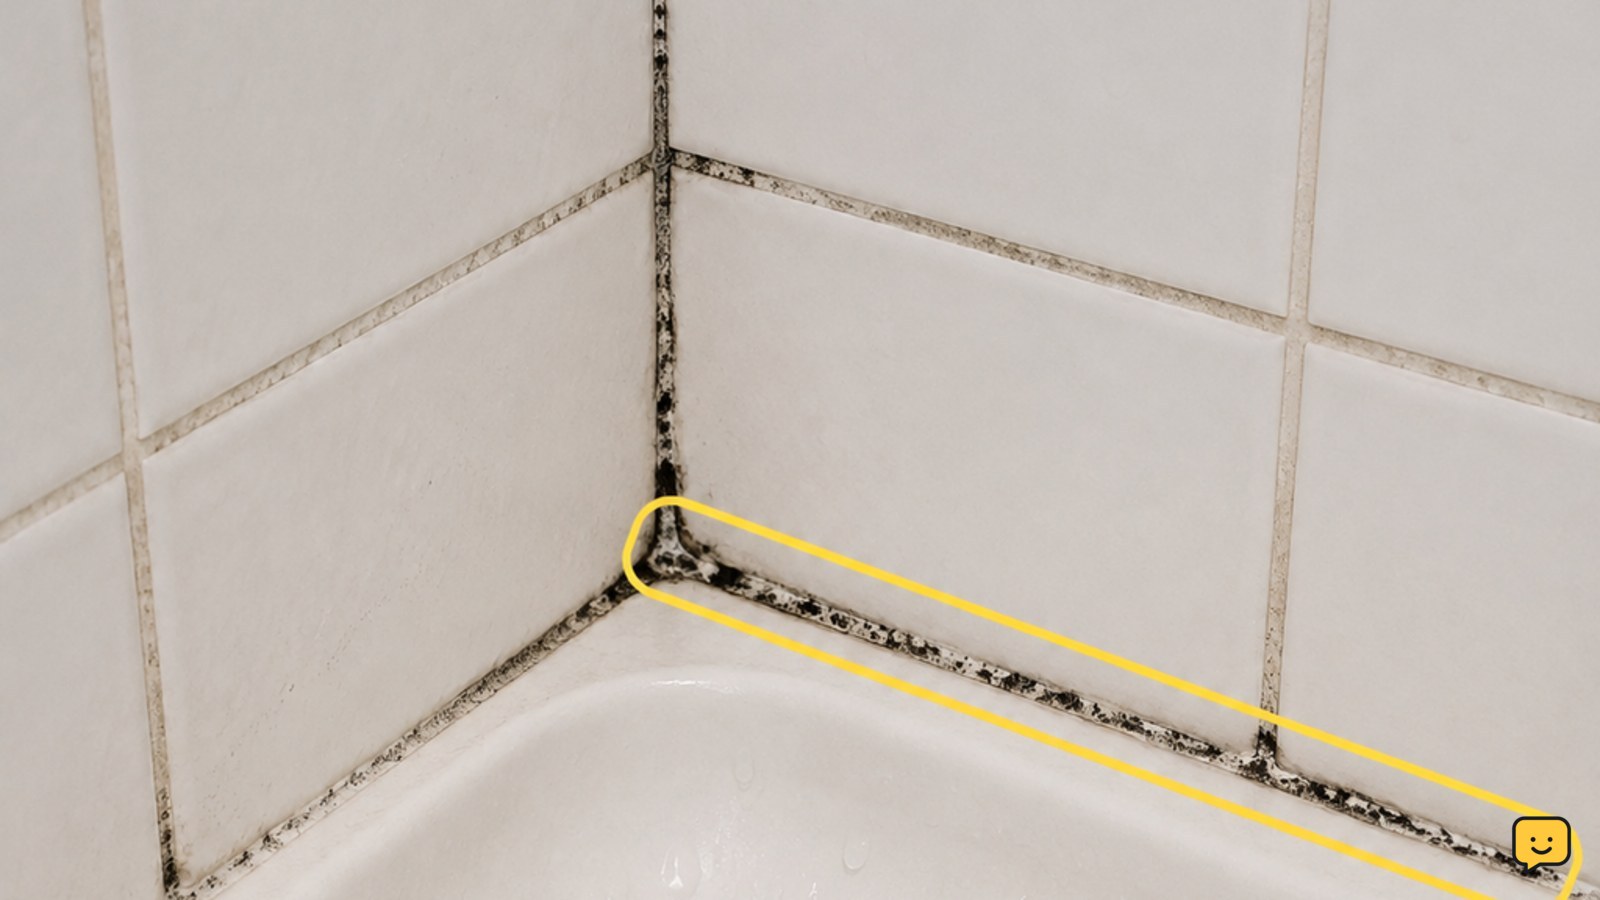
- Mold or mildew: Use ventilation, gloves and a labeled mold cleaner according to its instructions. Never combine it with another cleaner. For a related shower-specific procedure, see safe shower mold removal.
- Persistent discoloration: If the joint is sound but its color remains uneven after cleaning and drying, the issue may be absorbed staining or failed grout color. Consider a compatible grout colorant or professional advice instead of stronger household chemicals.
Do not paint, seal or recolor grout while it is damp. A sealer can also fail if residue remains, so follow the grout-sealer label and wait until the joints are fully dry.
For recurring shower growth, use this guide to safe shower mold removal: safe shower mold removal
What to do if cleaning does not work
When cleaning does not restore grout, the visible problem may be damage, recurring moisture or a stain below the surface.
- If grout is missing or crumbling, remove only loose material and arrange a compatible regrouting repair; do not pack new product over unstable joints.
- If dark growth returns quickly, inspect ventilation, leaks, shower corners and the caulk beside the grout. Cleaning alone will not correct ongoing moisture.
- If the tile is cracked, loose or stained beneath its finish, stop using abrasive tools and ask a tile professional to assess the installation.
- If the cleaned area is sound and dry but still porous, choose a grout sealer only after confirming compatibility and following the product’s cure instructions.
Stop the job if you cannot identify the surface or product compatibility. A small clean test area is safer than treating the entire floor or shower with an uncertain chemical.
Frequently asked questions
Can I use baking soda to clean grout lines?
Yes, a baking soda-and-water paste can be used as a mild spot treatment on compatible tile and sound grout. Flooring Inc. describes applying the paste to grout, allowing contact time and scrubbing it. Test first, use a soft brush, rinse thoroughly and avoid the method on a surface whose manufacturer prohibits it.
Is bleach safe for grout?
Bleach is not automatically safe for every grout or tile installation. If a labeled product is appropriate, follow its directions, ventilate the area and test first. Never mix bleach with vinegar, ammonia, acids or another cleaner. Stop if the grout changes color, softens or begins to crumble.
Why does grout look clean when wet but dirty when dry?
Cleaner residue, trapped soil or a permanent stain can become more visible as the joint dries. Rinse with clean water, wipe with a fresh microfiber cloth and let the area dry fully. If the appearance does not improve after one careful repeat, avoid harsher scrubbing and assess whether the grout needs color treatment or repair.
How often should grout lines be cleaned?
Clean grout when visible soil or residue appears, with routine sweeping or wiping between deeper cleanings. High-moisture areas may need more frequent attention because ventilation and recurring dampness affect how quickly discoloration returns. Drying the surface after use helps reveal new buildup and prevents repeated heavy scrubbing.