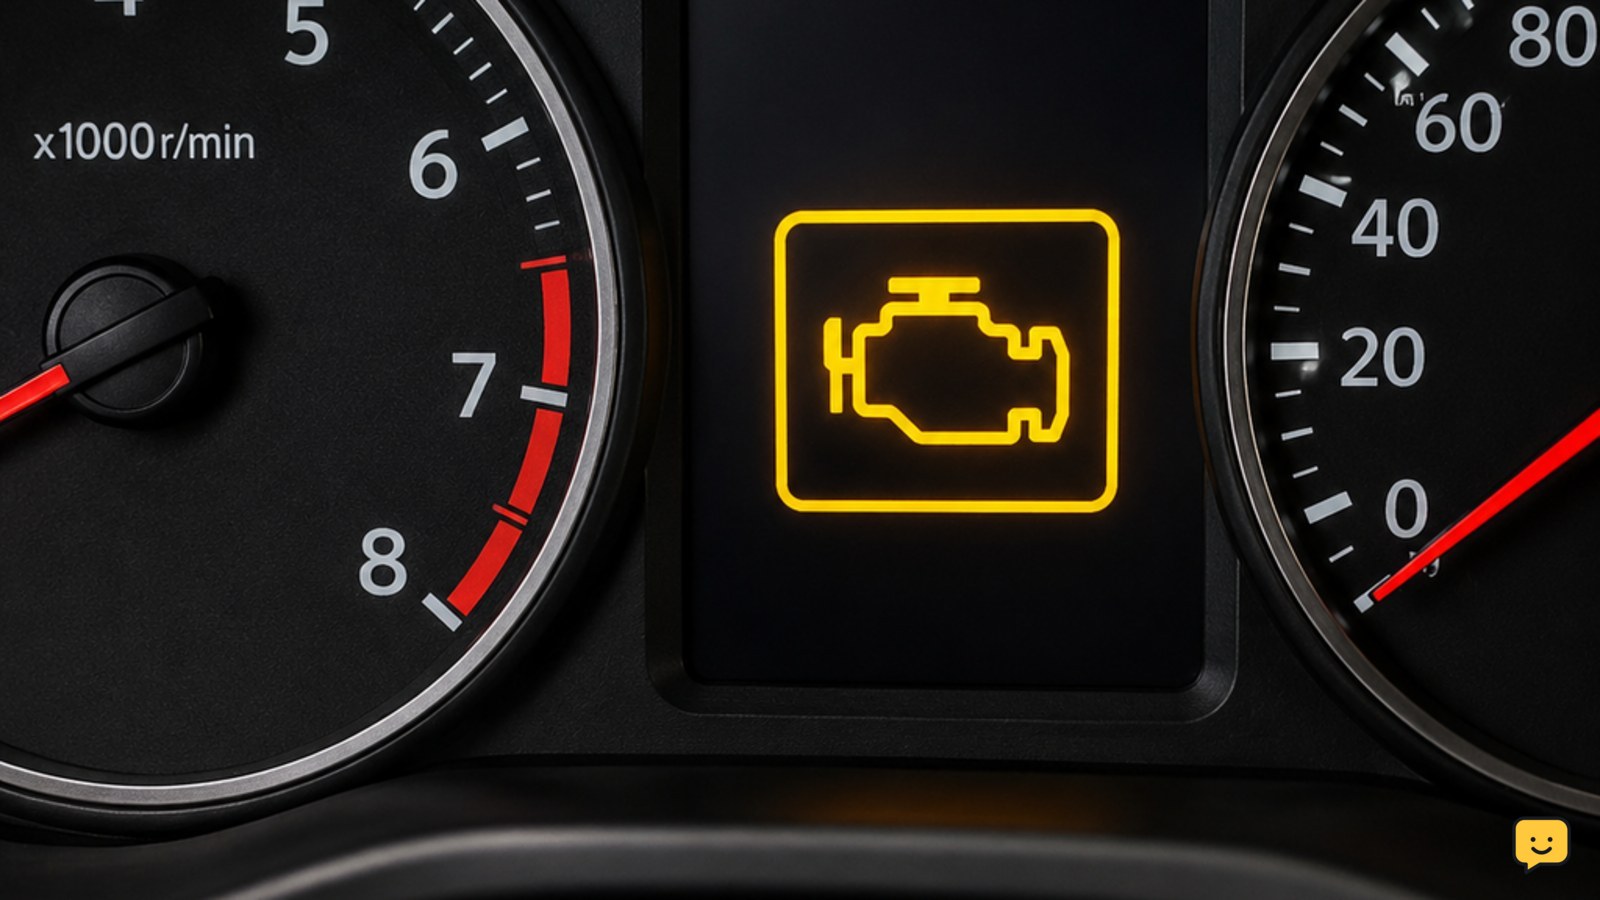
The safest way to reset a check engine light is to connect an OBD-II scanner, read and record the trouble codes, correct the underlying fault, then choose Clear Codes. Turn the ignition off, restart the car, and confirm the light stays off. Do not reset a flashing light or ignore severe symptoms; arrange diagnosis instead.
For more help with this topic, use the Maintenance Repair guides.
Check the Light and Driving Risk First
A steady check-engine light with normal engine operation may allow a short, cautious trip for diagnosis, but a flashing light or serious running symptom is a stop condition. A flashing warning can indicate an active misfire and should not be reset merely to turn off the lamp. For the checks to make before moving the car, see what to do before driving with the light on.
Before resetting anything, note whether the vehicle starts normally, idles smoothly, accelerates normally, and has unusual smells, smoke, or noises. If any of those conditions are severe, leave the light active and arrange recovery or repair.
Before moving the car, follow these checks for what to do before driving with the warning on: what to do before driving
Read and Save the Codes Before Resetting
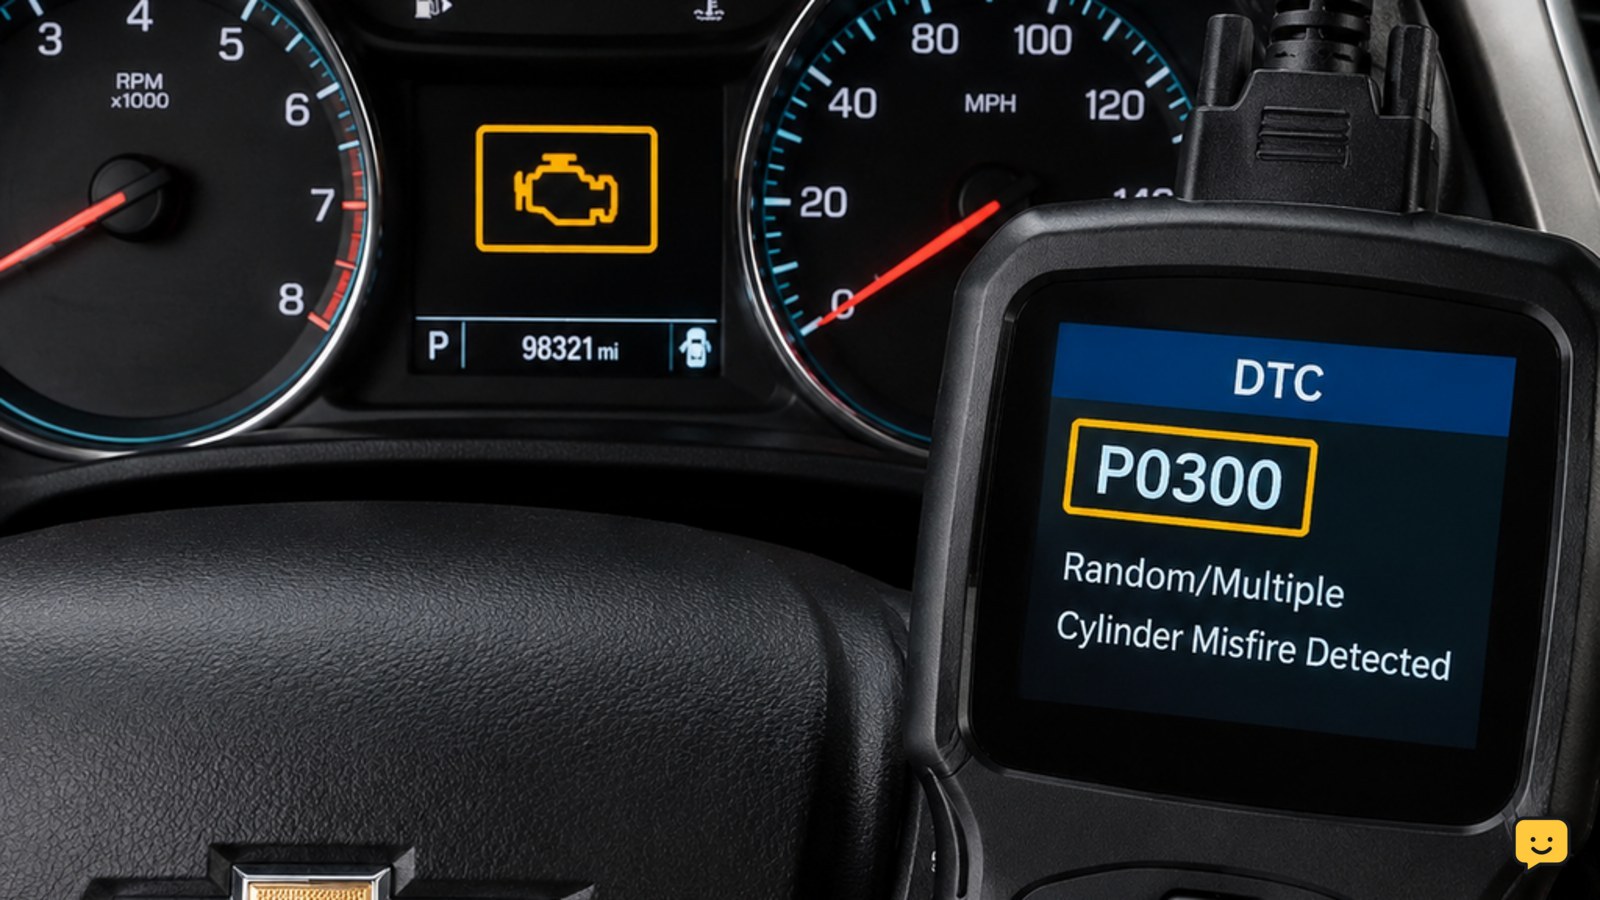
An OBD-II scanner identifies stored diagnostic information before the check-engine light is cleared. With the ignition off, plug the scanner into the vehicle’s OBD-II port, then switch the ignition to the position that powers the vehicle electronics without starting the engine unless the scanner instructions say otherwise.
- Choose the vehicle’s diagnostic or scan function.
- Wait for the scanner to communicate with the vehicle.
- Write down every stored, pending, and permanent code, along with any freeze-frame information the tool displays.
- Use the code description as a direction for diagnosis, not proof that one specific part is defective. Check the owner’s manual or a repair reference for the exact vehicle.
Do not skip this record. Clearing the system first can remove information that helps identify an intermittent fault, and it does not repair the condition that triggered the warning.
A scanner is also the clearest way to verify whether the light was actually cleared. Car and Driver describes locating the OBD-II port and connecting a scanner or compatible adapter before using the tool’s clear function.
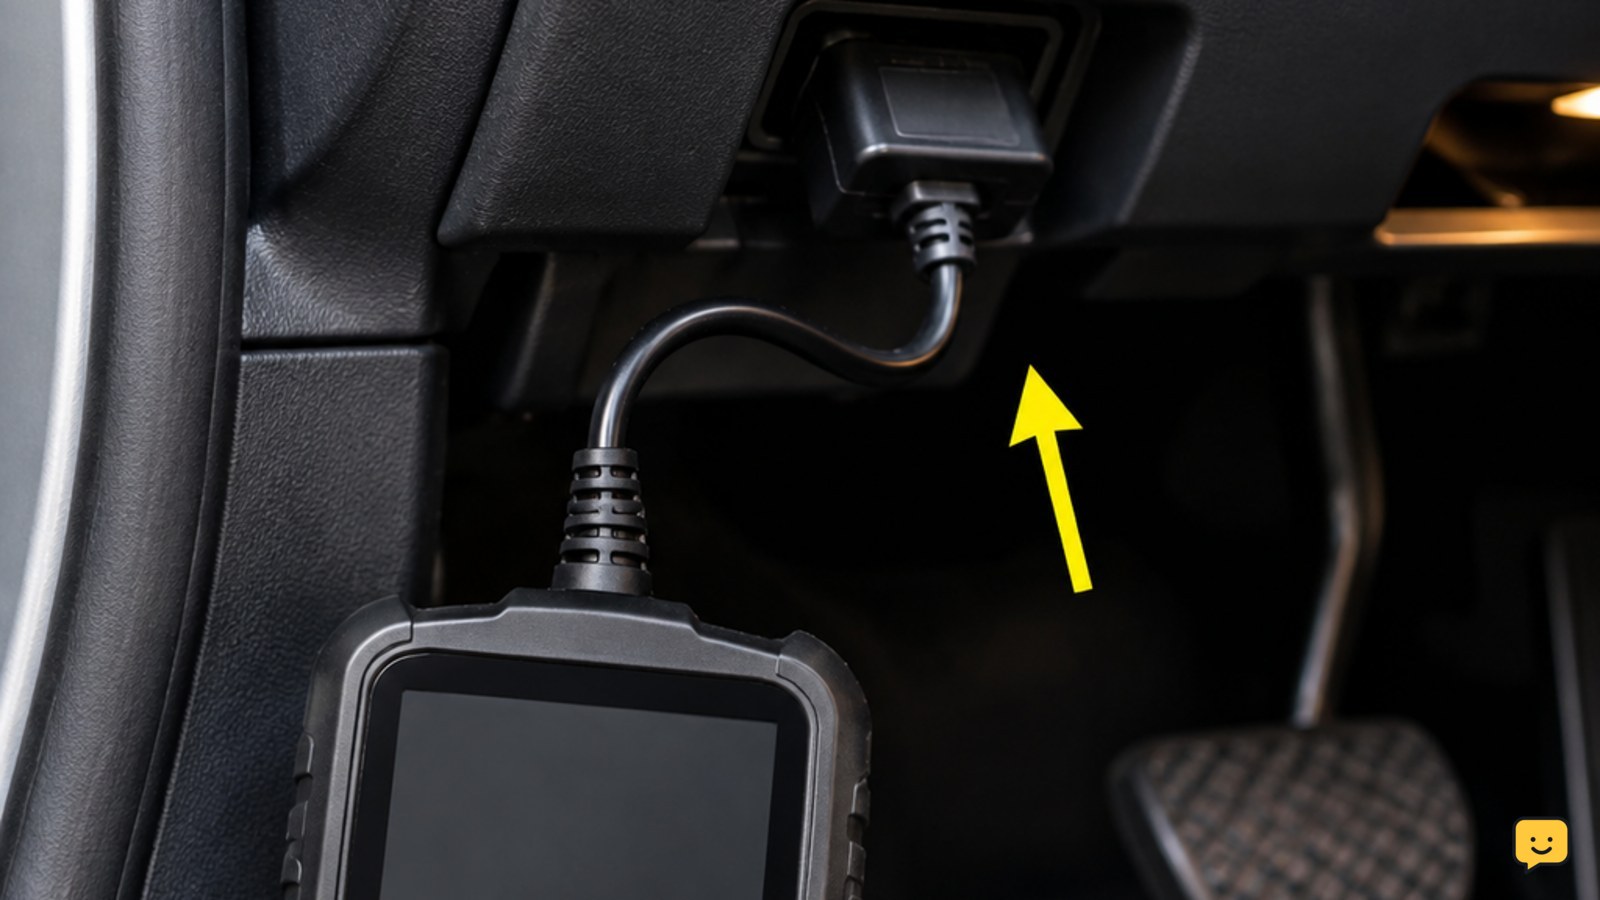
Clear the Warning With an OBD-II Scanner
An OBD-II scanner can reset the check-engine light after the cause has been corrected. Scanner wording varies, so look for a function named Clear Codes, Erase Codes, or a similar diagnostic command.
- Keep the scanner connected and the ignition in the required position.
- Select the clear or erase function only after recording the codes and addressing the suspected fault.
- Read the confirmation message. The warning may switch off immediately, or the tool may tell you to cycle the ignition.
- Turn the ignition off, disconnect the scanner, and restart the engine.
Success means the light remains off after the restart and the scanner no longer reports the same active fault. A vehicle may still show stored history or incomplete emissions-readiness information after a reset; follow the scanner and vehicle instructions before an inspection.
If the light returns immediately, the fault is still present, the repair did not address the cause, or another fault exists. Stop clearing it and use the recorded code for further diagnosis.
The check-engine light is different from an oil-life reminder. For that separate maintenance indicator, use the vehicle-specific procedure in the oil-life reset guide.
Consider Battery Disconnection Only When Applicable
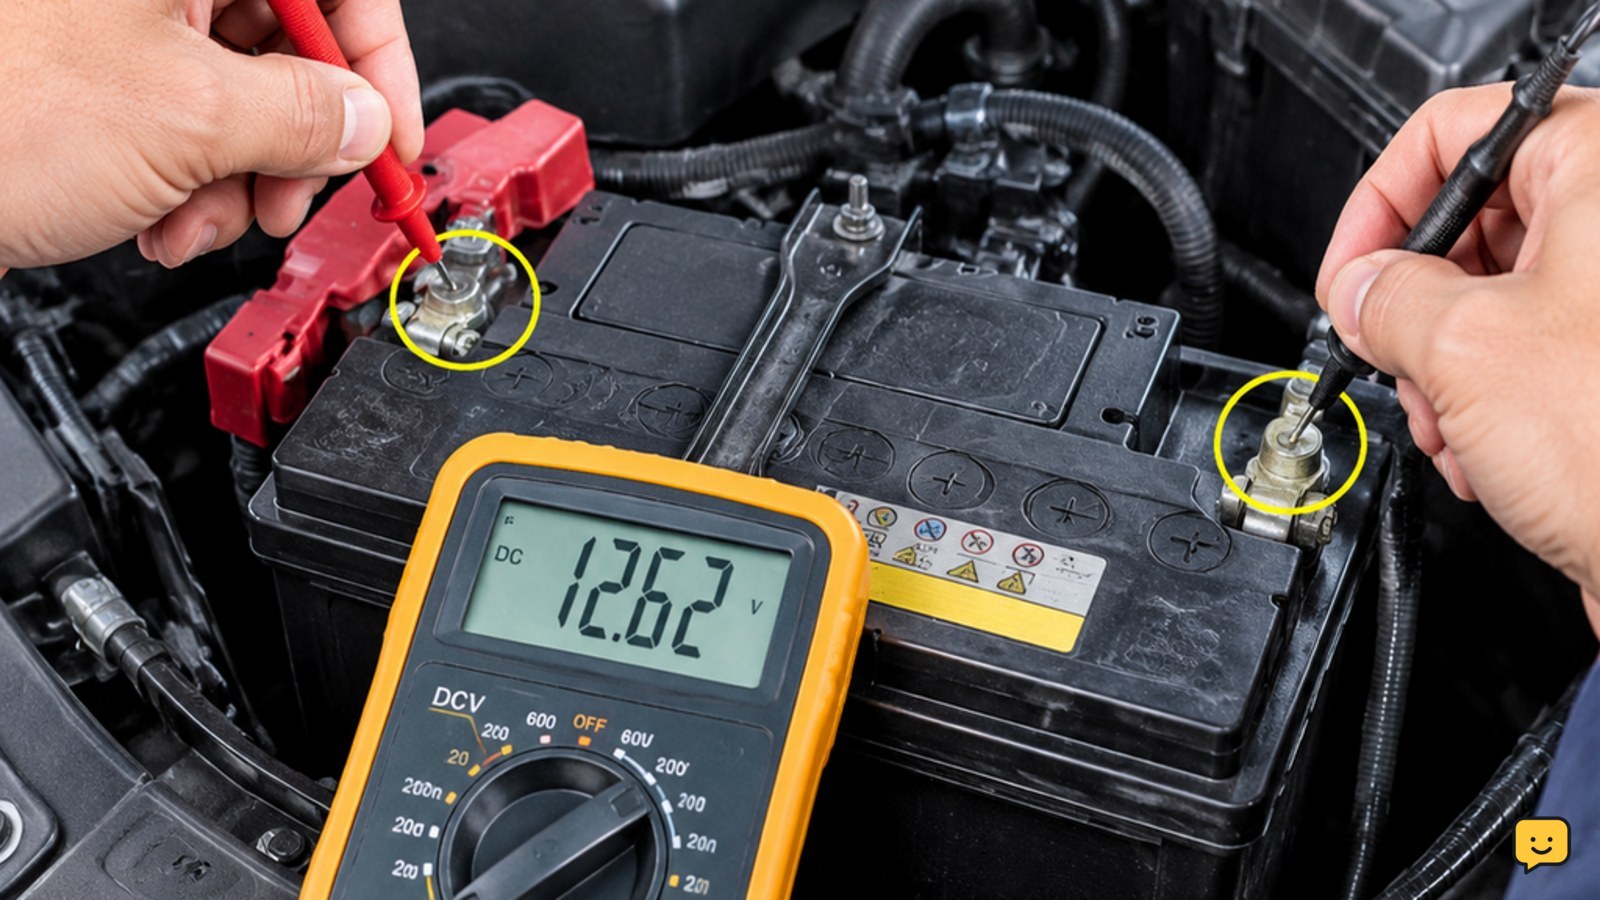
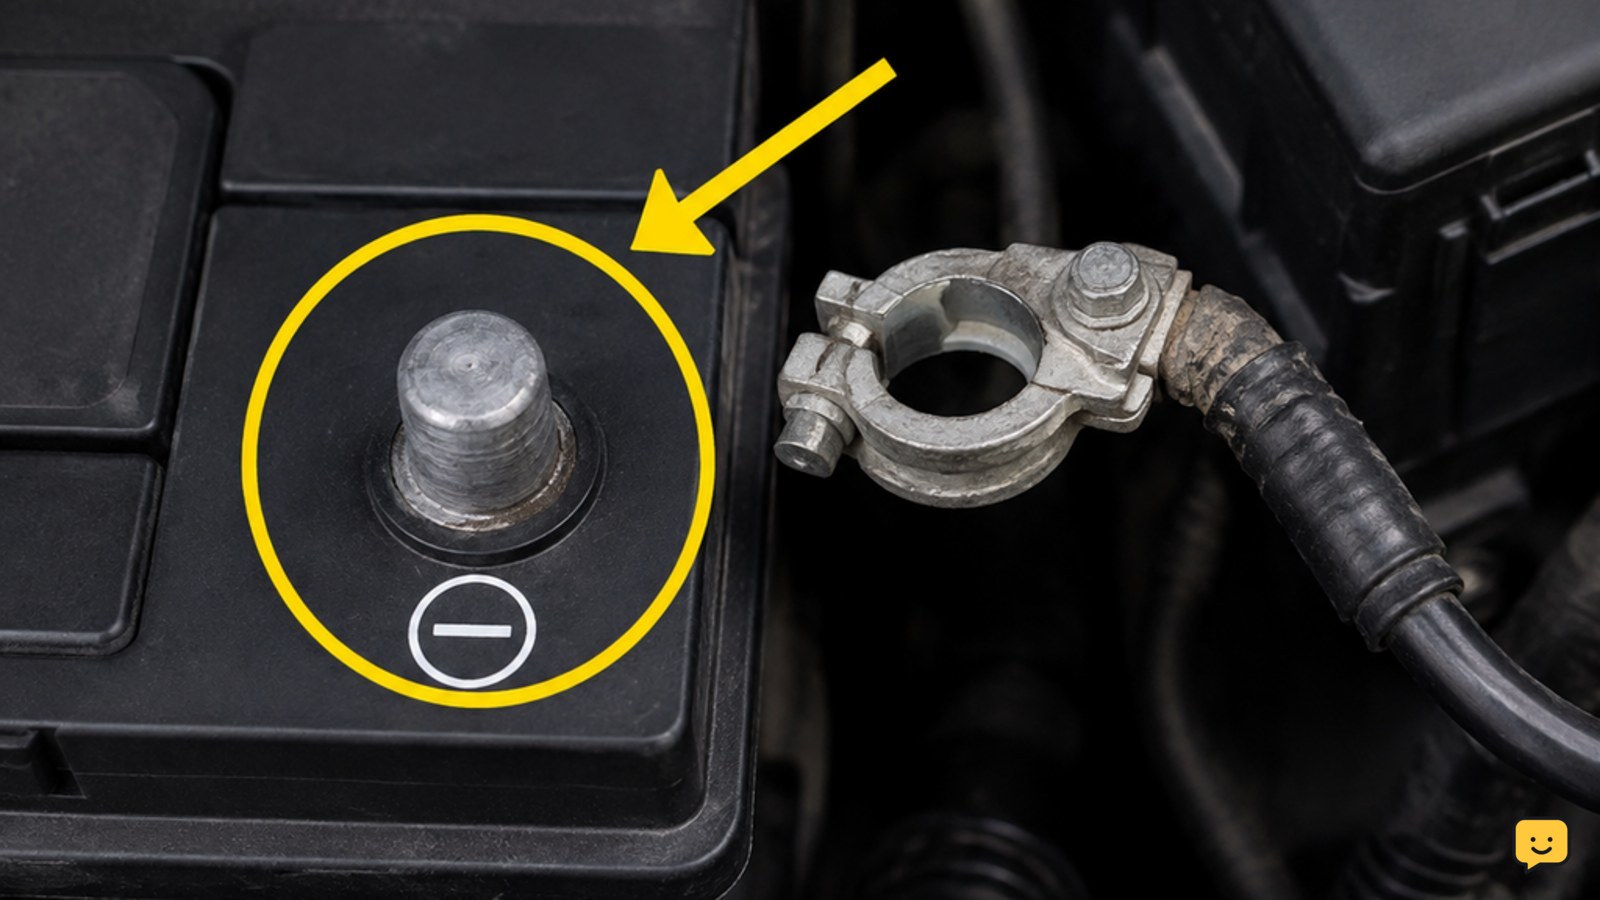
Disconnecting the negative battery cable can remove power from some vehicle control systems and may turn off a check-engine light, but it is a less informative option than scanning the vehicle first. It may also erase diagnostic information, so use it only when the owner’s manual allows the procedure and you have already recorded the codes.
- Switch off the engine and all electrical accessories, remove the key or keep the key fob away from the vehicle, and wait for the vehicle’s shutdown procedure specified in the manual.
- Identify the negative battery terminal marked with a minus sign. Do not guess from cable color alone.
- Using the correct insulated tool, loosen the negative-terminal nut and move the connector away from the terminal so it cannot touch it.
- Wait about 30 to 60 seconds, as described by the cited dealer service instructions.
- Reconnect the negative connector securely, restore any vehicle settings required by the manual, and start the car.
Do not use this method if you cannot safely identify the terminal, the connection is corroded or damaged, or the vehicle manual warns against battery disconnection. Beechmont Toyota and Hendrick Chevrolet both describe removing the negative connector for roughly 30 to 60 seconds, but the correct procedure remains vehicle-dependent.
Verify the Light Stays Off and Choose the Next Action
A successful reset is confirmed by a normal restart, an engine that runs normally, and a check-engine light that stays off after the initial restart and subsequent driving. A light that disappears but returns later means the underlying fault remains intermittent or has not been repaired.
Reconnect the scanner if the warning returns and compare the new code with the record you made earlier. If it is the same code, stop repeating resets and diagnose that circuit, system, or component. If it is different, preserve both records for a technician.
Do not treat an extinguished light as proof that the vehicle is fixed. Car and Driver cautions that resetting a check-engine light carries risk when it is used to conceal an unresolved fault. If the light flashes or the car develops shaking, loss of power, smoke, overheating, or an oil-pressure warning, stop driving and obtain professional help.
Frequently asked questions
Will resetting the check-engine light fix the problem?
No. Resetting clears the warning and diagnostic status; it does not repair the cause. If the fault remains, the light may return immediately or after the vehicle completes additional checks. Record the codes, correct the underlying problem, and use a scanner to confirm the result.
Can I reset a check-engine light without a scanner?
Sometimes, disconnecting the negative battery cable for about 30 to 60 seconds may turn off the light, but the procedure is vehicle-dependent and can erase useful diagnostic information. Check the owner manual first. A scanner is preferable because it lets you read and record the codes before clearing them.
How do I know the reset worked?
Restart the vehicle and confirm that the check-engine light stays off while the engine runs normally. Then scan the vehicle again if possible. A light that returns, an active code, rough running, or reduced power means the fault still needs diagnosis.
What should I do if the check-engine light comes back?
Scan the vehicle again and compare the new code with your original record. Do not keep erasing it. A returning code indicates that the fault remains, is intermittent, or was not the part you repaired. Arrange diagnosis, especially if the vehicle runs poorly or the light flashes.
Is it safe to drive after clearing the warning?
Only when the light is steady or off, the vehicle runs normally, and no other warning or serious symptom is present. A flashing check-engine light, shaking engine, smoke, overheating, oil-pressure warning, or major power loss is a stop condition. Arrange professional diagnosis instead of driving on.