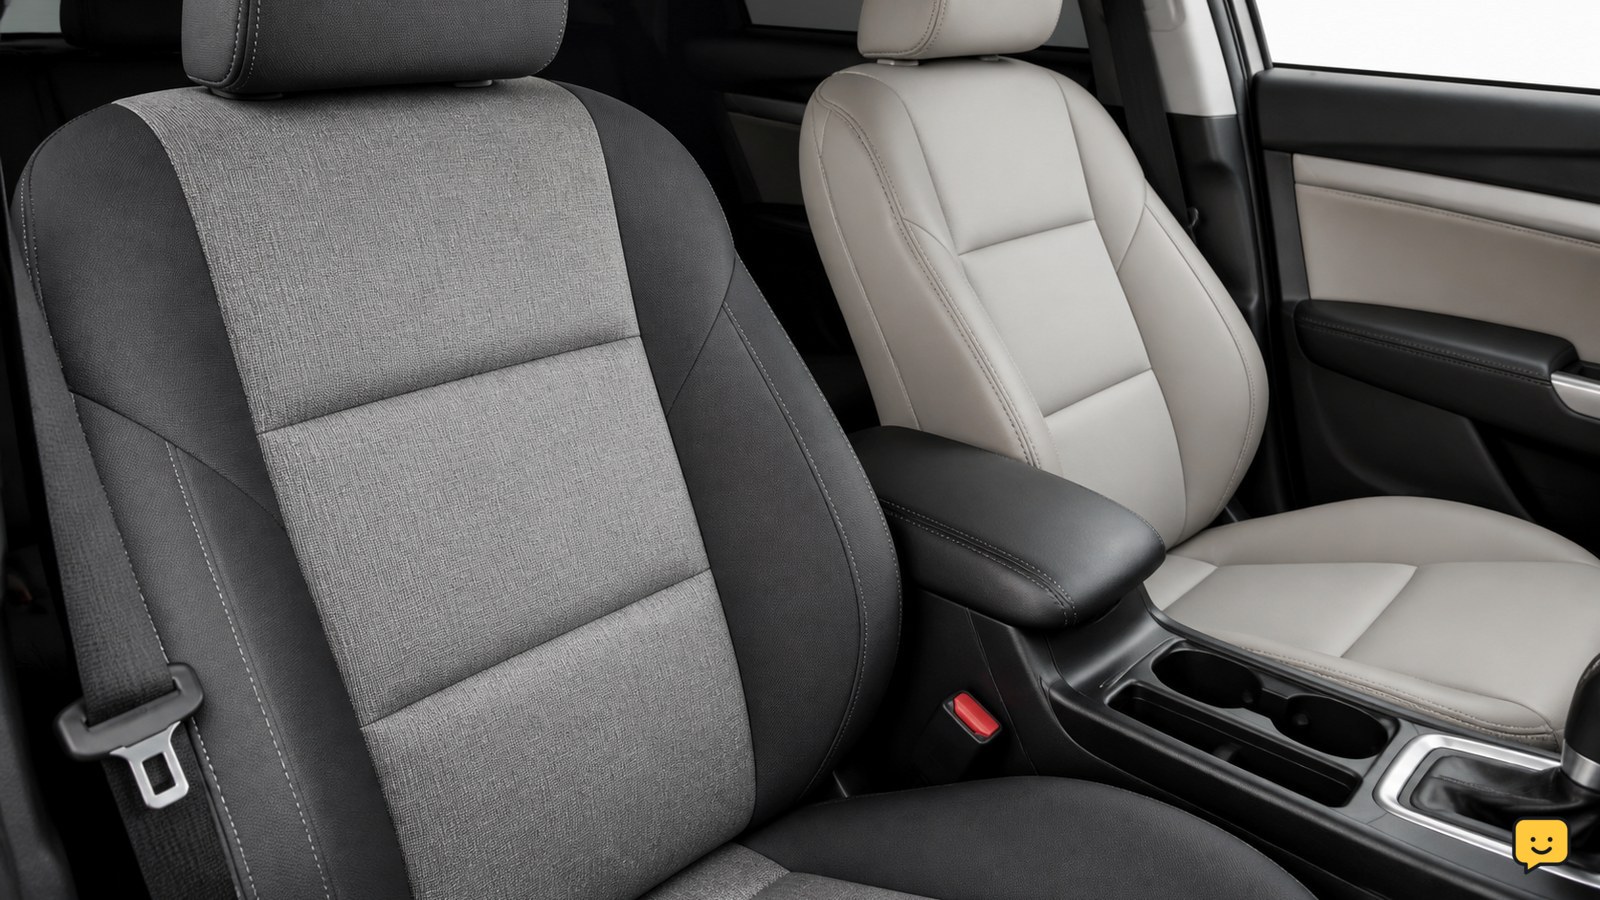
To clean car seats, first check the vehicle manual and identify whether the seats are cloth, leather, or vinyl. Vacuum loose dirt, test a mild cleaner on a hidden area, then work in small sections with minimal moisture. Blot rather than saturate, wipe away residue, and leave the seats fully dry before driving.
For more help with this topic, use the Maintenance Repair guides.
Identify the seat material before applying cleaner
Car-seat material determines the safe cleaning method: cloth tolerates controlled moisture, while leather and vinyl need gentler wiping and material-appropriate products.
- Check the owner’s manual before removing covers or applying a product. Some seats contain heating, ventilation, occupancy sensors, or side-airbag components that should not be soaked.
- For cloth, look for woven or looped fabric and exposed stitching. For leather or synthetic leather, look for a smooth, coated surface. If you are unsure, use the manual’s material description or ask the vehicle manufacturer.
- Move the front seats through their normal positions and inspect the gaps, seat rails, belt buckles, and seams. Remove debris by hand before vacuuming.
Never remove a seat or disconnect an electrical connector just to clean it unless the service instructions specifically require that work.
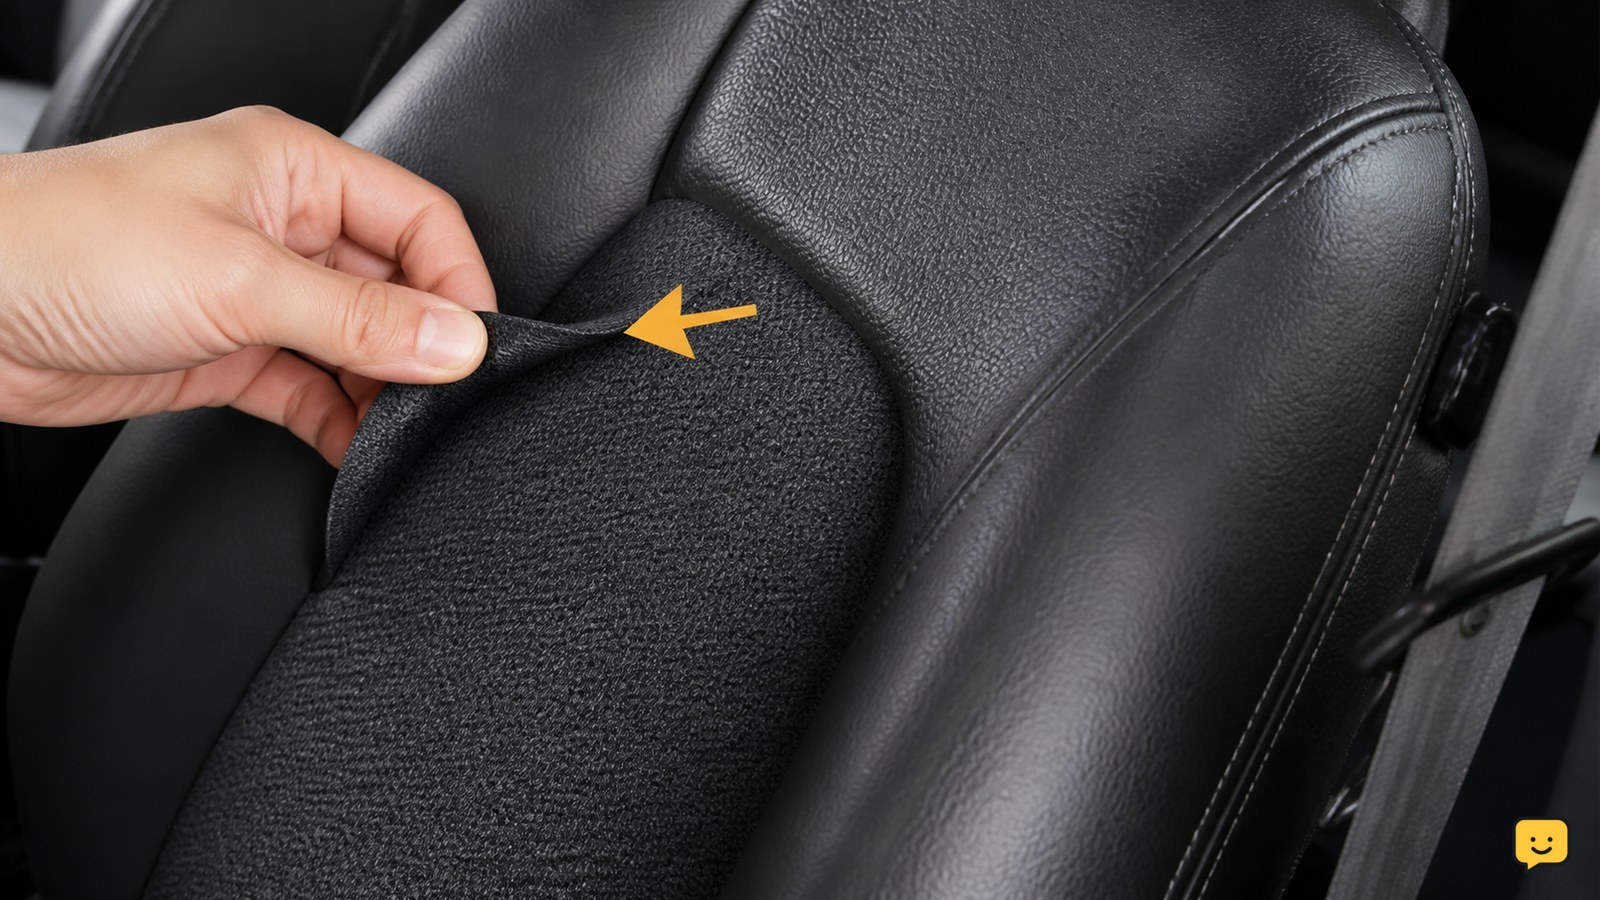
Vacuum loose dirt before wet cleaning
Vacuuming car seats first removes grit that can spread into the fabric or act like sandpaper during scrubbing.
- Use the upholstery attachment over the seat cushion, backrest, sides, and head restraint.
- Use the crevice tool around seams and between the seat and center console, keeping the nozzle from catching loose stitching.
- Brush stubborn crumbs toward the vacuum with a soft-bristled brush. Do not use a stiff brush on leather, vinyl, perforated panels, or damaged fabric.
Check the result with a flashlight or by running a clean hand lightly across the surface. If loose grit still appears, vacuum again before adding liquid.
Clean cloth seats with light moisture
Cloth car seats should be cleaned in small sections with a lightly damp cloth or sponge, not a soaking spray.
- Mix a small amount of mild dish soap with water, or use an upholstery cleaner whose label permits automotive fabric. Nissan and Consumer Reports both describe mild soap-and-water cleaning for suitable interior surfaces; follow the vehicle and product instructions when they differ.
- Apply the solution to a cloth or sponge rather than flooding the seat. Work from the outside of a mark toward its center to reduce the chance of spreading it.
- Agitate gently with a soft upholstery brush, using short strokes. Avoid aggressive scrubbing because it can roughen fabric and push the stain deeper.
- Blot with a clean, damp microfiber cloth to lift cleaner residue. Rinse the cloth frequently and wring it nearly dry.
- Press dry towels over the area. Repeat only if the stain is visibly improving; do not keep adding cleaner to a mark that is not responding.
Success looks like a visibly cleaner surface with no sticky film, tide mark, loose fibers, or water collecting at the seams.
Wipe leather and vinyl without stripping the finish
Leather and vinyl car seats need controlled wiping because excess water, harsh chemicals, and abrasive tools can damage the coating or leave the surface dull.
- Vacuum first, then place a small amount of leather-safe or vinyl-safe cleaner on a microfiber cloth. Do not spray directly onto the seat.
- Wipe one small panel at a time, including the cushion, backrest, and side bolsters. Use a soft brush only on textured grooves, and keep it away from cracks or peeling areas.
- Remove residue with a second cloth lightly dampened with clean water. Dry the panel immediately with another clean cloth.
- Use a conditioner only if the seat manufacturer or product instructions recommend it for that surface. Avoid oily dressings where they could make the seat slippery or affect the driver’s seating position.
The finished surface should feel clean and dry rather than greasy, tacky, unusually glossy, or slippery. If the color lifts onto the cloth, stop and let the area dry before seeking material-specific advice.
Treat stains according to the material and symptom
Car-seat stains need a material-specific response, and a failed first attempt is a reason to change methods rather than increase force.
| Stain or symptom | Safer first action | Stop or change method when |
|---|---|---|
| Fresh drink or food spill | Lift solids, blot liquid with dry towels, then use the suitable mild cleaner. | The spill reaches foam, wiring, a seat sensor, or a seam. |
| Grease or oily mark | Blot without rubbing and use a cleaner approved for the material. | The mark spreads, the finish becomes shiny, or repeated passes do not improve it. |
| Ink, dye, or transfer mark | Test a material-specific spot cleaner on a hidden area first. | Color transfers to the cloth or the spot grows. |
| Musty odor | Find and remove the moisture source, then dry the upholstery thoroughly. | The smell returns, mold is visible, or the foam remains damp. |
Do not use bleach, strong solvents, abrasive powders, or untested household stain removers. A dark ring after drying usually means too much liquid or leftover residue; vacuum or blot only when fully dry, then seek professional treatment if it remains.
Dry the seats and verify they are ready
Seats are ready only when the upholstery, seams, and accessible gaps are fully dry and the vehicle has no remaining cleaner residue.
- Leave doors or windows open in a secure, dry location to improve ventilation. Position the seats so air can reach the cushion edges and backrest.
- Press a dry white towel against several cleaned areas, including seams and the front edge of the cushion. The towel should remain dry and show no cleaner or dye.
- Touch the seat at the center and edges. It should feel dry, not cool and damp, tacky, swollen, or unusually stiff.
- Check that seat controls, seat belts, buckles, heating or ventilation controls, and warning indicators operate normally without forcing any control.
- Reinstall child seats only after the vehicle seat is dry and the child-seat manual permits the cleaned components to be used.
If moisture remains inside the foam, do not drive with occupants on that seat. Continue ventilation or arrange professional drying, especially where electrical components or occupancy sensors may be underneath.
What to do if cleaning does not remove the problem
A stain that remains after gentle, material-safe cleaning may be embedded in the cover, caused by damaged material, or coming from moisture below the surface.
- Stop repeated scrubbing and compare the cleaned area with an adjacent section under the same light.
- If the area is clean but discolored, cracked, peeling, or faded, contact an automotive upholstery specialist rather than applying stronger chemicals.
- If odor or dampness returns, inspect floor mats, carpeting, door seals, and drink containers for the moisture source. Professional treatment is appropriate when mold or contamination extends into the foam.
- If a seat-belt webbing, buckle, airbag seam, occupancy sensor, or wiring was contaminated, follow the vehicle manual or contact the manufacturer before using that seat.
Do not cover a wet or chemically contaminated seat and assume the problem is solved. The observable checkpoint is a dry, non-slippery surface with no warning signs or affected safety equipment.
Frequently asked questions
Can I use dish soap to clean car seats?
Yes, a small amount of mild dish soap diluted in water can work on suitable cloth or coated interior surfaces. Apply it to a cloth or sponge, not directly to the seat, and remove residue with a nearly dry clean cloth. Test first and follow the vehicle manual if it specifies a different product.
How do I clean car seats without a wet vacuum?
You can clean them with a vacuum, soft brush, microfiber cloths, and controlled moisture. Blot spills, lightly work a small section, wipe away residue with a clean damp cloth, and press dry towels over the area. Allow thorough ventilation and drying before anyone sits on the seat.
How do I remove a bad smell from a car seat?
First find the moisture or spill causing the smell, then clean the seat with a compatible product and dry it completely. If the odor returns, mold is visible, or the foam remains damp, stop adding cleaner and arrange professional interior treatment.
Can I use the same cleaner on leather and cloth seats?
No. Cloth and leather have different cleaning requirements, and a product safe for one may stain, dry, or strip the other. Check the label and owner’s manual, test a hidden area, and use separate material-specific cloths and products where necessary.