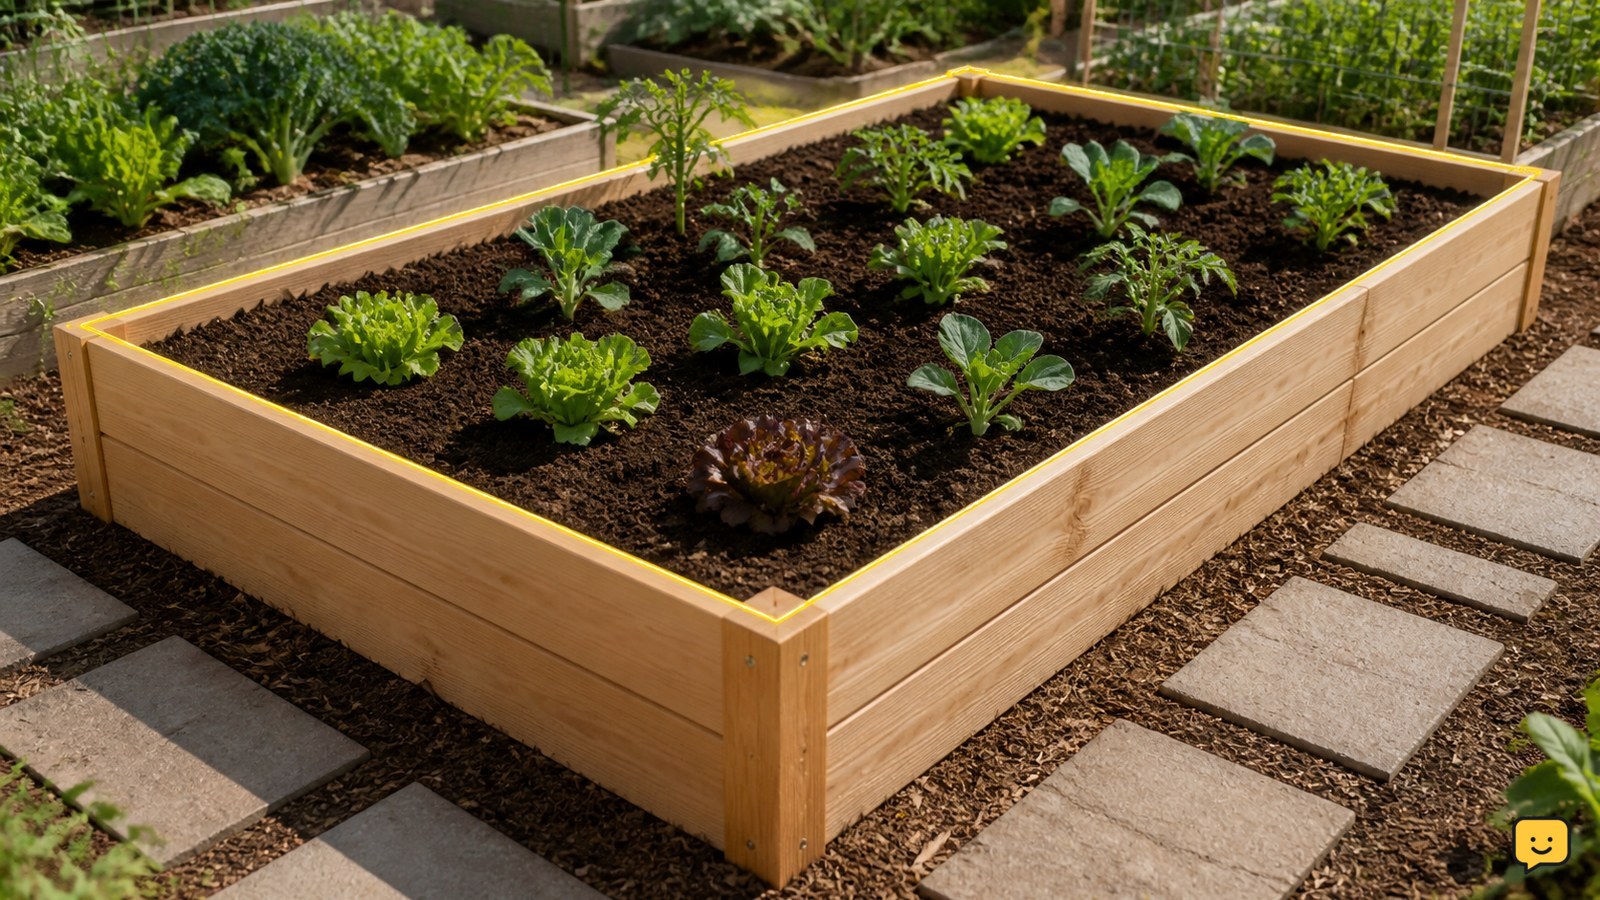
Build a sturdy raised garden bed by choosing a sunny, level site, cutting four boards to form a rectangle, fastening the corners, leveling the frame, and filling it with quality soil and compost. Keep the bed narrow enough to reach its center, use untreated or garden-rated lumber, and stop if the site may contain buried utilities or contaminated soil.
Choose a sunny site and practical bed dimensions
A raised garden bed needs a sunny, accessible site before you build the frame. Choose an area with at least six hours of sunlight and enough clearance to walk around every side; TheEasyGarden identifies sunlight and good drainage as key location checks.
For a first bed, a rectangle about 6 feet long and 4 feet wide is practical. Keep the width to about 4 feet or less if you need to reach the middle from both sides. A shallow bed works for many vegetables and herbs, while a deeper frame holds more growing medium but costs more to fill.
Mark the outside corners with stakes or temporary objects. Stand at each corner and confirm that doors, fences, downspouts, and mowing paths remain clear. If water collects at the proposed location, move the bed or correct the drainage problem before construction.
Gather safe materials and cut the frame boards
A basic raised bed uses four boards, exterior-rated screws, a drill or screwdriver, a tape measure, a saw, a level, and a shovel or rake. Northern Gardener’s example uses 1-by-6 boards for a compact raised bed with legs, while other designs use wider planks; choose board dimensions that match the height and length you can safely handle.
Cut two boards for the long sides and two for the short sides. If you want a 6-by-4-foot outside dimension, account for the actual board thickness and decide whether the short boards will fit between the long boards or overlap their ends. Measure twice and make all matching boards the same length.
Sand sharp splinters and predrill near board ends. Predrilling reduces splitting, especially in dry or narrow lumber. Use fasteners long enough to join the boards securely without protruding through the opposite face.
Assemble the boards into a square, rigid frame
Assemble the raised garden bed on a flat surface by joining one long board to one short board at a right angle, then completing the remaining corners. Drive at least two screws through each corner so the frame resists twisting.
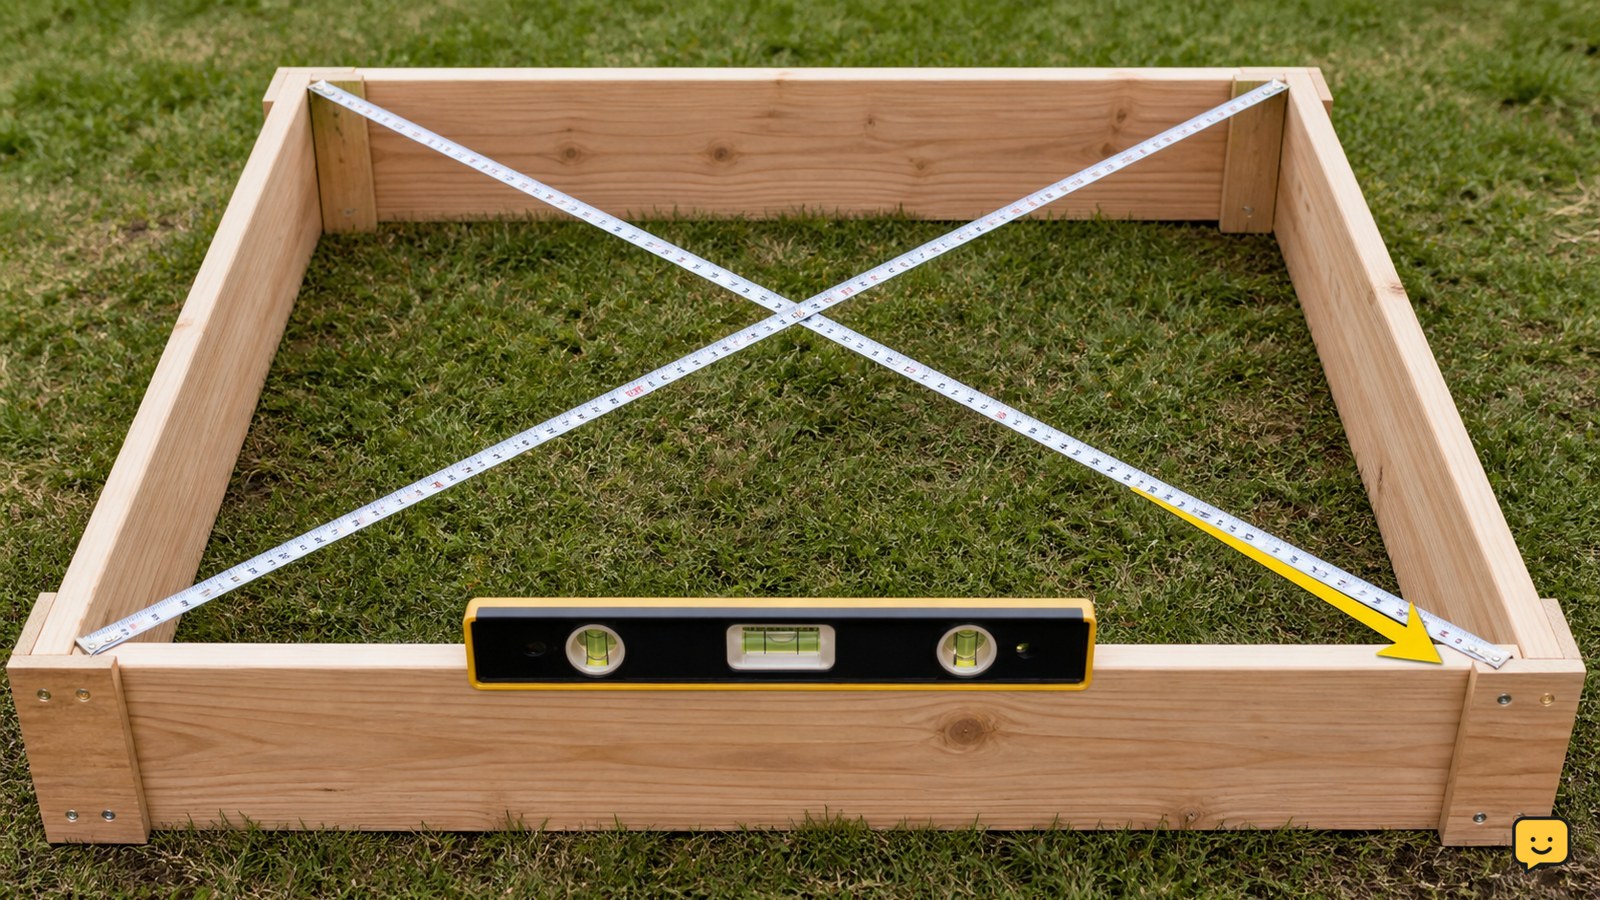
Check the frame before moving it: the corners should sit flush, the sides should not bow outward, and the structure should lift as one rigid rectangle. Measure both diagonals. If the diagonal measurements differ noticeably, push the longer diagonal’s corners toward each other until the frame is square, then tighten the screws.
Place the frame on the prepared site. Use a level across the length and width. Remove high spots and add soil beneath low corners until the top edges are level. A level frame holds soil evenly and is less likely to shift when watered.
If the bed is taller than a single board, stack another course and fasten it to the course below. Add internal supports on long sides if the walls flex when you press them. Stop if the frame still rocks or a corner separates; correct the structure before adding soil.
Prepare the ground without blocking drainage
Prepare the ground inside the raised garden bed by removing large weeds, cutting grass short, and loosening compacted soil. You do not need to excavate deeply unless the site has poor drainage or the bed design requires it.
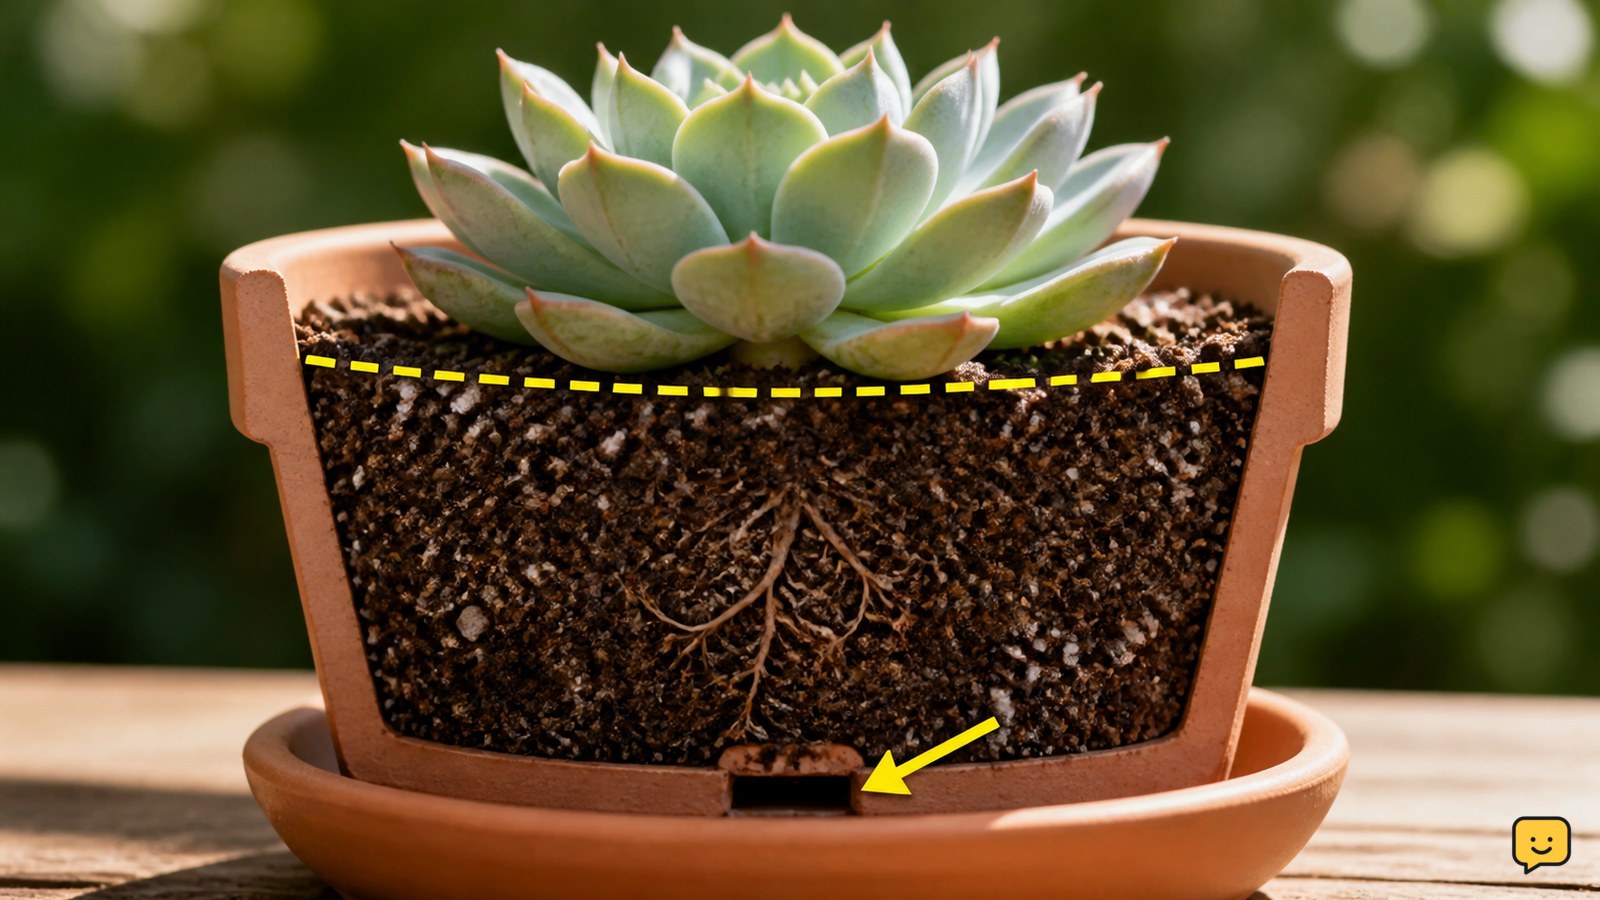
Set the frame directly on soil for a conventional in-ground raised bed. This lets excess water move downward. Avoid an impermeable plastic liner at the bottom, because it can trap water. If the bed sits on concrete or another hard surface, use a purpose-built container design with drainage openings instead of treating it like an in-ground bed.
Do not place cardboard, landscape fabric, or other layers over drainage openings in a container-style bed. For a ground-level bed, a thin layer of plain cardboard can help suppress existing grass if it is free of glossy coatings, tape, and chemical contamination; cover it fully with growing medium so it breaks down rather than remaining exposed.
Fill the bed with settled growing medium
Fill the raised garden bed with a blended growing medium rather than relying on a thin layer of topsoil. A practical mix combines screened topsoil with finished compost and a material that improves structure, such as aged organic matter. The soil should be loose, crumbly, and free of strong odors, rubble, or visible weed roots.
Add the material in layers and mix it lightly with a rake. Do not pack it down by walking inside the bed; compacted soil leaves less room for roots and water movement. Leave a small space below the rim so watering does not wash soil over the sides.
Water the filled bed slowly until moisture reaches the lower layers. If the surface sinks significantly, add more mix and water again. Northern Gardener and Justine Doiron both document raised-bed builds using rectangular board frames sized around accessible garden layouts, but the amount of soil depends on your final length, width, and depth.
Verify stability, drainage, and planting readiness
Verify the raised garden bed before planting by checking four observable results: the frame does not wobble, the top edges are level, the corners remain tight, and water soaks in without forming a long-lasting puddle.
Run a hose gently over the surface for several minutes rather than flooding one spot. If water runs out through a gap, add soil and retighten or reinforce that section. If water pools, stop planting and address the grade, soil compaction, or drainage design.
After the soil settles, rake it smooth and plant according to the light and spacing needs of your crops. Keep plants within reach of the bed edges, and inspect the walls after heavy rain. Relevel or repair a side that has shifted before adding another season of soil.
Choose a different design when the site requires it
Choose a raised bed with legs when bending or kneeling is difficult, when the surface is paved, or when you need a smaller herb-and-greens planter. Northern Gardener’s legged example uses shorter board sections and a raised container structure, so it should be built with a designed base and drainage rather than copied as a ground-level box.
Use a modular metal, stone, or composite kit when you cannot safely cut lumber or need a longer-lasting wall. Follow that product’s fastening, anchoring, and drainage instructions. Use a narrow keyhole or U-shaped layout only when you can preserve clear access to every planting area.
If the ground is contaminated, repeatedly waterlogged, or too close to tree roots, do not improvise a food-growing solution with unknown soil or sealed plastic. Move the bed, use verified clean soil in a suitable container, or get local soil and drainage advice before planting edible crops.
Frequently asked questions
How deep should a raised garden bed be?
A raised garden bed should be deep enough for the plants you intend to grow and the soil available at the site. Herbs and shallow-rooted crops can use a lower frame, while root crops need more depth. If the bed sits on concrete, allow additional depth and provide drainage openings because roots cannot continue into the ground.
What is the best size for a beginner raised bed?
A 4-by-6-foot rectangle is a manageable starting size, provided you can walk around all four sides. Keep the width near 4 feet or less so you can reach the center without stepping on the soil. Adjust the length to fit the site, materials, and amount of growing medium you can handle.
Should a raised garden bed have a bottom?
An in-ground raised garden bed usually should not have a solid bottom because excess water needs to drain into the soil below. A bottom is appropriate for a container-style bed on concrete, a balcony, or another hard surface, but it must include open drainage and a structure designed to hold the soil load.
Can I build a raised bed from reclaimed wood?
Use reclaimed wood only when you can verify its history and confirm it has no paint, stain, oil, chemical treatment, or industrial contamination. Do not use railroad ties, visibly treated scrap, or boards with a petroleum smell for food-growing beds. When the history is uncertain, choose clean untreated or garden-rated lumber instead.
For more help with this topic, use the Gardening guides.