Before driving, check whether the check-engine light is steady or flashing, then look for rough running, power loss, smoke, unusual odors, overheating, or other warning lights. A flashing light or serious symptom means stop and arrange assistance. If the light is steady and the car feels normal, check the gas cap, review recent maintenance, and arrange a diagnostic scan soon.
Browse more Maintenance & Repair guides
Check whether the warning is steady or flashing
The check-engine light’s behavior is the first driving decision: a steady amber light needs prompt diagnosis, while a flashing light or worsening engine behavior calls for stopping.
For the related task, Why Is My Car Check Engine Light Flashing covers the next checks separately.
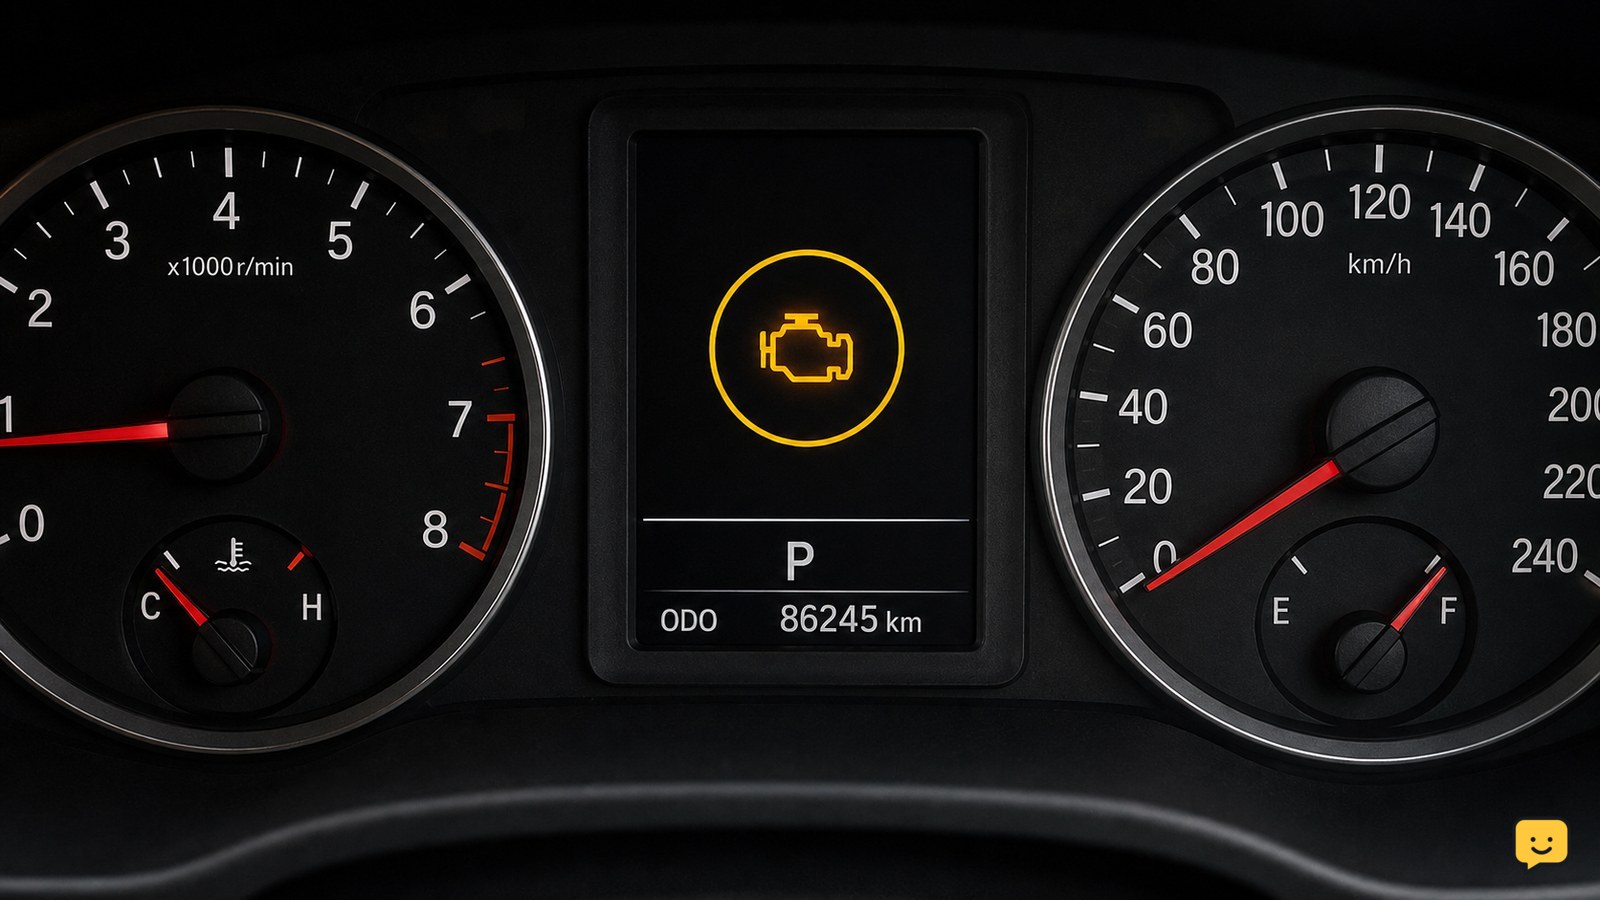
- Switch the ignition on without starting the engine. Confirm that the engine-shaped warning appears briefly with the other self-check lights.
- Start the vehicle and watch the warning. If it goes out, note whether it returns after driving or restarting.
- Identify the pattern. A steady light means the vehicle has stored a fault, but the light alone cannot show how serious the underlying problem is. A flashing light is a stop condition because continued operation can worsen an active engine problem.
If the light is flashing, do not continue a normal journey. Move only far enough to reach a safe stopping place, if the vehicle remains controllable, then arrange roadside assistance or professional diagnosis.
Look for symptoms that make driving unsafe
A check-engine warning becomes a no-drive decision when the vehicle also shows symptoms that indicate an active mechanical, fuel, exhaust, cooling, or electrical problem.
- Listen and feel at idle. Stop if the engine shakes heavily, surges, knocks, stalls, or runs unevenly.
- Check the response to the accelerator. Do not drive if power drops sharply, the engine will not rev normally, or the vehicle cannot safely merge or maintain traffic speed.
- Look and smell. Smoke, a strong fuel smell, burning odors, or a visible fluid leak require the engine to be switched off and inspected.
- Watch the other instruments. An oil-pressure, coolant-temperature, brake, or battery warning alongside the check-engine light changes the decision. Stop safely and use the owner’s manual or arrange assistance.
If the vehicle starts, idles, accelerates, and brakes normally and the check-engine light is steady, a short drive to a repair shop may be reasonable. Keep the trip local, avoid hard acceleration and heavy loads, and stop immediately if a new symptom appears.
Tighten the gas cap and check for a recent trigger
A loose or incorrectly fitted gas cap can trigger the check-engine warning, so checking the cap is the simplest inspection to complete before driving.
- Switch off the engine and open the fuel door.
- Remove the cap only when the vehicle is parked and the engine is off.
- Inspect the seal for obvious damage, then reinstall the cap until it is firmly secured according to the vehicle’s design.
- Close the fuel door and record when the warning first appeared.
AAA specifically recommends checking that the gas cap is screwed on tightly and reviewing maintenance records when investigating a check-engine light. A properly tightened cap does not prove the fault is fixed: the warning may need several drive cycles to change, or it may require a diagnostic scan.
Think about what happened immediately before the light appeared. A recent refueling, unusual odor, difficult start, service visit, or maintenance delay gives the technician useful context. Do not keep driving simply because tightening the cap makes the car feel normal.
Verify the next step with a diagnostic scan
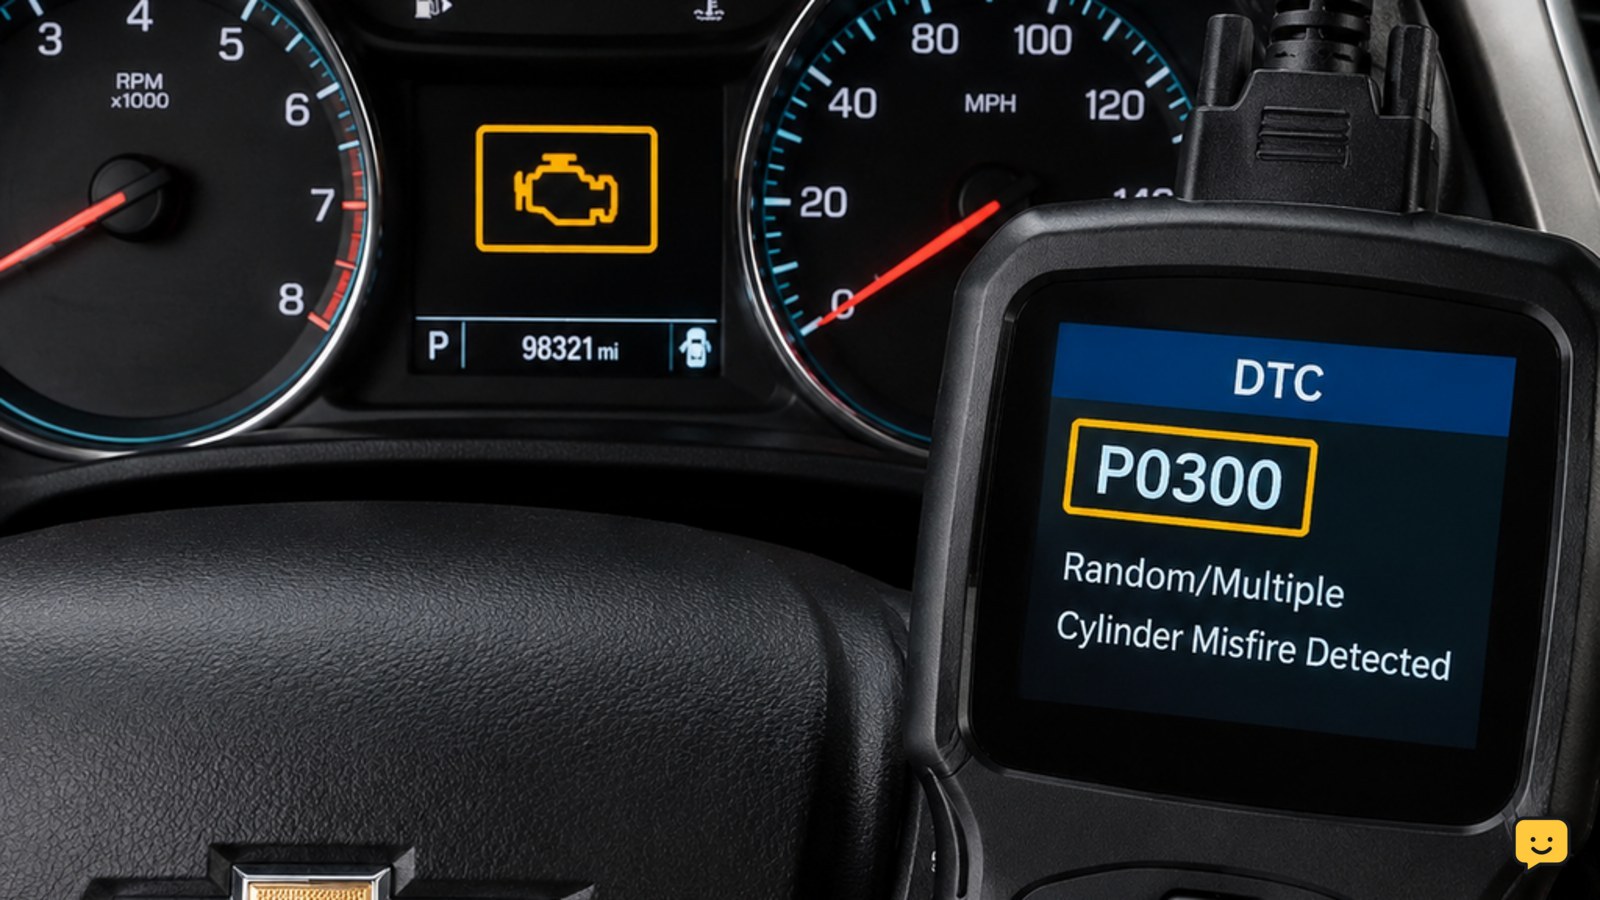
A diagnostic scan is the verification step because the dashboard light identifies a vehicle-system fault, not the failed part by itself.
- Arrange a scan soon. Use a qualified repair shop or another reputable diagnostic service.
- Record the stored code and symptoms. Ask what system the code concerns and whether the technician found an active fault, a pending fault, or a condition that needs further testing.
- Follow the vehicle-specific repair plan. The owner’s manual, maintenance records, and scan results should be considered together rather than replacing parts based only on the light.
- Verify the repair. The warning should remain off after the repair and the original symptom should be gone. If the light returns, the repair needs follow-up diagnosis.
Do not disconnect the battery or erase the code just to make the light disappear. Clearing information can remove useful diagnostic evidence and does not repair the cause. If a scanner cannot communicate with the vehicle, stop troubleshooting at that point and have the vehicle professionally checked.
Choose the safest driving decision
The safest decision depends on the warning pattern, vehicle behavior, and whether you can reach diagnosis without exposing yourself or the vehicle to added risk.
- Do not drive: the light flashes, the engine runs roughly, power is reduced, smoke or strong odors appear, the vehicle overheats, or another critical warning is illuminated.
- Drive only to diagnosis: the light is steady, the vehicle feels normal, no stop condition is present, and the repair destination is nearby. Drive gently and monitor the instruments.
- Arrange diagnosis promptly: the steady light remains after the gas cap is secured, returns after disappearing, or is accompanied by reduced fuel economy, difficult starting, or a new unusual sound.
Never use a normal-feeling drive as proof that the car is safe for a long trip. If conditions change, pull over in a safe location, switch off the engine when appropriate, and arrange assistance.
Frequently asked questions
Can I drive with a steady check-engine light?
Sometimes, but only for a short trip to diagnosis when the light is steady, the engine runs normally, and no smoke, strong odor, overheating, power loss, or critical warning light is present. Drive gently and stop if the vehicle’s behavior changes.
What should I do if the check-engine light comes on after getting gas?
Park safely, switch off the engine, and check that the gas cap is correctly fitted and firmly secured. AAA lists a loose gas cap as a basic check. If the light stays on or returns, arrange a diagnostic scan rather than assuming the cap solved the fault.
Will a check-engine light turn off by itself?
It may turn off after the vehicle completes later checks and no longer detects the condition, but that does not guarantee the underlying issue is permanently resolved. Record when it appeared and arrange diagnosis if it remains on, returns, or is accompanied by symptoms.
Should I disconnect the battery to clear the warning?
No. Disconnecting the battery can erase useful diagnostic information without fixing the cause. Have the vehicle scanned, keep the fault information available, and follow the repair advice for the specific vehicle.