For a small patch of shower mold on tile or grout, ventilate the bathroom, wear gloves and eye protection, apply detergent and water or a labeled mold cleaner, scrub gently, rinse, and dry completely. Never mix cleaners. If mold is embedded in caulk, keeps returning, covers a large area, or follows water damage, stop and arrange professional repair or remediation.
For more help with this topic, use the Cleaning Stain Removal guides.
Check the Surface and Mold Area
Shower mold is most suitable for household cleaning when it is a small, visible patch on a hard surface such as glazed tile, glass or intact grout. Look closely at the material before wetting it.
- Tile or glass: surface mold and soap residue can usually be cleaned without replacing the material.
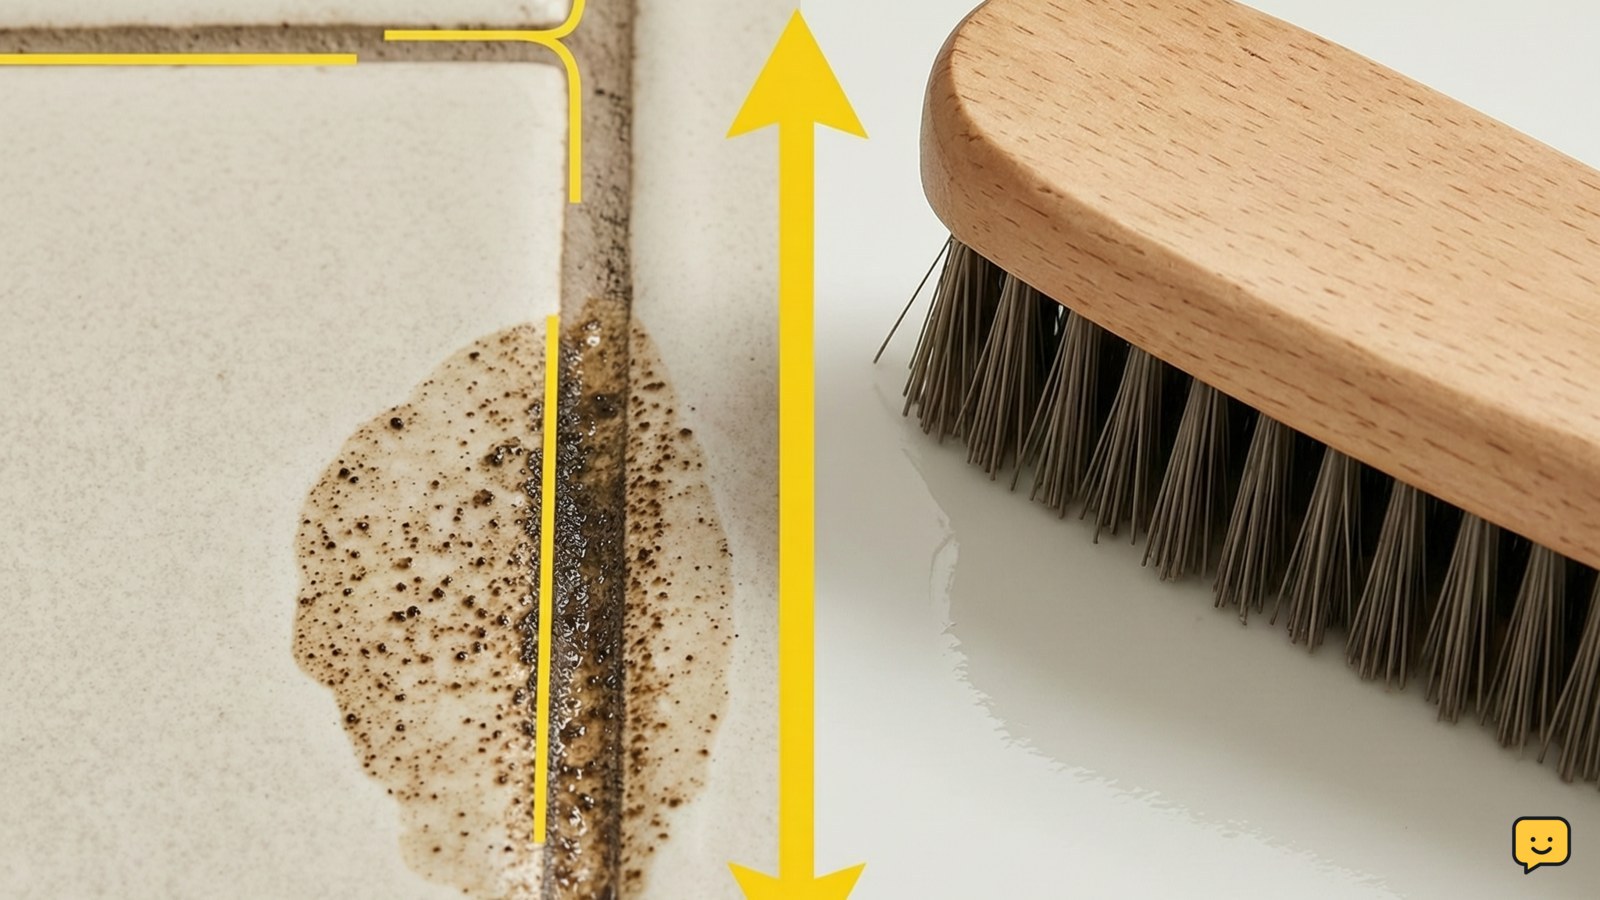
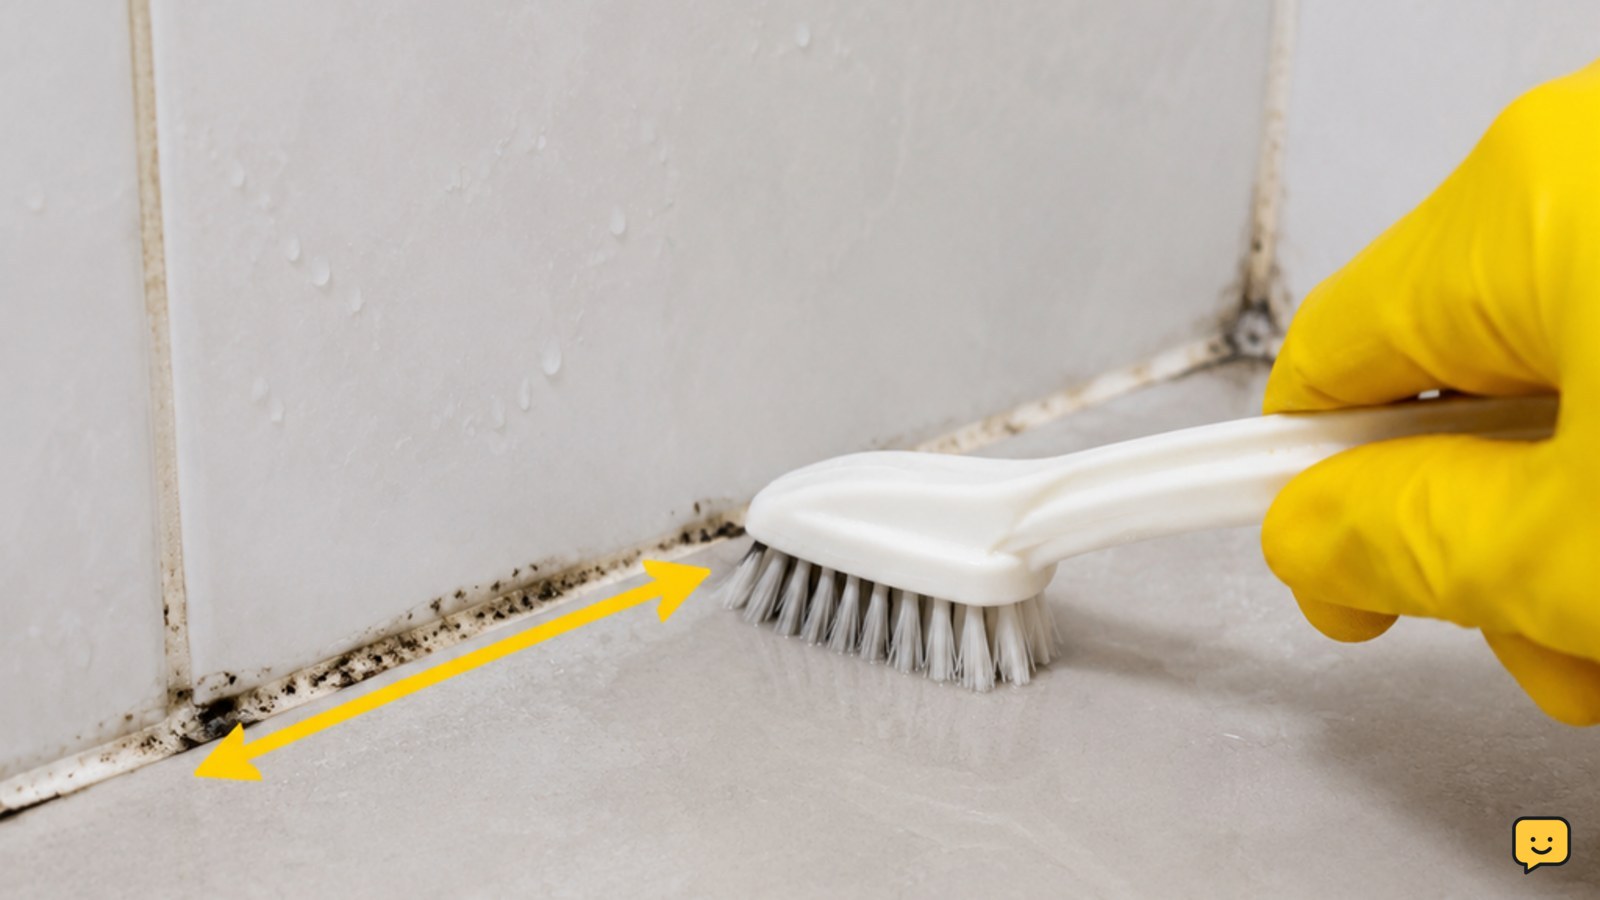
- Grout: mold may sit in the joints, so scrub gently with a soft nylon brush. Do not gouge or remove sound grout.
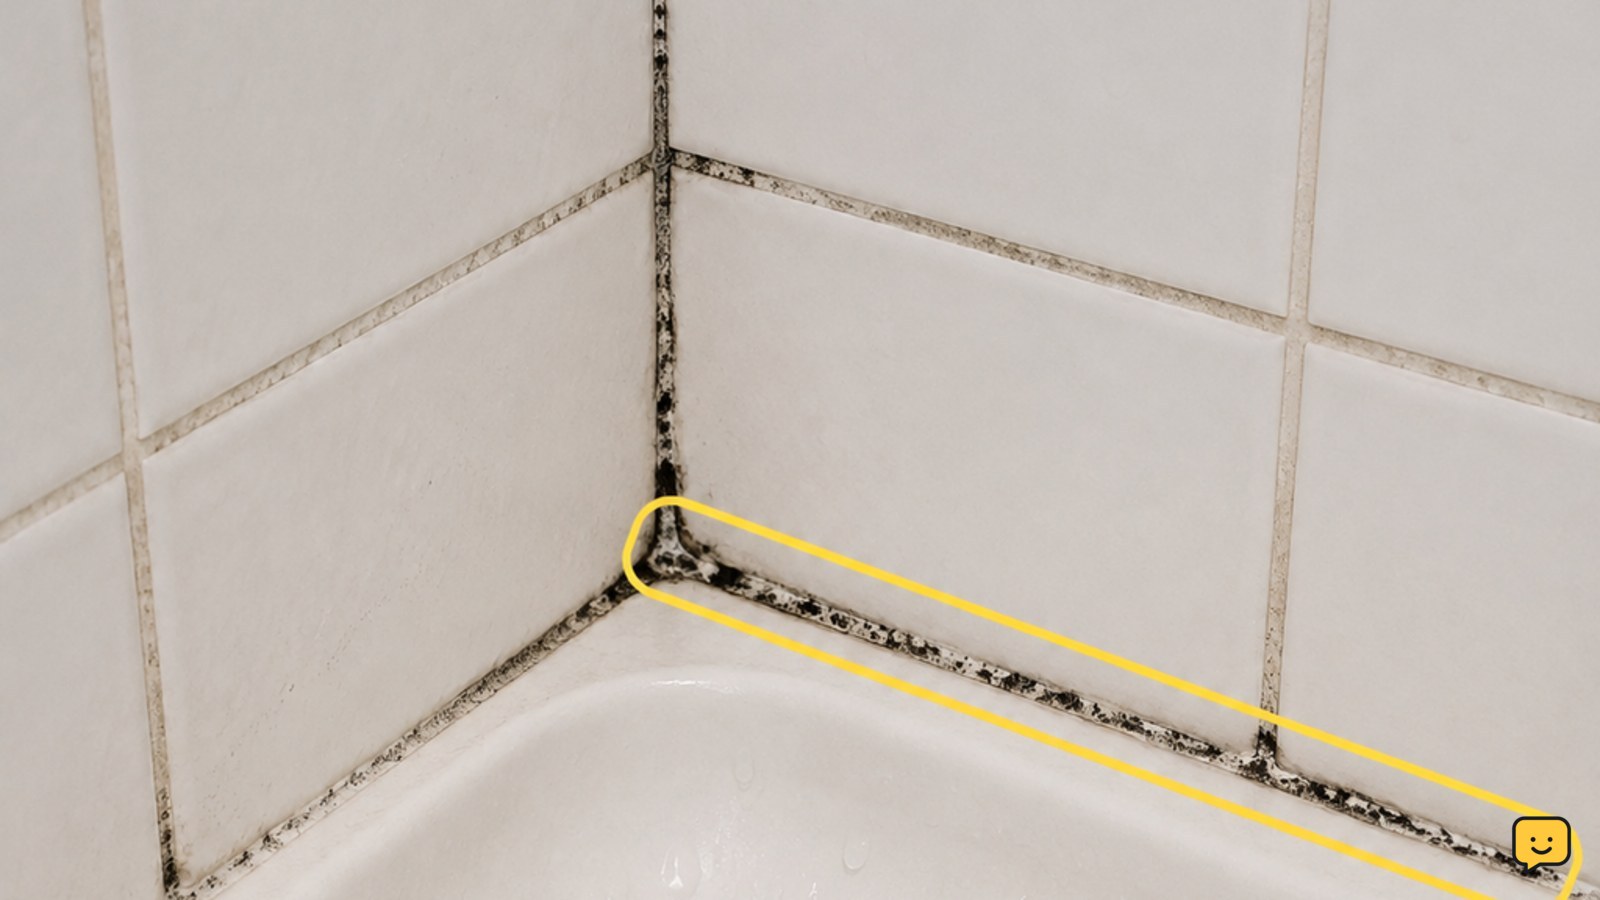
- Silicone caulk: a dark mark beneath or throughout the bead usually means the mold is embedded. Surface wiping may improve its appearance but will not reliably remove the growth.
- Porous wall or ceiling material: do not continue with this method. Stop and arrange an assessment, especially if the material feels soft or shows water staining.
Measure or estimate the patch. If it is spreading, widespread, or connected to a leak, the safest next action is to fix the moisture source and get professional advice before cleaning.
Prepare the Bathroom Without Spreading Spores
Preparation limits contact with mold and reduces the chance of spreading contaminated water or debris. Remove bottles, bath mats and toiletries from the work area, then close the shower drain cover or clear the drain so dirty water does not stand.
- Put on gloves and eye protection. Use the respiratory protection specified by the product label and your local health guidance.
- Ventilate before opening a cleaner. Keep the bathroom door positioned so air moves out through the exhaust or window rather than into occupied rooms.
- Do not dry-brush, sand or scrape the mold. Those actions can send particles into the air.
- Test the chosen cleaner on an inconspicuous spot. Stop if the finish lightens, dulls, softens or becomes sticky.
Use disposable cloths where practical, and bag them after use. Wash reusable brushes separately with detergent and water, then let them dry fully.
Clean Mold from Tile and Grout
For surface mold on shower tile or grout, detergent and water provide a controlled first method: they remove mold and residue without introducing a stronger chemical than the job requires.
- Mix a small amount of ordinary dish detergent with warm water according to the detergent label. Do not add bleach or another cleaner.
- Wet the affected area lightly. Avoid flooding joints, gaps, fixtures or wall penetrations.
- Apply the solution with a cloth or soft nylon brush. Work from the cleaner surrounding surface toward the darkest area, using short, controlled strokes.
- Rinse the cloth or brush often so you lift contamination instead of moving it across the shower.
- Wipe away the dirty solution with clean water. Repeat once only if a visible film remains and the surface is intact.
- Dry the area with a clean towel and keep ventilation running until the tile and joints are dry.
Success means the fuzzy or slimy growth is gone, the surface is free of cleaner residue, and no damp film remains. A permanent dark shadow in grout may be staining or embedded growth rather than removable surface dirt. Do not keep scrubbing harder; move to the caulk or repair decision below.
Choose a Labeled Mold Cleaner When Needed
A labeled bathroom mold or mildew cleaner is an alternative for stubborn surface growth on compatible hard materials. Choose a product whose label specifically lists the surface and mold or mildew use.
- Read the label for required ventilation, gloves, contact time, dilution and rinsing. The label controls how that product is used.
- Apply only enough product to wet the affected surface. Keep it away from personal-care items and do not spray toward your face.
- Leave it for the stated contact time. Do not assume a longer dwell is safer or more effective.
- Scrub gently if the label permits, then rinse thoroughly and dry completely.
Bleach-based products can damage colored grout, natural stone, metal finishes and fabrics, and bleach must never be mixed with vinegar, ammonia or other cleaners. If the product label does not clearly cover the shower material, do not use it. For slate or another natural stone, use a stone-safe cleaner instead; the ShowU guide to cleaning slate tiles explains why acidic and abrasive cleaners are poor choices.
If your shower uses slate, follow this guide to cleaning slate tiles safely before choosing a cleaner.
Replace Moldy Caulk Instead of Scrubbing Deeper
Mold embedded in silicone shower caulk usually requires removing and replacing the affected bead, because cleaning the surface cannot reach growth inside the sealant.
- Stop if the caulk is loose, split, lifting, or allowing water behind the joint. That is a sealing problem, not just a cleaning problem.
- For a small accessible bead, remove the old caulk with a suitable scraper or caulk-removal tool, taking care not to scratch tile or damage the waterproofing layer.
- Clean the exposed joint with an appropriate bathroom cleaner, rinse away residue and let it dry completely.
- Apply new bathroom-grade, mold-resistant silicone caulk according to its label. Keep the shower unused for the full curing period printed on the tube.
Do not seal over visible mold or trapped moisture. If the joint opens into drywall, the wall feels soft, or staining continues outside the shower, stop and have the enclosure inspected.
Verify the Result and Prevent Return
A cleaned shower should have no visible fuzzy or slimy growth, no cleaner residue, and dry grout and caulk after the room has aired out. Check the same corners, lower joints, ceiling line and areas behind bottles the next day.
- Run a dry white cloth over the cleaned area. If it picks up residue, rinse again with plain water and dry.
- Check for a continuing drip, cracked grout, failed caulk, blocked exhaust fan or condensation that remains for hours. Correct the moisture source rather than repeatedly treating the stain.
- After each shower, use the exhaust fan during bathing and afterward as appropriate for the room, wipe standing water from ledges and squeegee wet walls if the finish allows.
- Keep bottles raised or spaced so air can reach the shelf and joints. Wash and dry shower curtains, mats and liners according to their care labels.
If mold returns quickly despite a dry, intact shower, treat that recurrence as evidence of hidden moisture or a ventilation problem. Stop repeating chemical applications and arrange a plumbing, building or remediation inspection.
Frequently asked questions
Is bleach the best way to clean shower mold?
No. Start with detergent and water on a small mold patch on an intact hard surface, then use a labeled mold cleaner only when its instructions and surface compatibility are clear. Bleach is not a universal solution, can damage some finishes, and must never be mixed with vinegar, ammonia or another cleaner.
How do you remove mold from shower caulk?
If mold is only on the surface, clean the caulk with a compatible labeled product and rinse it well. If the dark growth runs through the silicone bead or returns after cleaning, remove the affected caulk, clean and dry the joint, then recaulk. Do not seal over visible mold or moisture.
Why does mold keep coming back in the shower?
Recurring shower mold usually indicates continuing moisture from poor ventilation, standing water, a leaking fixture, failed grout or damaged caulk. Check those conditions after cleaning. If the area remains damp, staining spreads, or water may be behind the wall, stop applying cleaner and arrange an inspection.
Can you clean mold from shower grout?
Yes, when the growth is a small surface patch and the grout is intact. Use detergent and water with a soft nylon brush, rinse without flooding the joint, and dry thoroughly. Stop if grout crumbles, loosens, or stays dark because of hidden moisture; aggressive scrubbing can worsen the joint.