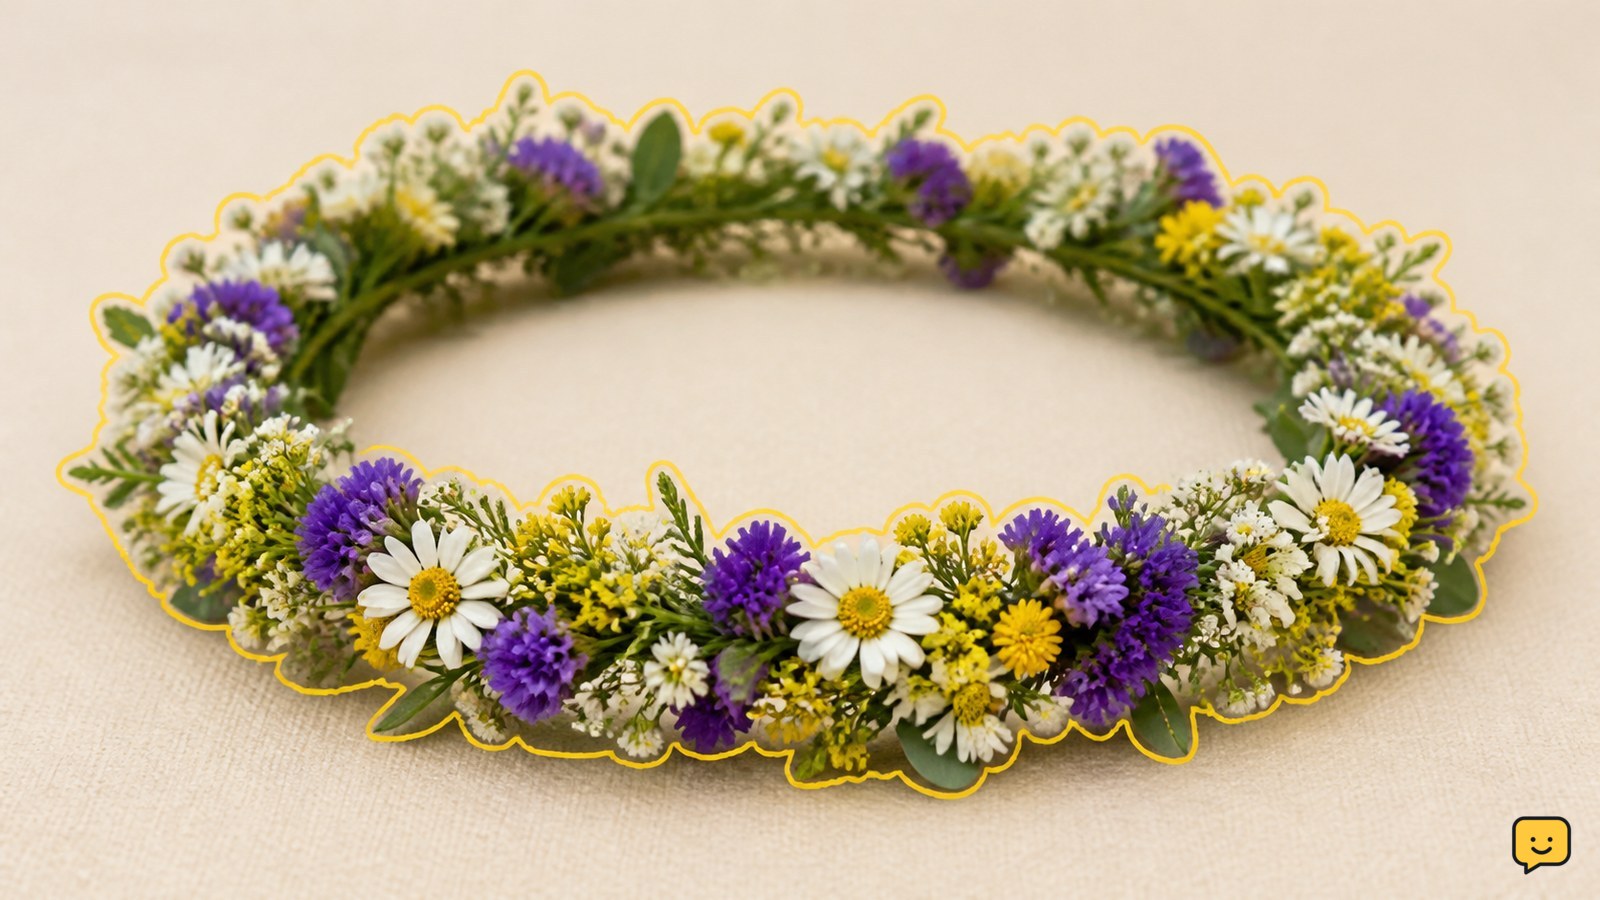
To make a flower crown, measure a flexible floral wire around your head, overlap and tape the ends, then attach small flower bundles with florist tape. Leave 1.5 to 2 inches of stem on fresh flowers, space the blooms evenly, and finish with ribbon or a taped join. For a no-wire option, braid flowers with sturdy stems.
Choose flowers that will hold their shape
Flower crowns work best with blooms and greenery that have firm stems and no visible damage. Daisies, small chrysanthemums, baby’s breath, lavender, statice, and hardy foliage are practical choices; delicate blooms can be added as accents rather than used as the structure.
Cut fresh flowers with about 1.5 to 2 inches of stem remaining, a preparation also described by Whole Foods Market. Remove leaves from the lower part of each stem so the crown stays comfortable. Sort the flowers into small piles by size before assembling.
Check: A usable stem bends slightly without collapsing, and the flower head remains upright when held sideways. Set aside any bloom that is slimy, brown, moldy, or too fragile to tape.
Measure and shape the crown base
Measure the floral wire around the wearer’s head at the point where the crown will sit. Leave a small comfort allowance rather than pulling the wire tight; the finished crown should rest securely without pressing into the temples.
- Cut one length of flexible floral wire with wire cutters.
- Curve it into a circle and overlap the two ends by several inches.
- Wrap the overlap firmly with florist tape, covering every sharp cut end.
- Try the base on briefly and adjust the curve before adding flowers.
Verify the fit: The base should stay in place when the wearer gently turns their head, but it should not pinch or leave sharp wire exposed. If it slides, reduce the diameter slightly or plan to add ribbon ties.
Prepare small flower bundles
Small bundles make the crown easier to balance than one large cluster. Combine one focal bloom, one smaller flower, and a little greenery, keeping the stems aligned in the same direction.
- Place the flowers together with the heads slightly staggered.
- Trim the bundle so the stems are short enough to follow the curve of the wire.
- Wrap florist tape around the stems from just below the flower heads downward.
- Make enough bundles to cover the front and sides, or the entire base if you want a full crown.
Check: Each bundle should hold together when lifted by the taped stems. If a flower shifts, add another wrap before attaching it to the base.
Attach the bundles around the wire
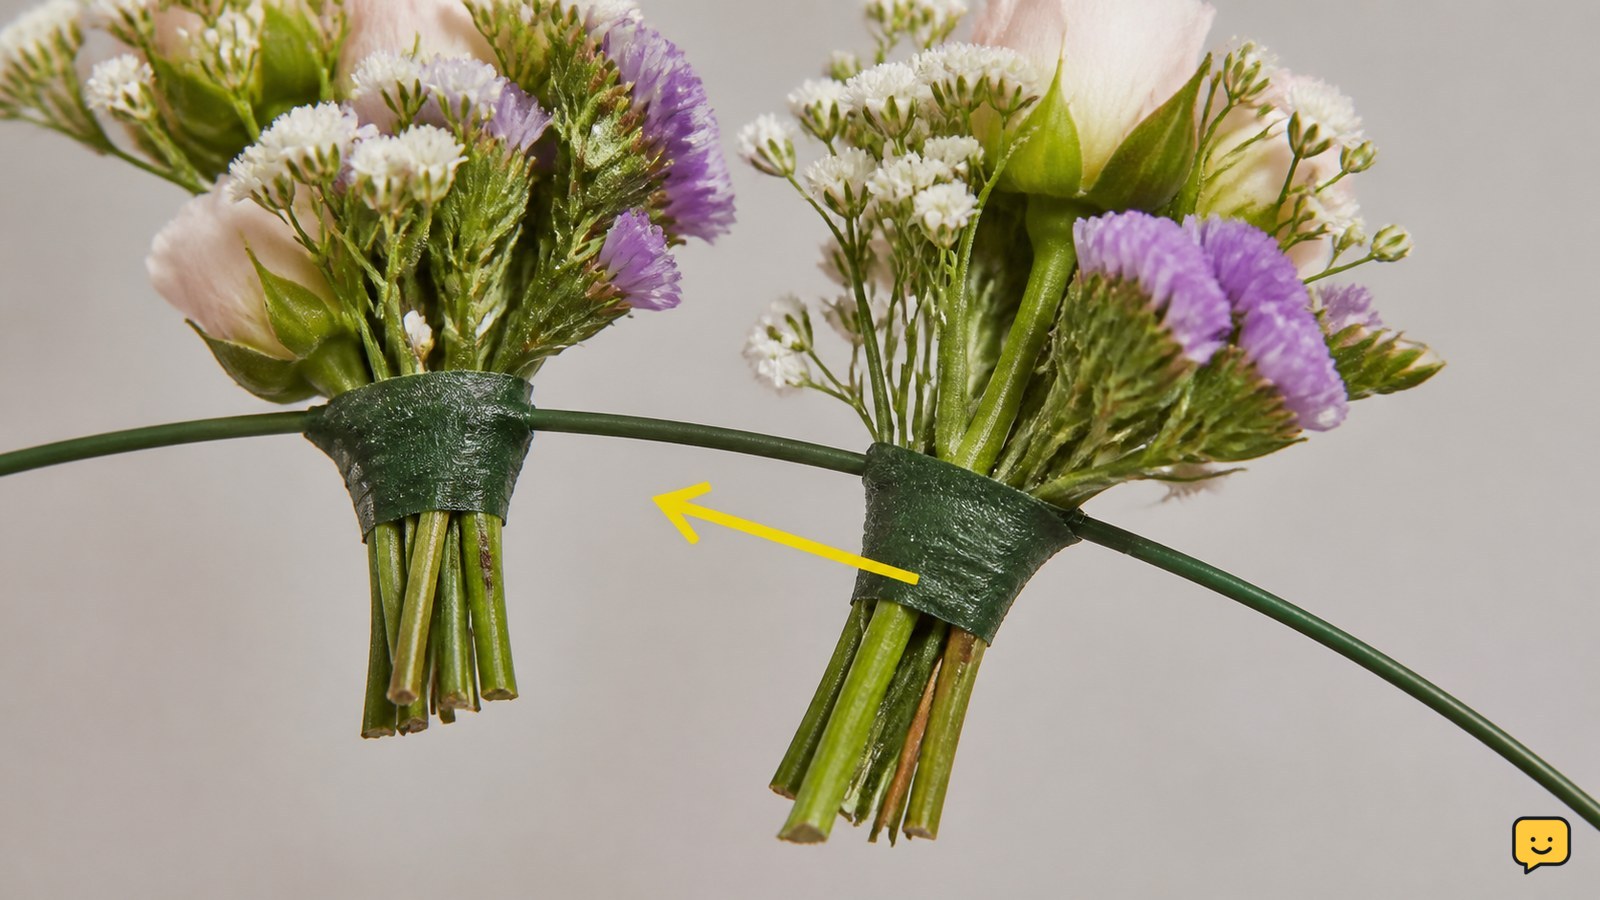
Attach each flower bundle to the wire base with the flower heads pointing in one consistent direction. Begin at the back or side so the joining area is less visible.
- Place the first bundle against the wire and wrap florist tape around both the stems and the base.
- Position the next bundle slightly in front of the first so it hides the taped stems.
- Continue around the crown, alternating colors and sizes for an even shape.
- For a front-heavy design, stop after covering the front half and leave the back as plain wire or ribbon.
Verify the result: The crown should have no loose stems, exposed sharp wire, or large gaps that make the base visible unintentionally. Hold it at eye level and check that the weight is balanced from side to side.
Finish the join and make the crown comfortable
Finish by covering the final taped area with ribbon, greenery, or one last flower bundle. Ribbon tied at the back can also make the fit adjustable and is useful when the wire base is between sizes.
Run a fingertip carefully along the inside of the crown without forcing it. Every wire end should be covered, and no stiff stem should point toward the scalp. Trim only loose stems; do not cut into a taped bundle if doing so could release its flowers.
For fresh flowers, keep the crown cool and lightly mist the stems if appropriate for the flower type. Do not soak the taped joins. Wear the crown soon after assembly because fresh blooms wilt faster once removed from water.
Use a braided crown when you do not want wire
A braided flower crown needs flowers with flexible, reasonably long stems and is best for a short-wear accessory. The basic method is to cross three flowers, braid the stems, and add another flower as the braid advances.
- Cross three flower stems near the flower heads.
- Braid the outside stem over the center, alternating sides.
- Add a new flower to the outside stem before the next crossing.
- Continue until the braid reaches the wearer’s head circumference.
- Join the ends by weaving the last stems through the first part of the braid.
This approach follows the stem-braiding method described by Creative Green Living for daisy chains. Stop and switch to a wired base if the stems split, snap, or cannot hold the braid together. A loose braid will not stay wearable for long.
Frequently asked questions
How long will a fresh flower crown last?
A fresh crown usually looks best when worn soon after assembly. Its lifespan depends on the flower type, temperature, and how much water reaches the stems. Keep it cool and shaded before wearing, avoid soaking the taped sections, and discard it when the flowers wilt heavily, smell sour, or develop mold.
Can you make a flower crown without floral wire?
Yes. Use a braided chain made from flowers with flexible, sturdy stems, or attach blooms to a ribbon headband. Braiding works best for short wear and small flowers. If stems break or the crown will not hold its shape, use a taped wire base instead.
What flowers are easiest for a beginner flower crown?
Small daisies, chrysanthemums, baby’s breath, lavender, and statice are practical beginner choices because their stems are easier to bundle and tape. Use delicate flowers sparingly until you know how they respond to handling. Avoid blooms that wilt immediately, shed heavily, or have thorns.
How do you make a flower crown with dried flowers?
Use the same wire-base method, but make smaller bundles and handle the flowers gently because dried stems can snap. Secure each bundle with florist tape, cover the wire join completely, and leave enough space for brittle flower heads. Do not use dried flowers that shed dust or show mold.
For more help with this topic, use the Gardening guides.