To learn how to ski, take a beginner lesson, use properly fitted skis and boots, and start on a flat practice area or gentle beginner slope. Keep your shins against the boot tongues, knees relaxed, and hands forward. Practise gliding, stopping with a wedge, and turning both directions before using a lift or steeper terrain.
Choose beginner terrain and check your equipment
Beginner skiing requires equipment that fits correctly and terrain that gives you room to stop. Use marked beginner trails and follow the resort’s trail-rating system; do not start on an advanced slope simply because it appears short.
At the rental desk, your boots should feel snug without causing sharp pressure or numbness. Buckle them firmly, place the tongue of each boot against your shin, and make sure your heel does not lift significantly when you bend your knees. Your skis should be paired with bindings adjusted by the technician, not by guesswork.
Before moving, check that both ski brakes are intact, pole straps are not tangled, your helmet sits level and secure, and your goggles give you a clear view. If any item feels loose or painful, return to the rental desk before entering the slope.
Practise a balanced stance on flat snow
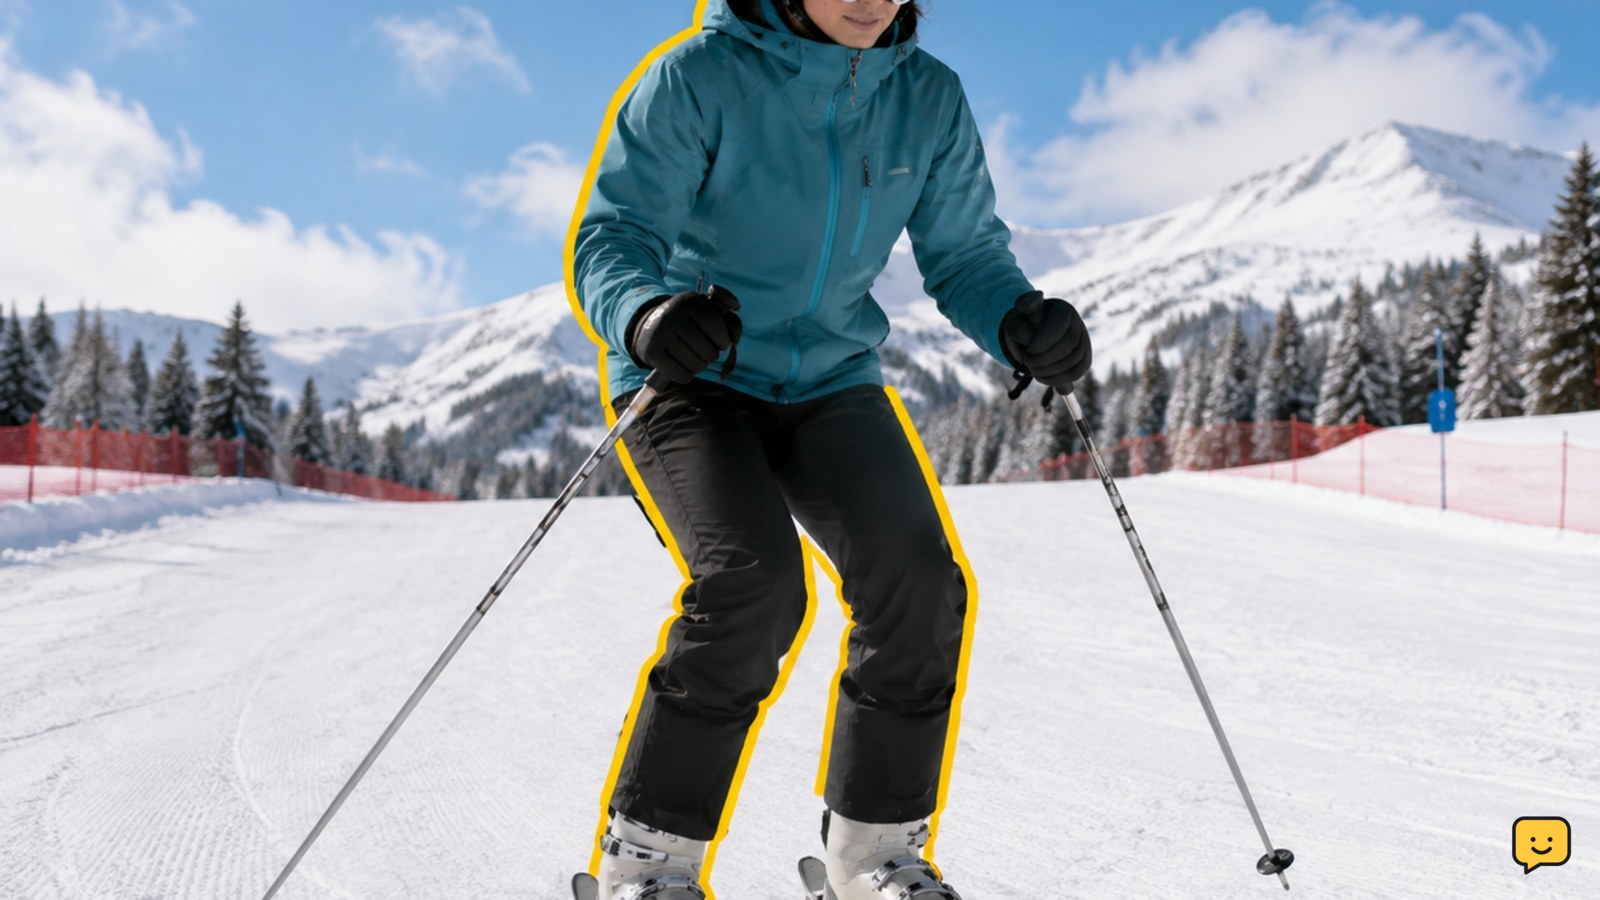
A balanced ski stance keeps your hips over your feet and lets your legs absorb changes in the snow. Stand with your feet about hip-width apart, ankles and knees slightly bent, shoulders relaxed, and hands held in front of you. Aspen Snowmass describes this athletic position as keeping the hips over the feet with the head and shoulders aligned over the hips.
On nearly flat snow, shuffle forward one ski at a time, then practise stepping around in a small circle. Keep your skis parallel while walking and avoid crossing their tips. Use your poles for light balance rather than pulling yourself forward.
Check your result: you can stand without leaning back, keep both skis pointed where you intend, and take several steps without catching an edge. If you feel yourself sitting back, bend your ankles forward into the boot tongues and shorten your steps.
Glide straight and stop with a wedge
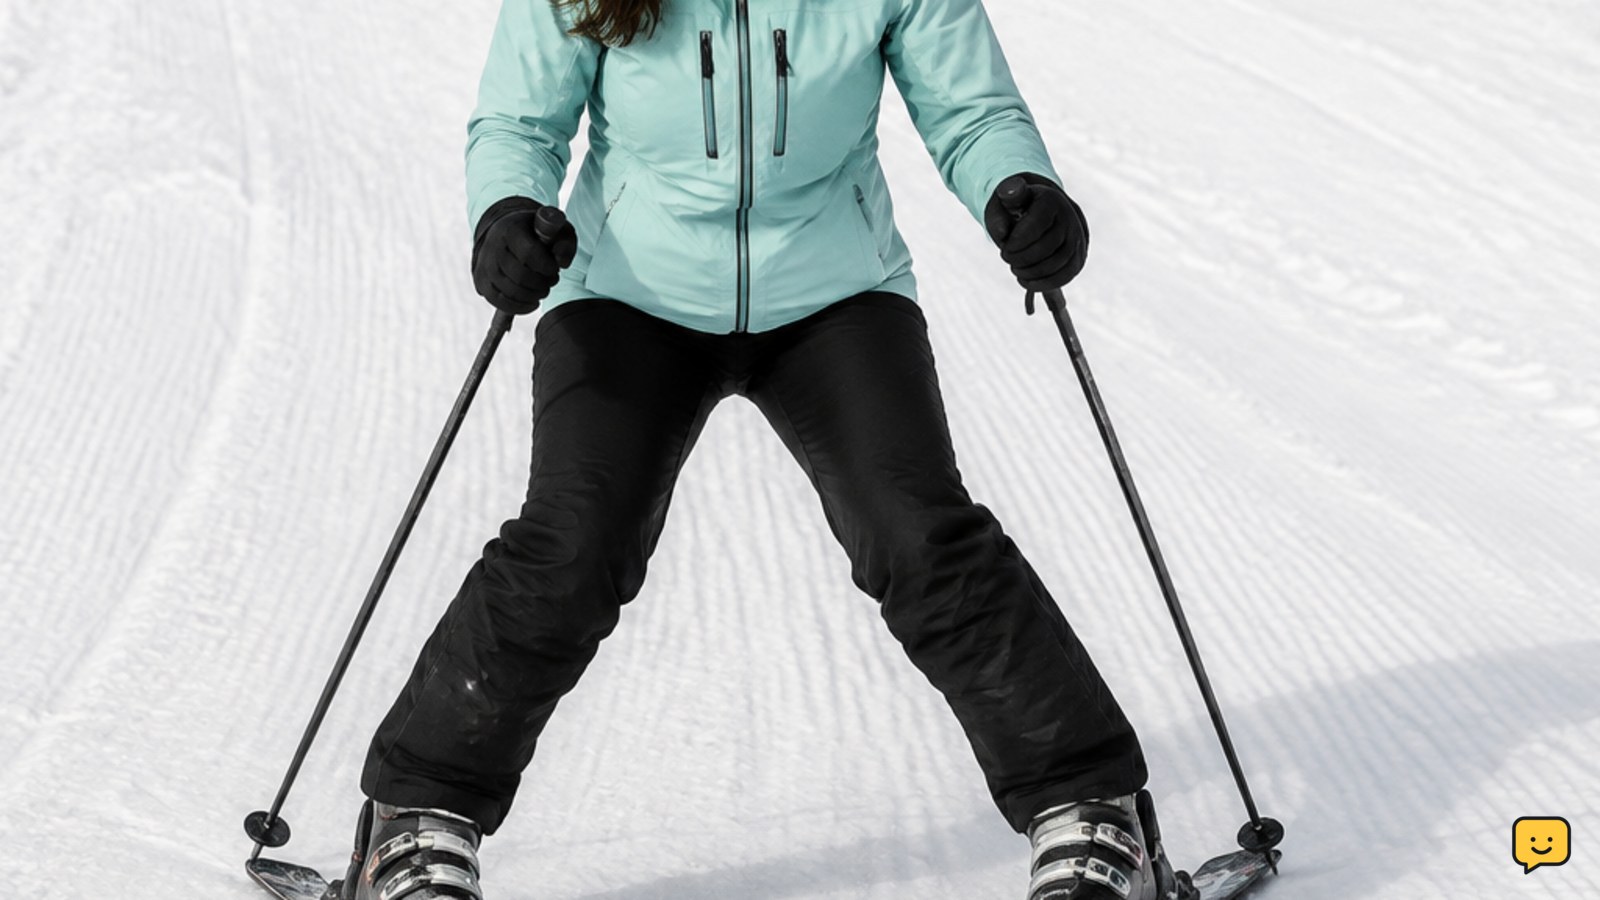
A wedge, also called a snowplough, is the first basic speed-control shape: the ski tips point closer together while the tails remain farther apart. Practise it on a very gentle slope with a clear, open stopping area.
- Point both skis downhill and begin with a short glide.
- Relax your knees and gently push both heels outward to form a wide wedge.
- Keep your weight centred over both skis and your hands forward.
- Increase the wedge gradually until your speed decreases, then flatten the skis to glide again.
REI’s beginner guidance places gliding and speed control before linked turns. Your first success check is not distance: you should be able to start slowly, reduce speed smoothly, and come to a complete stop without sitting down or rotating your upper body.
If the wedge does not slow you, the slope may be too steep, your skis may be too close together, or you may be leaning back. Move to flatter terrain and ask an instructor to watch your stance. Do not continue downhill while relying on a stop you cannot repeat.
Turn across the slope to control speed
Beginner turns control speed by changing the direction of travel across the slope rather than pointing straight downhill. Start from a slow wedge on a gentle run with plenty of space above and below you.
- Look toward the open area where you want to travel, not at the ski tips.
- Keep your upper body quiet while allowing both legs and skis to turn in the same direction.
- Finish the turn across the slope until your speed decreases.
- Return to a shallow wedge, then repeat the movement in the opposite direction.
Practise left and right turns separately at first, then link them into a broad S-shaped path. Your skis should change direction smoothly, and you should be able to pause across the slope whenever you need more control.
If one direction feels much harder, practise that side on flatter terrain and tell your instructor. Do not twist your shoulders aggressively or force a turn when another skier is below you; slow down first and check uphill before moving across the run.
Use the beginner lift only after you can stop
Use a surface lift or chairlift only after you can glide, stop, and turn in both directions on the practice slope. Ask the lift operator which lift is appropriate and watch other skiers before joining the queue.
For a surface lift, keep your skis parallel in the track, follow the operator’s instructions, and let the tow pull you rather than sitting down. For a chairlift, move through the loading area at the instructed pace, sit fully back, lower the safety bar when permitted, and keep skis pointed away from other passengers. Lift procedures vary by resort, so the operator’s directions take priority.
At the top, leave the unloading area promptly and stop at the designated side, never in the path of people exiting behind you. If you miss the loading position, fall while unloading, or feel unable to descend the return slope, move clear and ask the operator or ski patrol for assistance.
Build control with short, repeatable runs
Progress by repeating one skill on terrain where you still have spare attention. A useful practice order is straight glide, wedge stop, left turn, right turn, then linked turns. Take a short break between runs so tired legs do not turn a controlled movement into a fall.
Move to a slightly steeper or busier run only when you can stop above a chosen point, turn away from obstacles, and maintain enough space from other skiers. The Snow Pros recommends investing in instruction because lessons help beginners learn safer, more efficient movement.
Finish the day before your technique deteriorates. Dry skis and boots after skiing, keep the edges from sitting wet in a bag, and report any binding or boot problem before the next outing. A later session should begin with the same flat-ground equipment and stance check rather than assuming yesterday’s setup is still comfortable.
Frequently asked questions
Can you learn to ski without lessons?
You can practise basic movements independently, but a qualified lesson is the safer starting point. An instructor can select suitable terrain, correct a backward stance, and show you how to stop before you build speed. At minimum, take a lesson before using lifts or moving beyond the easiest marked beginner area.
How long does it take to ski down a beginner slope?
There is no useful fixed time. A beginner should take as long as needed to stop, check the route, and make controlled turns. Frequent stops are appropriate while learning. Speed or a fast descent is not a progress measure; repeatable control is.
Why do my skis keep crossing at the tips?
Crossing tips usually means the skis are too close together, your weight is shifting unevenly, or you are turning your upper body instead of guiding both legs. Slow down, widen the stance slightly, keep your hands forward, and practise on flatter snow. Ask an instructor to check your alignment if it continues.
What should a beginner do after falling?
Check yourself and the slope before moving. If you are hurt, stay still and signal for help. If you are uninjured, move to the side, point your skis across the slope, stand one ski at a time, and check that your bindings and equipment are secure. Ask for help if you cannot stand safely.
For more help with this topic, use the Sports Recreation guides.