To learn how to ride a bike, use a correctly sized bicycle and properly fitted helmet on smooth, flat pavement away from traffic. First practise pushing and gliding with both feet ready, then add pedaling, braking, steering and turns one skill at a time. Stop if control, equipment or surface conditions become unsafe.
For more help with this topic, use the Camping Outdoors guides.
Choose a bike and practice area that reduce risk
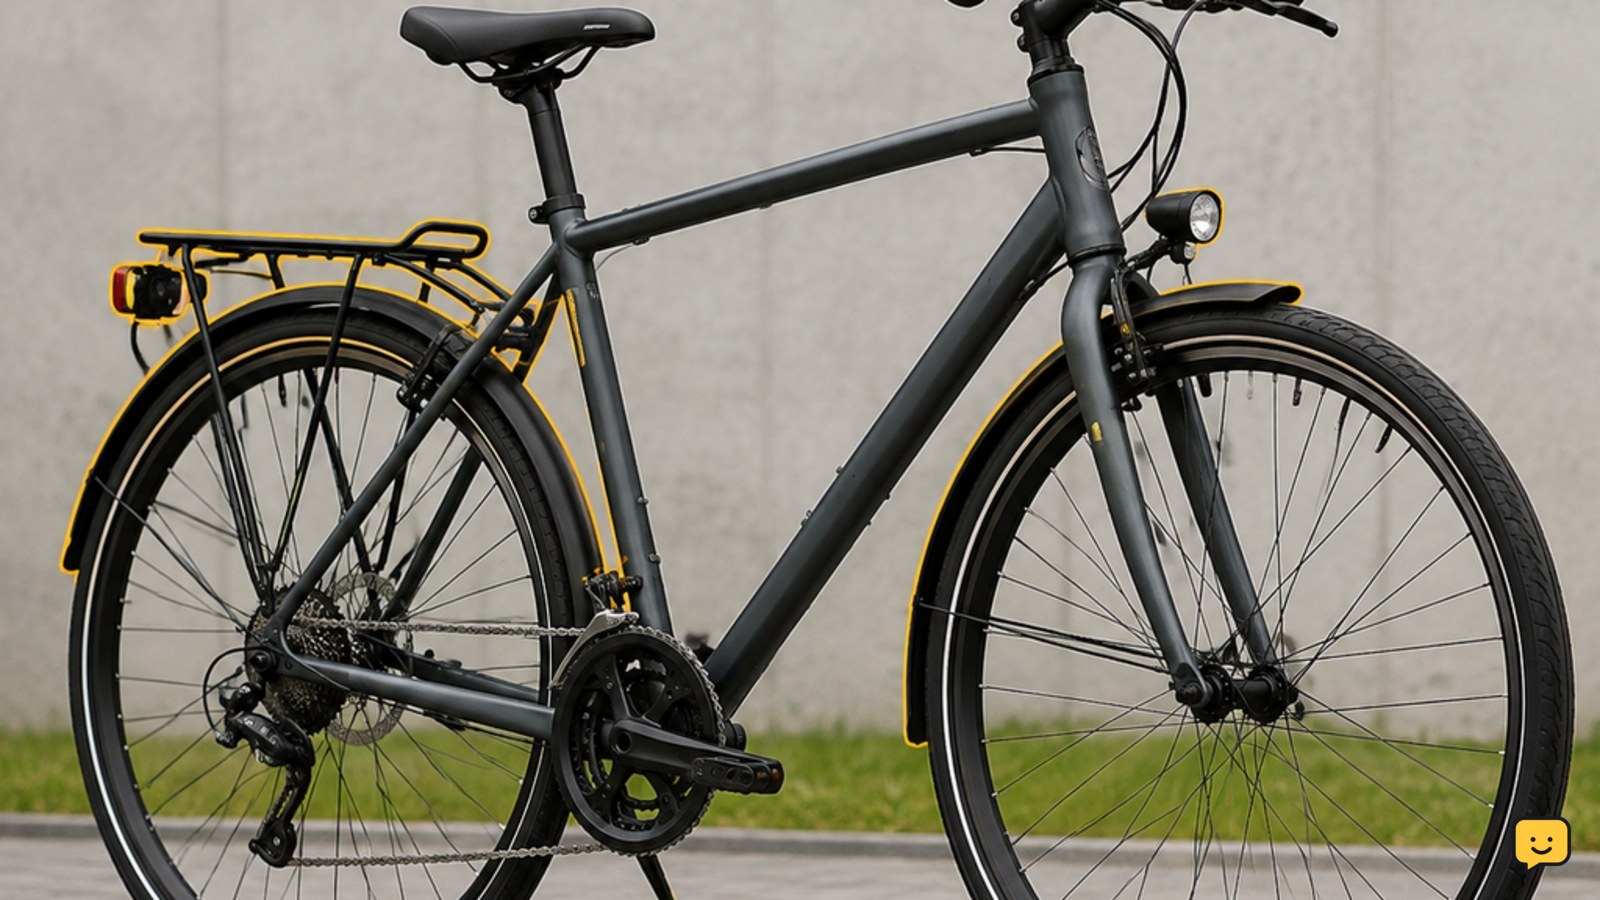
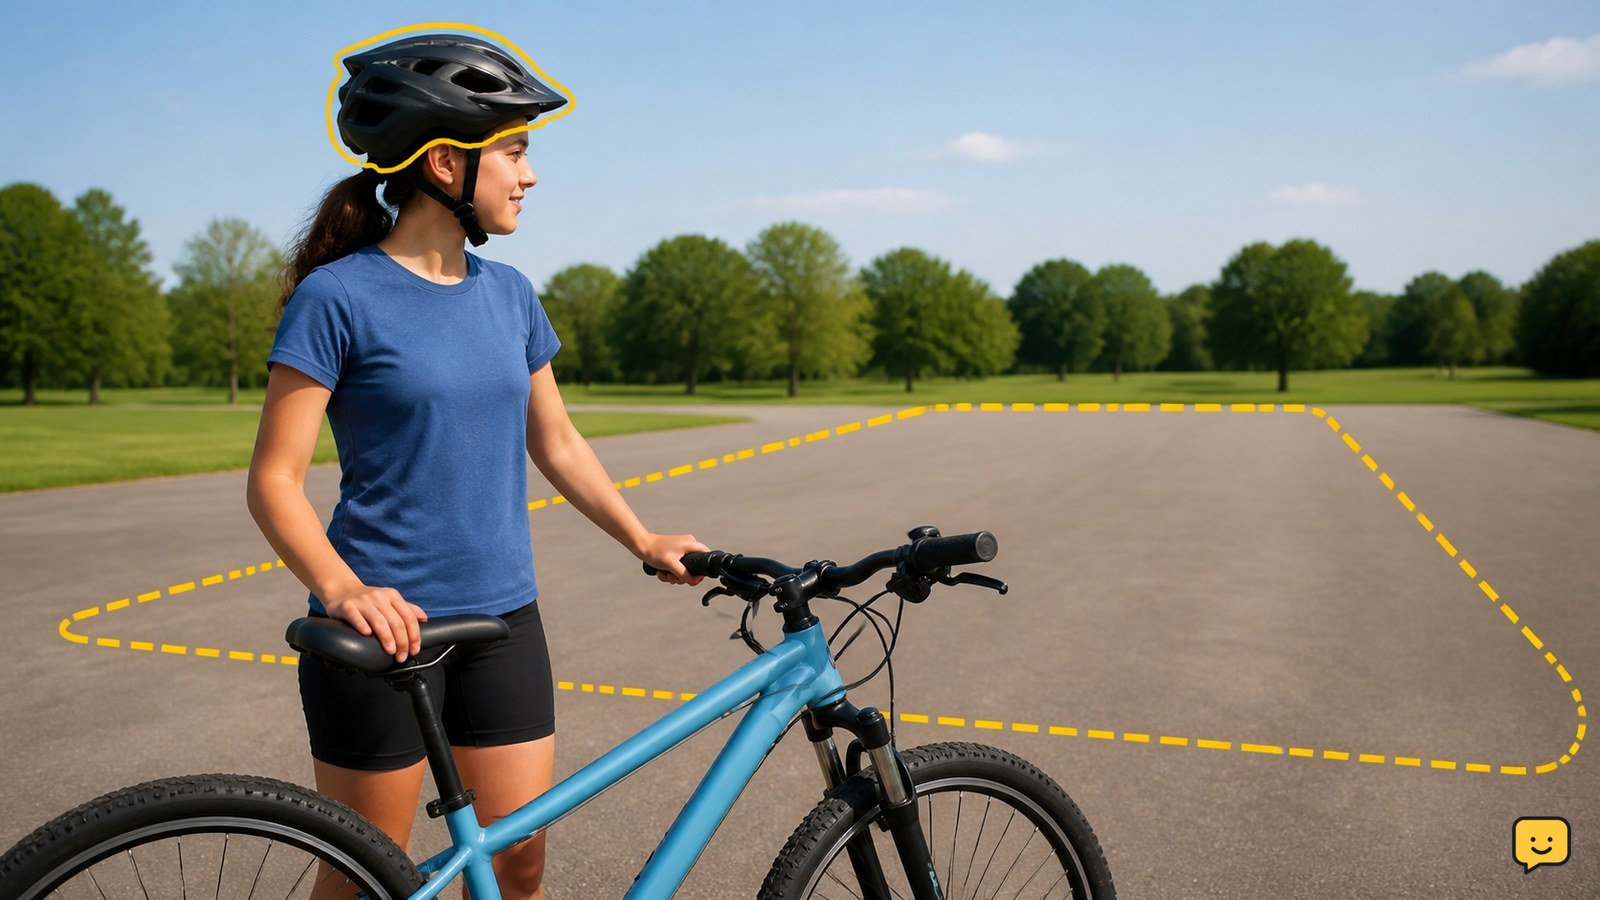
A beginner needs a bicycle that fits, protective gear and a flat, open practice area before learning to ride. A correctly sized bike is easier to balance and control; BikeReady also recommends learning away from traffic and hazards. Smooth pavement is preferable to grass because the wheels roll more easily.
For a young learner, a balance bike is a useful alternative to a pedal bicycle because it concentrates on pushing, gliding and balance before pedals are added. Schwinn describes balance bikes as low-framed bikes designed for riders to keep both feet on the ground while developing these skills. Training wheels are optional, not essential; if used, they should sit just above the ground so they catch a lean rather than hold the bike permanently upright.
Before each attempt, squeeze each brake, roll the bike slowly and confirm that it stops without pulling sharply to one side. If the rider cannot comfortably place a foot down or reach the brake levers, stop and adjust the fit or use another bicycle.
Practise balance by pushing and gliding
Balance improves when the rider learns to keep the bicycle moving in a straight line with the feet available for support. Lower the seat enough for the rider to place both feet flat or nearly flat on the pavement while seated; do not start with the seat so high that they must lean the bicycle far to touch down.
- Stand beside the bicycle, hold both grips and squeeze the brakes.
- Lean the bicycle slightly toward the rider, sit down and look ahead rather than at the front wheel.
- Push with both feet in short strides, keeping the handlebars mostly straight.
- When the bike rolls steadily, lift both feet for a brief glide, then lower them before balance is lost.
- Repeat until the rider can glide several bike lengths and stop calmly with the brakes or feet.
Success looks like a relaxed upper body, eyes forward and repeated glides without grabbing the handlebars or stepping off abruptly. If the bicycle wobbles, slow down, straighten the bars and return to shorter glides. Do not have a helper hold the seat continuously; light guidance can prevent a fall, but the rider must feel the balance themselves.
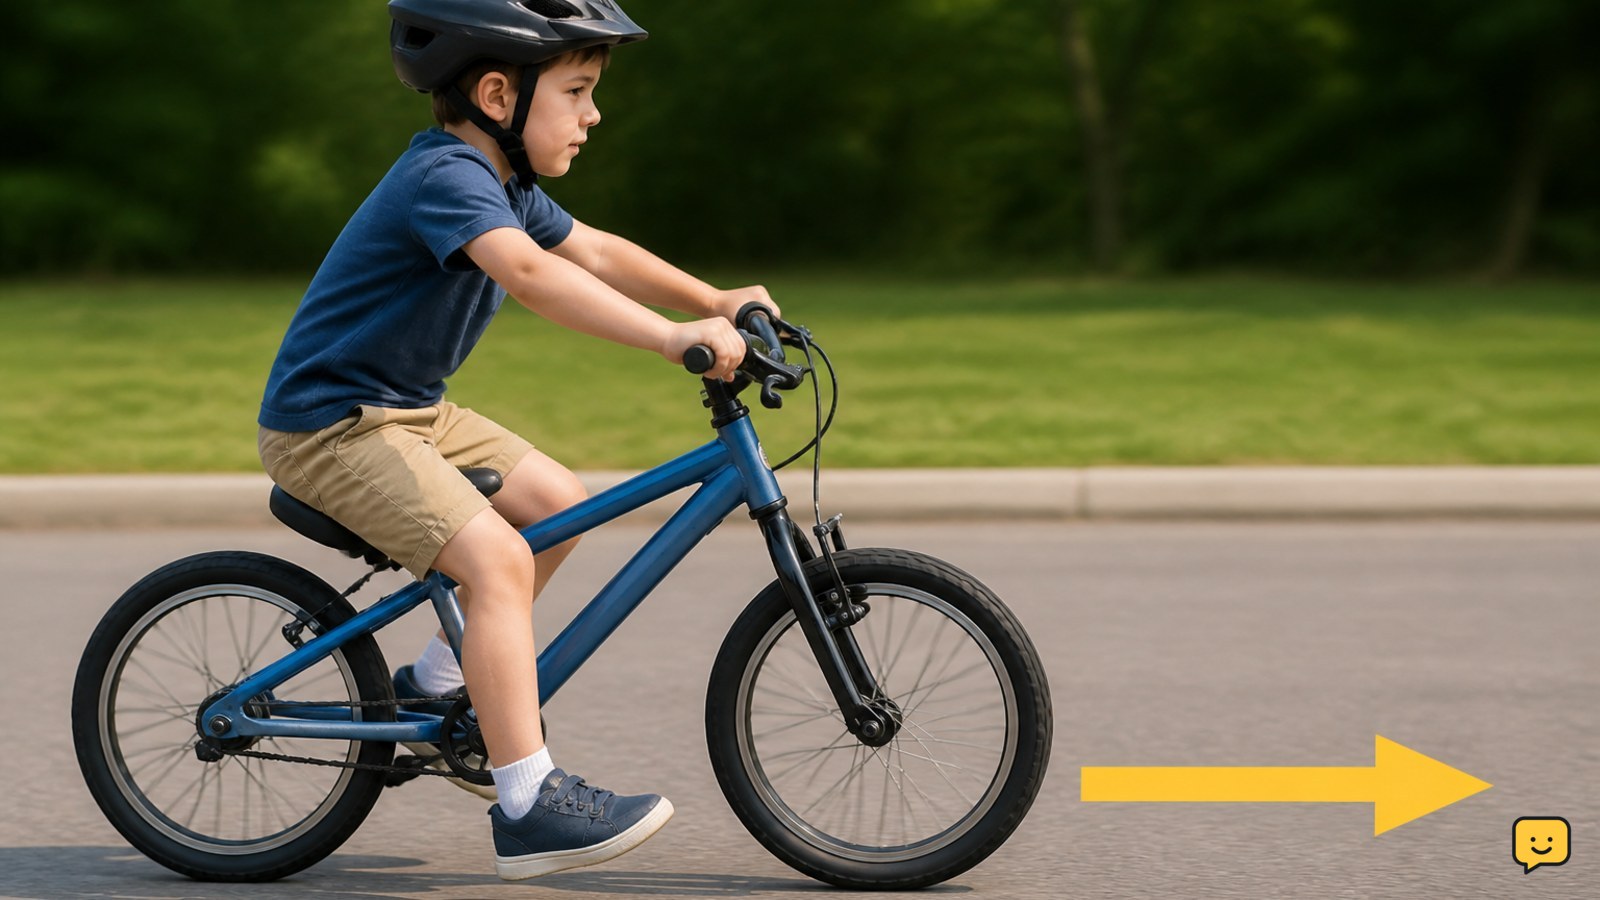
Add pedaling from a controlled starting position
Pedaling should begin only after the rider can glide and stop, because a moving bicycle is easier to balance when the rider already understands its motion. Position one pedal slightly above and forward of the other, with the stronger foot ready to press down.
- Apply both brakes while the rider sits with one foot on the ground and the other on the raised pedal.
- Release the brakes, press the raised pedal forward and allow the bicycle to move straight.
- As the first pedal travels around, place the second foot on its pedal and alternate smooth pushes.
- Keep the head up, hands light on the grips and pedaling steady rather than forceful.
Schwinn gives the same basic starting principle: press the forward pedal to begin moving, then push the opposite pedal when it reaches the forward position. A successful attempt starts without a large sideways lean and continues for several bike lengths. If the rider stalls, reset the pedal position and practise the start without rushing. If the bicycle surges, use a gentler first push and cover the brake levers.
Learn braking and dismounting before longer rides
Reliable braking gives the rider a way to end every attempt safely. Practise stopping on a clear straight line before adding turns or speed.
- Pedal slowly while looking ahead.
- Stop pedaling and squeeze both brake levers gradually, keeping the handlebars straight.
- Shift weight slightly back without locking the arms.
- As the bicycle nearly stops, put one foot down, then step over or beside the frame.
BikeReady’s beginner guidance also starts mounting and dismounting with the handlebars held and brakes squeezed, then leaning the bicycle toward the rider. The observable checkpoint is a controlled stop without skidding, swerving or falling. If one brake grabs, feels weak or pulls the bicycle sideways, stop riding and have the brake inspected or adjusted before continuing.
Steer, turn and restart in an open space
Steering becomes manageable when the rider looks toward the clear path and makes small handlebar movements. Place two cones several bike lengths apart, leaving enough room for a wide turn.
- Ride straight between the cones at a slow, steady speed.
- Look through the turn toward the next open section, not down at the cone.
- Make a small steering movement, keep pedaling lightly and avoid sudden braking while upright.
- Finish the turn, straighten the handlebars and practise stopping at the boundary.
- Restart only after the rider has regained a stable foot position and checked the path.
Success means the rider can complete both left and right turns without touching a cone or drifting outside the practice area. If a turn becomes too wide, slow down and use a larger arc rather than twisting the bars sharply. Remove the cones if they distract the rider; the priority is predictable control, not completing a course.
Move from practice space to public riding gradually
A rider is ready for a quiet path only after they can start, pedal, steer, brake, turn and dismount repeatedly in the traffic-free area. Begin with a short, familiar route in daylight and avoid hills, intersections and crowded shared paths.
On a public road, the League of American Bicyclists advises riding in the same direction as traffic and staying far enough from the curb to avoid hazards. A new rider should not enter traffic until they can look around without swerving, signal or communicate clearly, and stop whenever instructed. Follow local helmet, lighting and cycling rules, which vary by location.
After each practice ride, check for new looseness, damaged controls or a tire that has lost pressure. If any safety check fails, park the bicycle and arrange a proper repair rather than trying to compensate with riding technique.
Frequently asked questions
Is a balance bike better than a bicycle with training wheels?
A balance bike can be easier for a first learner because it develops pushing, gliding and balance without pedals getting in the way. Training wheels can provide temporary support, but they may delay independent balance if the rider relies on them. Either option can work when the bicycle fits and practice stays on a flat, clear surface.
How low should the seat be when learning to ride?
Set the seat low enough that the learner can place both feet flat or nearly flat on the ground while seated. This supports balance practice and gives the rider a dependable way to catch a wobble. Raise the seat gradually after the rider can glide and stop confidently; stop if the rider can no longer reach the ground or pedals comfortably.
Why does the bike wobble when the rider looks down?
Looking down makes it harder to maintain a straight line and often leads to overcorrecting the handlebars. Ask the rider to look several bike lengths ahead toward the open path. Reduce speed, straighten the handlebars and return to short glides if the wobble continues.
When can a new cyclist ride on the road?
A new cyclist should wait until they can start, pedal, steer, brake, turn and dismount reliably in a traffic-free area. They should also be able to look around without swerving and stop on instruction. Begin with a quiet, familiar route, follow local cycling laws and avoid traffic until those skills are consistent.