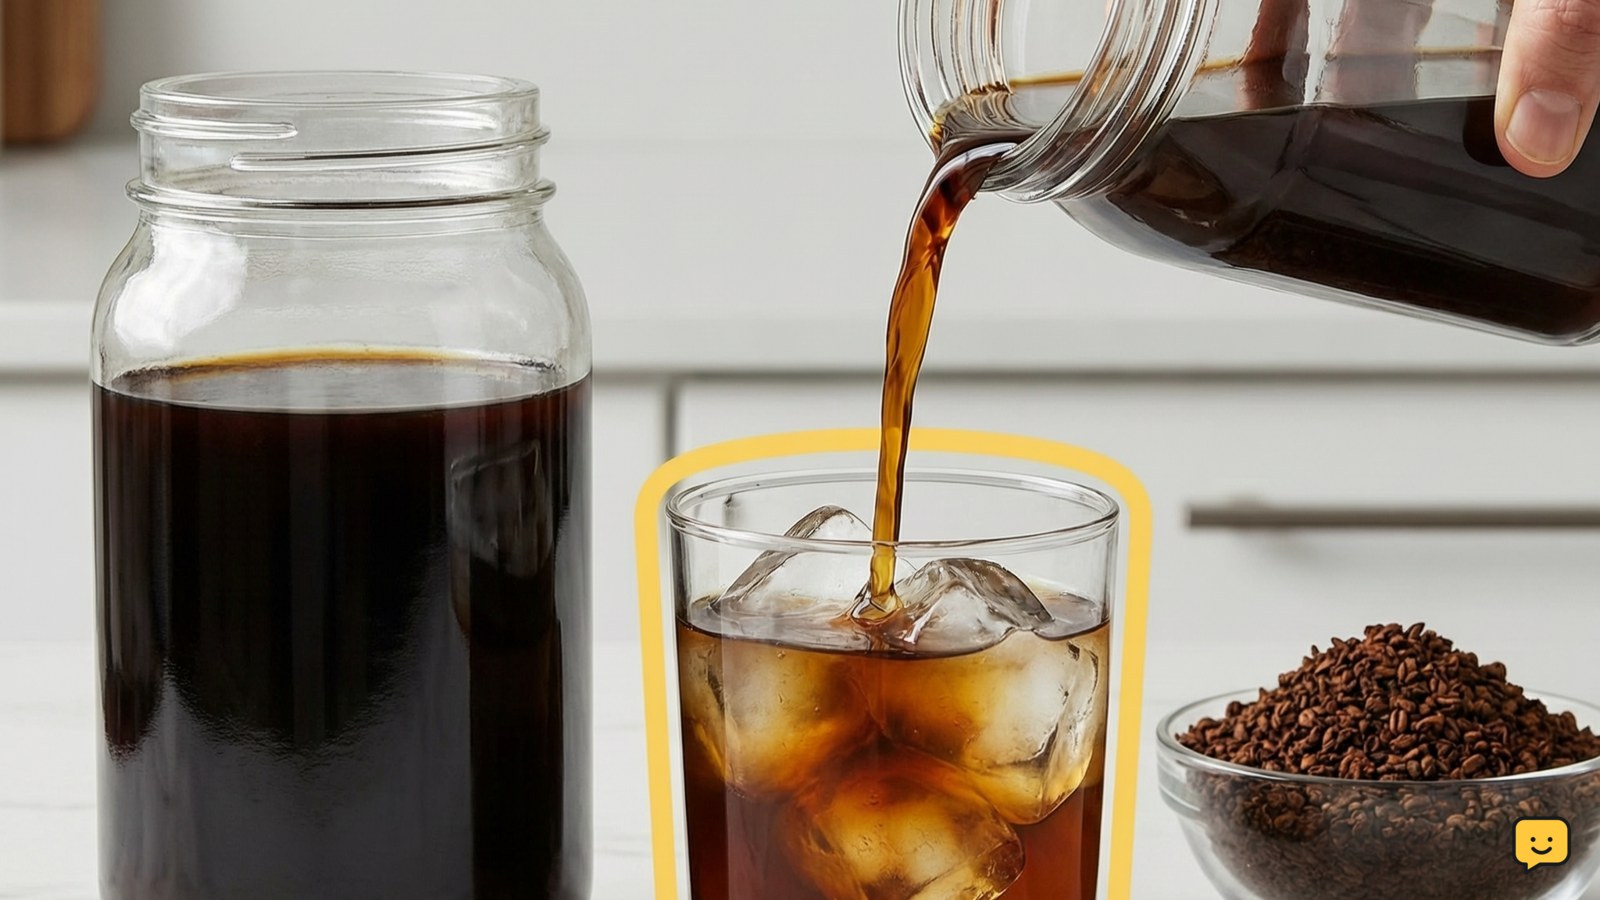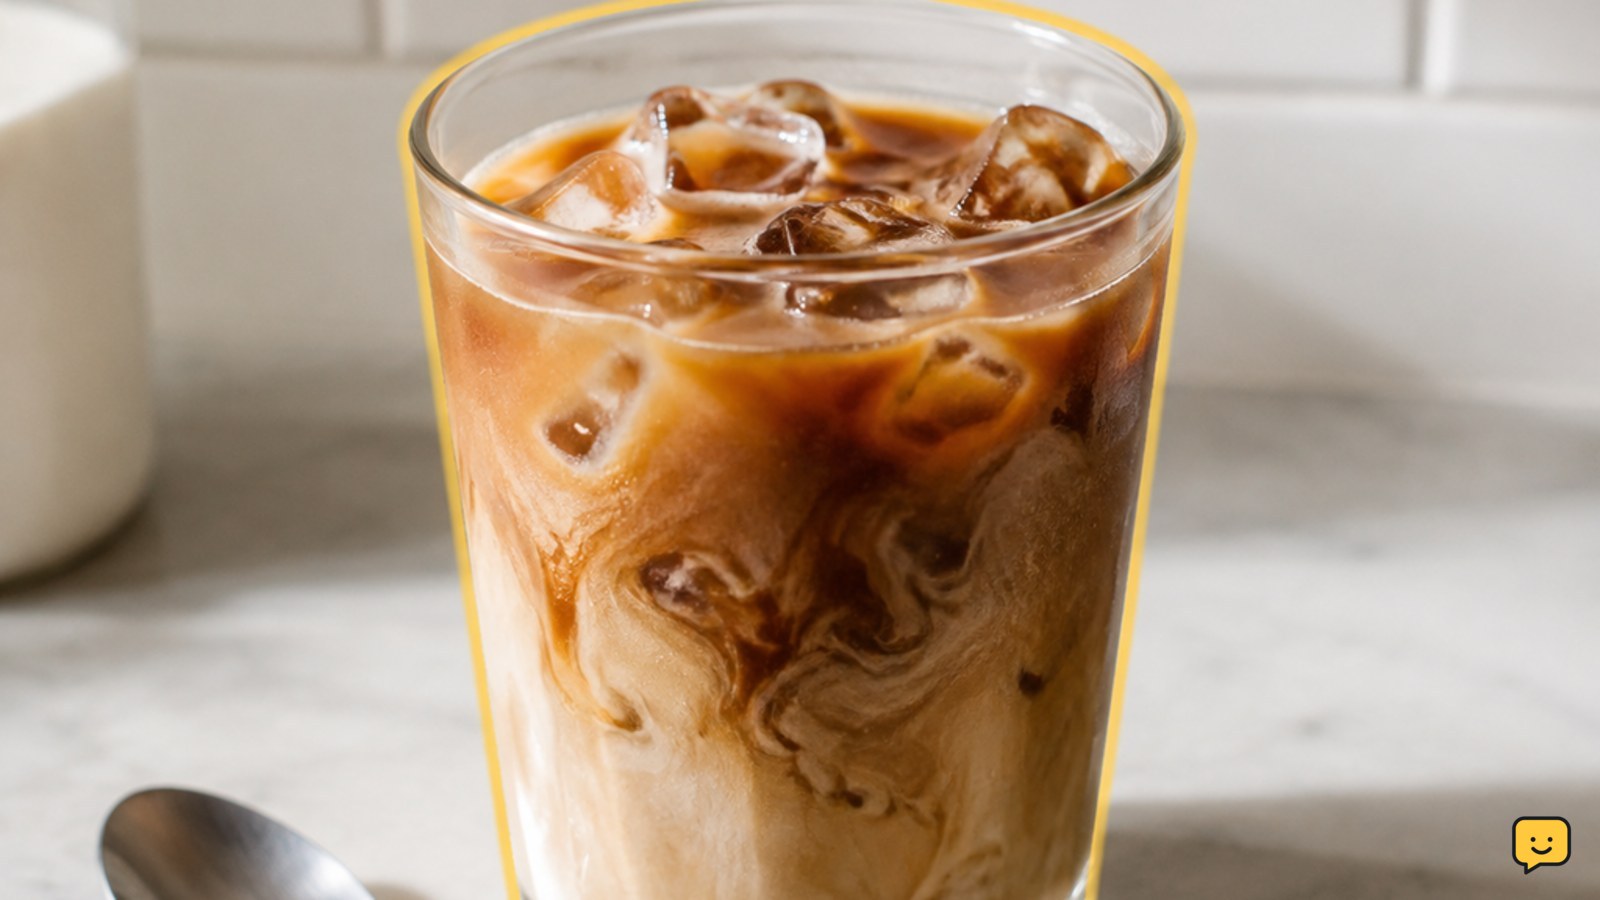
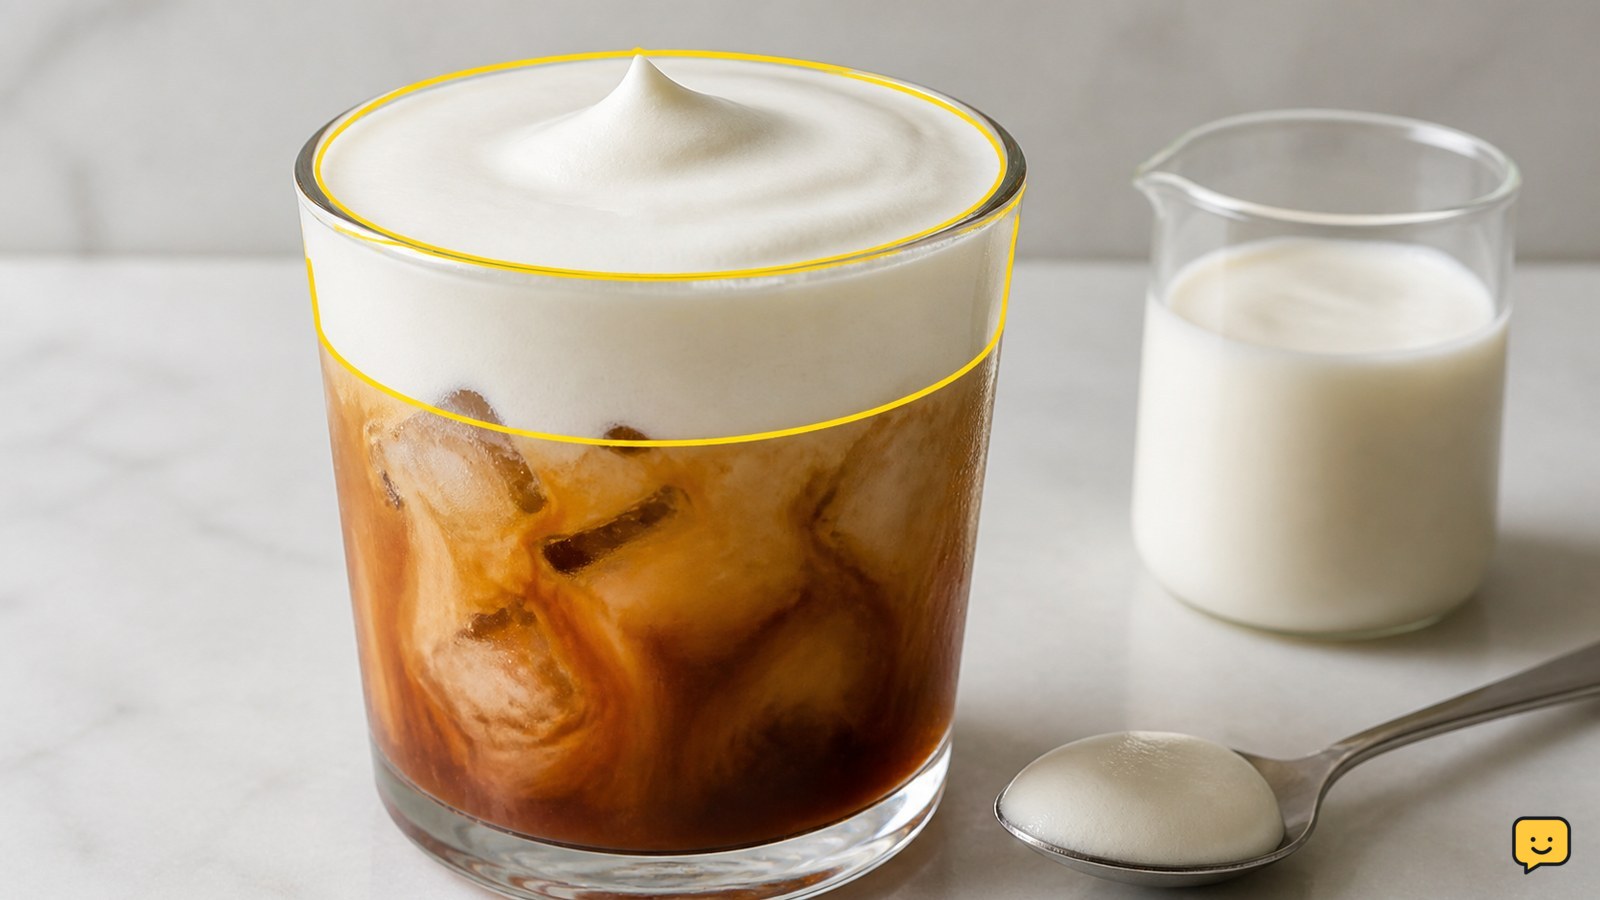
To make cold foam, pour 1/2 cup cold milk and 1 tablespoon vanilla syrup into a narrow cup. Froth just below the surface for 20 to 40 seconds, until the mixture looks airy and pourable. Spoon it over iced coffee immediately. If you do not have a frother, shake the mixture in a sealed jar for 30 to 60 seconds.
Choose the milk and flavor base
Cold foam starts with cold milk and a small amount of flavoring, such as vanilla syrup. For one iced drink, combine 1/2 cup cold milk with 1 tablespoon vanilla syrup in a narrow cup. Use less syrup for a lightly sweet foam, or replace it with another smooth sweetener that dissolves easily.
Plain milk produces a lighter topping, while a milk-and-cream mixture makes a richer sweet-cream style foam. Ovalware describes cold foam as aerated cold milk or a milk-and-cream blend, so choose the richer mixture only when you want a heavier result.
Keep the liquid level low enough to leave room for expansion. The target mixture should be cold, fluid, and free of large syrup pockets before you start.
Froth the mixture with the tool you have
Cold foam becomes ready when agitation traps air in the chilled milk, creating a light layer without heating it. Choose one of these methods:
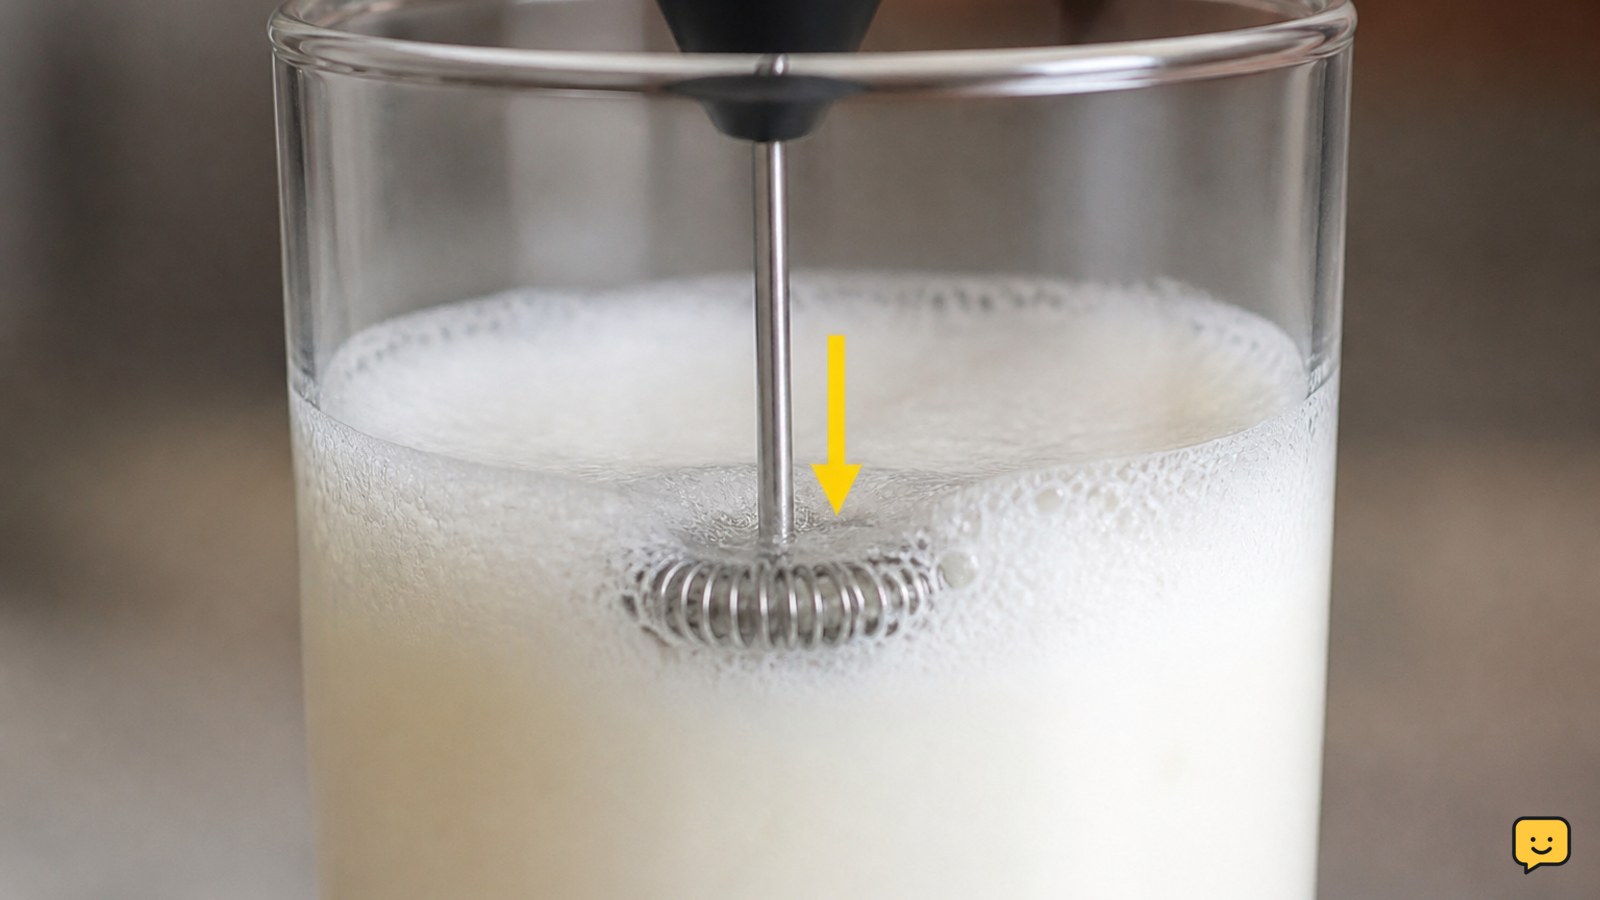
- Handheld frother: Place the whisk just below the surface and froth for about 20 to 40 seconds. Move the cup slightly if the top aerates while the bottom stays liquid. A Nerd Cooks uses a handheld frother with milk and vanilla syrup.
- Sealed jar: Pour the mixture into a jar no more than halfway full, close the lid tightly, and shake vigorously for 30 to 60 seconds. Bones Coffee recommends this approach; stop before the liquid becomes warm from extended shaking.
- French press: Add the cold mixture and pump the plunger repeatedly until the volume increases and the texture looks creamy. Keep the press below its fill line.
- Blender: Blend briefly on a low setting, then check the texture. Stop as soon as the foam is aerated; overblending can make it too loose or create excessive bubbles.
The frothing methods and no-frother alternatives above are also listed in Ovalware’s home cold-foam guide. Do not heat the milk: hot latte foam is a different preparation and will not give you the same cold topping.
Verify the foam before serving
Good cold foam is visibly expanded, smooth, and pourable, with small bubbles rather than a layer of large, rapidly popping bubbles. Lift the frother or open the jar and check whether the foam briefly holds its shape while still moving slowly when tilted.
Spoon the foam over iced coffee, cold brew, or an iced latte. It should sit on the surface at first and gradually blend into the drink as you sip. If it immediately disappears, the mixture is either too thin or has not been aerated enough.
For the cleanest result, serve it right away. Cold foam is a texture-sensitive topping, so a fresh batch is usually more reliable than holding it for later.
Fix thin, flat, or overly thick foam
If cold foam is thin, first check the milk temperature and frothing depth. Use colder milk, place a handheld whisk just below the surface, and continue only until the mixture visibly expands. If the syrup is pooling at the bottom, stir it into the milk before frothing.
If the foam has large bubbles and collapses quickly, the mixture was probably agitated too aggressively or for too long. Let it settle briefly, then use a shorter, gentler frothing cycle. A narrower cup can also help a handheld whisk contact the liquid more evenly.
If the foam is stiff and difficult to pour, stop adding air. Fold or stir in a small splash of cold milk until it returns to a soft, spoonable texture. If it still looks separated or curdled, stop and make a fresh batch rather than serving it.
Store leftovers and make a fresh batch safely
Cold foam is best used immediately, but any unused dairy mixture should be covered and returned to the refrigerator promptly. Keep it separate from the coffee so the topping does not thin prematurely.
Before using refrigerated leftovers, inspect the texture and smell. If the foam has separated, stir it gently and refroth a small amount; if the milk smells sour, looks curdled, or its storage safety is uncertain, discard it. Do not taste questionable dairy to check whether it is safe.
Make a fresh batch when you need a defined layer or when the refrigerated mixture will not aerate again. The same ingredient ratio and frothing checks apply.
Frequently asked questions
Can you make cold foam without a milk frother?
Yes. Use a clean jar with a tight lid, fill it no more than halfway with the cold milk mixture, and shake vigorously for 30 to 60 seconds. Open it carefully and check for a light, expanded, pourable texture. A French press or blender can also aerate the mixture.
What milk works best for cold foam?
Cold regular milk makes a light foam, while adding some cream creates a richer sweet-cream texture. The most important checks are that the dairy is cold and still fluid before frothing. If the mixture smells sour, looks curdled, or separates unusually, do not use it.
Why does my cold foam disappear into the coffee?
Cold foam usually sinks or disappears when it is too thin, insufficiently aerated, or placed on a very turbulent drink. Froth until the volume visibly increases, then spoon it gently over the finished iced coffee. If it still collapses, chill the ingredients and try a shorter second frothing cycle.
Can cold foam be made with non-dairy milk?
Yes, but results vary by product because different plant-based milks trap air differently. Choose a chilled variety labeled for frothing when available, start with the same amount, and judge it by the same signs: increased volume, small bubbles, and a soft pourable texture.
For more help with this topic, use the Drinks guides.